10
Parts & Service: 020 8988 7400 / E-mail: [email protected] or [email protected]
DRIVE GUARD
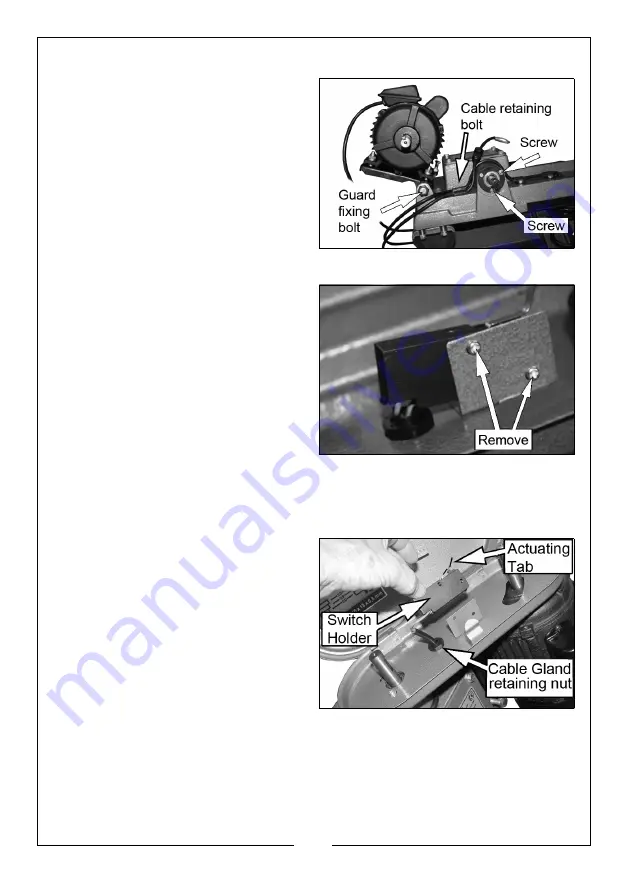
The drive guard sits over the motor
shaft, and the gear-box shaft. The
gearbox shaft extends through a
circular plate
secured by three
screws.
1. Remove two of the screws
(arrowed) and the guard fixing
bolt.
2. Lower the drive guard over the
shafts. The elongated hole is
placed over the motor shaft.
3. Replace the screws and the
guard fixing bolt to secure the
drive guard.
SAFETY SWITCH
For safety purposes, a micro-switch is
provided to stop the bandsaw when
the drive guard is opened. The switch
is mounted on the inside of the drive
guard, between the two pulleys. The
micro-switch is operated by an
actuating tab, so that when the lid is closed, the bandsaw will operate.
1. Remove the switch from its mounting by unscrewing the two mounting
screws and nuts.
2. Thread the wires through the hole
in the drive guard complete with
the cable gland provided, and
connect the two push-on
connectors to the micro-switch
terminals. Re-tighten the nut on
the cable gland.
3. Re-fit the switch to the holder
using the two mounting screws &
nuts. Do not overtighten.
4. Close the guard, switch on the machine, and check that the switch
operates correctly when the guard is opened and closed.
•
It may necessary to bend the switch actuating tab slightly to ensure
correct operation.
Summary of Contents for 6460060
Page 28: ......


