


12
❑
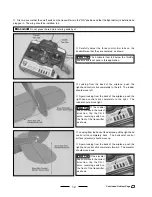
First, make sure that the on/off switch on the transmitter is in the "ON" position and that the flight battery is installed and
plugged in. The wing should be installed, too.
✦
✦
✦
✦
✦
WARNING
✦
✦
✦
✦
✦
Do not press the red motor arming switch yet.
❑
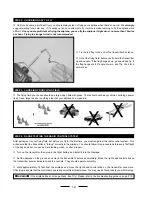
Carefully adjust the three control trim tabs on the
transmitter so that they are centered, as shown.
The horizontal trim tab below the throttle
control stick is not used in this application.
PRO TIP
❑
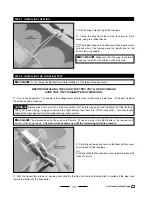
Looking from the back of the airplane, push the
right-hand control stick completely to the left. The rudder
should move left.
❑
Again, looking from the back of the airplane, push the
right-hand control stick completely to the right. The
rudder should move right.
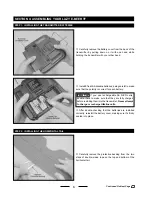
If the rudder
does not move in the correct
direction, flip the CH 2
servo reversing switch on
the front of the transmitter,
as shown.
PRO TIP
❑
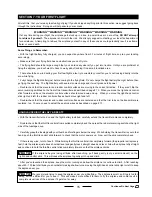
Looking from the back of the airplane, pull the right-hand
control stick completely back. The horizontal control
surface (elevator) should move up.
❑
Again, looking from the back of the airplane, push the
right-hand control stick completely forward. The elevator
should move down.
If the elevator
does not move in the correct
direction, flip the CH 1
servo reversing switch on
the front of the transmitter,
as shown.
PRO TIP
Continued On Next Page
☛
☛
☛
☛
☛


