10
operation:
Welding:
Maintenance:
hand held:
Machine:
prior to commencing welding, the following preparations should be made to ensure
optimum performance of the system.
With the shield gas flowing, initiate an arc between the tungsten electrode and
the workpiece. When the desired weld pool has formed, depress the switch on the
torch to start the wire feeding. adjust the Wire speed and, if in pulse mode adjust
the drive time and dwell time to produce the desired bead.
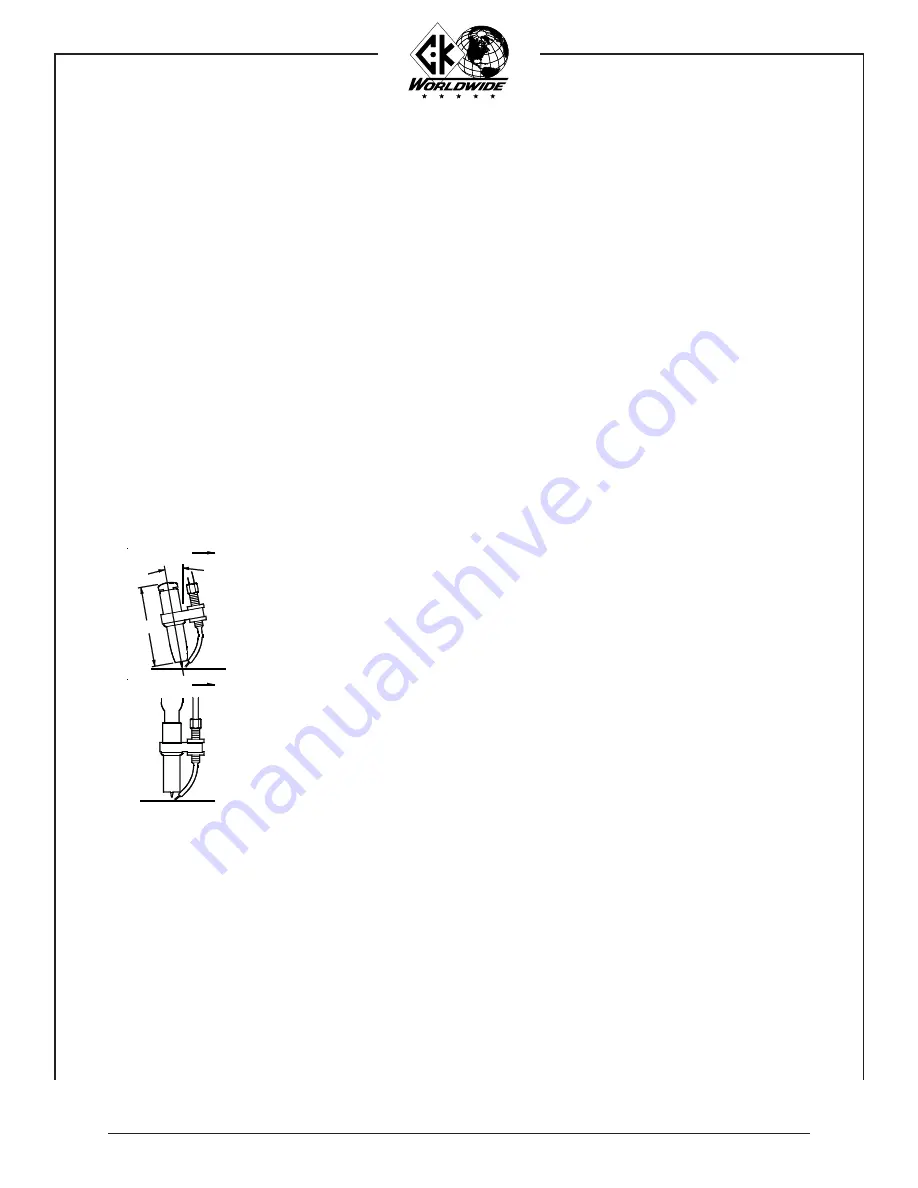
the recommended torch angle for hand held welding is 15° from perpendicular.
the filler wire is fed into the leading edge of the molten pool.
the recommended torch angle for machine mounting welding is perpendicular. the
filler wire is fed into the leading edge of the molten pool.
1. Make sure that the pieces of metal to be welded are free of grease, dirt, paint,
and scale. Use a wire brush to remove dirt and scale. Use a stainless steel wire
brush on stainless or aluminum. paint must be completely removed to bare metal.
failure to clean the metal properly will result in porous and contaminated welds.
2. check that the system has been properly installed per the installation instructions.
3. check the control cable and weld cables for proper connection. Make sure the
ground clamp is firmly attached to a cleaned area on the piece to be welded.
4. prepare the torch for welding. check the gas supply and adjust the flowmeter for
the recommended flow rate. check the water circulator for proper operation.
5. set the controls on the power source and the cold Wire tig feed Unit.
1. Blow foreign matter from the feed cable with compressed air before loading a new
spool of welding wire.
2. replace the wire guide tube if it has been arced, bent, or is badly worn.
3. Wire drive motor brushes should be inspected at regular intervals and replaced if
worked to a 1/4” (6.4mm) length.
Whenever a brush is removed for inspection, be sure it is put back in the
same position. it must not be turned around in the brush holder. excessive
arcing and loss of power will result if it is put back incorrectly.
note:
Direction of Travel
15°
3-3/4"
Direction of Travel


