Cisco TMSXE Administrator Guide 2.2
Page 36 of 60
Note:
The password for resource accounts is not needed by users or in normal use. It is only for
administrators that may wish to log into the account/mailbox directly. The resource account
passwords can be changed using standard AD tools afterwards without affecting the Cisco TMSXE
integration.
Review selections
—After choices have been made for all selected systems, a window will present a
summary display of your choices.
If the information is correct, click
OK
, or if alterations are needed click the
Edit
button to return to the
previous screen.
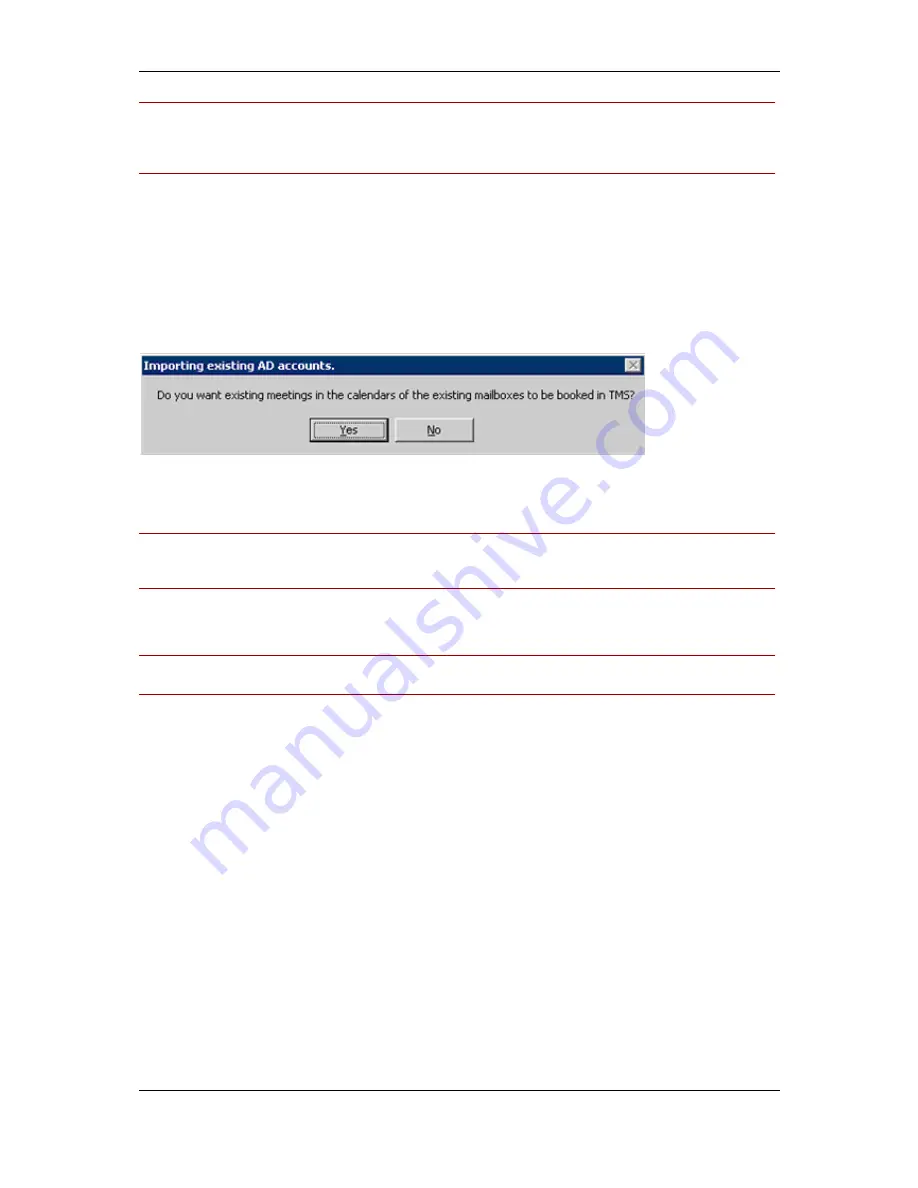
If one or more of the systems imported were associated with existing accounts, you will be asked if
existing meetings events from the accounts‘ Calendars should be imported into Cisco TMS. This
ensures the resources‘ calendars and Cisco TMS are in synch.
Clicking
Yes
will cause all existing bookings in the Resources‘ calendars to be booked in Cisco TMS.
Clicking
No
will skip this step. If there are any issues booking an existin
g meeting, the meeting‘s
organizer will receive an email detailing any actions necessary.
Note:
Meetings with no end date can not be booked in Cisco TMS and will synchronize to Cisco
TMS. After Cisco TMSXE is installed, any meetings of this type should be edited using Outlook to a
new meeting with a fixed end-date.
The configuration tool will now perform the tasks as instructed, and a status screen shows the
progress of the individual systems and the overall progress.
Note:
This process can take some time depending on the number of systems you are importing and
the design of your Active Directory.
When complete, click the
OK
button and the Operations tab will be displayed with the newly added
systems in the right-hand column.
Manually Enabling Auto-Accept
As part of the process when enabling resource accounts in Exchange 2003, the configuration tool will
turn on
auto-accept
in the resource‘s calendar options. In some scenarios, the methods used by the
software to enable this setting are not available and this must be done manually when resource
accounts are enabled. The Configuration tool will report if it was not able to enable this setting
automatically when enabling accounts.
1. On a client computer with Outlook installed, create a new Mail profile using the Mail Control
Panel. In the Mail profile, click
Show Profiles
, and add a new Mail profile, with an Exchange
Mailbox with the credentials and properties of the resource account you are trying to modify.
When created, you can set Outlook to prompt you for which profile to use when launching
Outlook.
2. Open Outlook, and select the profile you configured for the resource account and supply the
credentials for the resource account.


