


Chapter 4
Advanced Configuration
31
10/100 4-Port VPN Router
Firewall > Access Rules
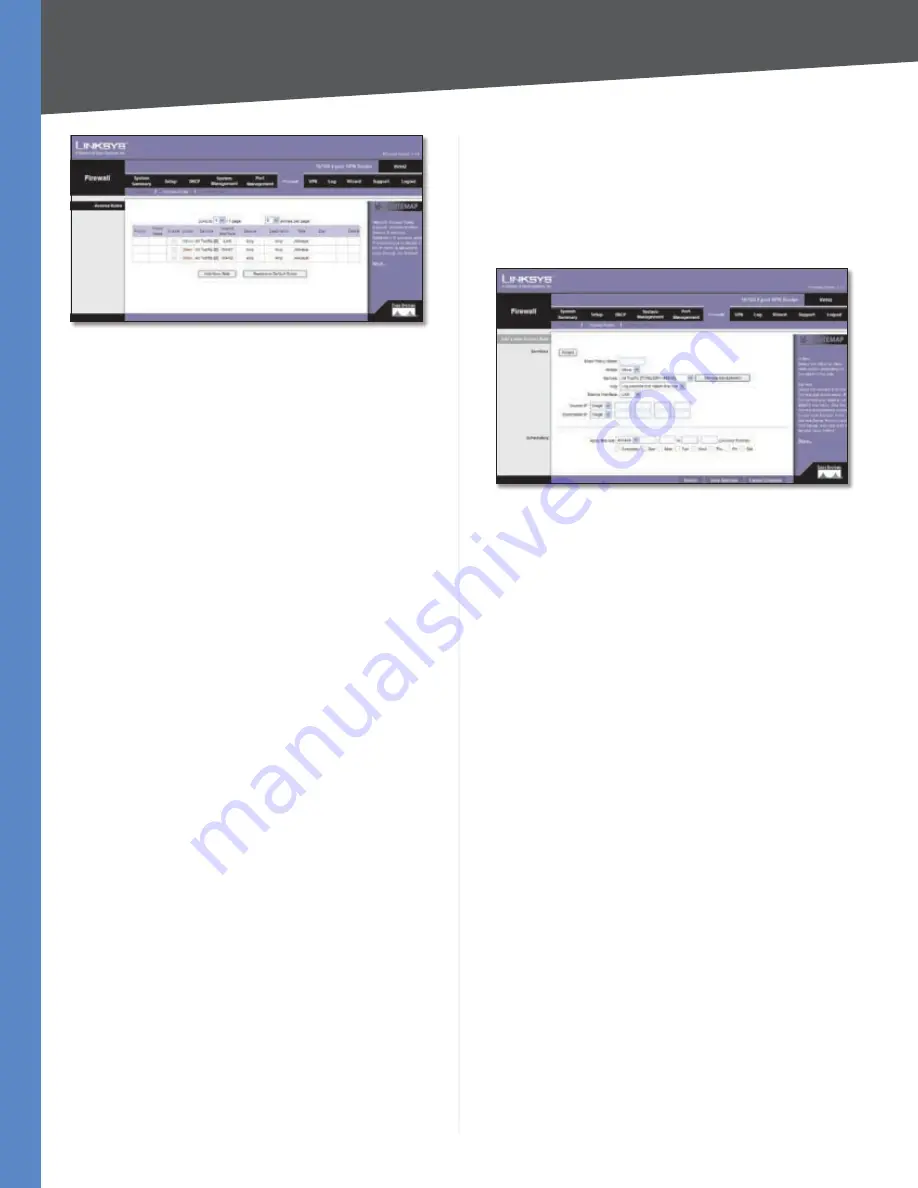
Access Rules
Except for the default rules, all configured access rules
are listed in the Access Rules table, and you can set the
priority for each custom rule.
If the Access Rules table has multiple pages, select a
different page to view from the
Jump to
drop-down menu.
If you want more or fewer entries listed per page, select
a different number from the
entries per page
drop-down
menu.
For each access rule, the Access Rules table lists the
following:
Priority
The priority of the access rule is displayed, 1
indicating the highest priority. To change its priority, select
a different priority from the drop-down menu. (When an
access rule is created, the Router automatically assigns a
priority; however, you can change the priority after the
rule is created.) If there is a conflict between two access
rules, then the higher priority rule takes precedence. The
default access rules have the lowest priority.
Policy Name
The name of the access rule is displayed.
Enable
The status of the access rule is displayed. To
enable or disable a rule, click the
Enable
check box.
Action
The Action, Allow or Deny, is displayed.
Service
The Service is displayed.
Source Interface
The Source Interface, LAN or WAN1/2,
is displayed.
Source
The specific Source is displayed.
Destination
The specific Destination is displayed.
Time
The time interval to which the access rule applies
is displayed.
Day
The days to which the access rule applies is
displayed.
Click
Edit
to edit an access rule, or click the
Trash Can
icon
to delete an access rule.
Click
Add New Rule
to add new access rules, and the
Add
a New Access Rule
screen appears.
Click the
Restore to Default Rules
to restore the default
rules and delete the custom access rules.
Add a New Access Rule
Add a New Access Rule
Services
Wizard
If you need help to configure the access rules,
click
Wizard
, and follow the on-screen instructions. For
additional information, refer to the “Wizard” section of this
chapter.
Enter Policy Name
Enter a name for the new access
rule.
Action
Select
Allow
or
Deny
, depending on the purpose
of the access rule.
Service
Select the Service you want.
If the Service you need is not listed in the menu, click
Service Management
to add the new service. The
Service
Management
screen appears.


