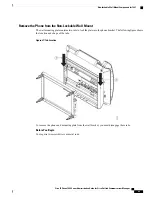
e) Use the included screws and a #2 Phillips-head screwdriver to attach the bracket to the wall.
Figure 14: Bracket Installation
Step 2
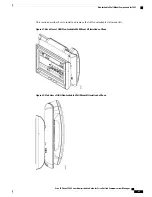
Attach the phone bracket to the IP Phone.
a) Detach the power cord and other attached cords from the base of the phone, except the handset cord (and
headset cord, if there is a headset).
b) Remove the label covers that conceal the screw holes.
Cisco IP Phone 7811 does not have label
covers.
Note
c) Attach the phone bracket by inserting the tabs into the mounting tabs on the back of the phone. The phone
ports should be accessible through the holes in the bracket.
Cisco IP Phone 7800 Series Administration Guide for Cisco Unified Communications Manager
76
Non-Lockable Wall Mount Components


