Enabling LDP on Auto-Tunnel Mesh
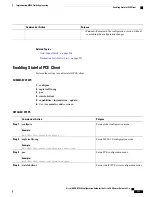
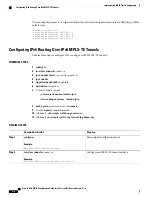
Perform this task to enable LDP on auto-tunnel mesh group.
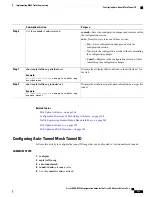
SUMMARY STEPS
1.
configure
2.
mpls ldp
3.
traffic-eng auto-tunnel mesh
4.
groupidall
5.
Use the
commit
or
end
command.
DETAILED STEPS
Purpose
Command or Action
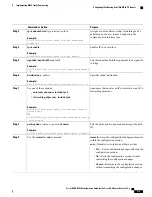
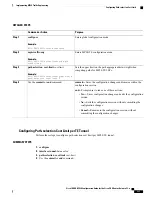
Enters global configuration mode.
configure
Example:
RP/0/RP0/CPU0:router# configure
Step 1
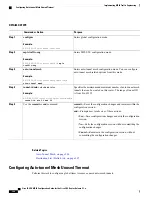
Enters MPLS LDP configuration mode.
mpls ldp
Example:
RP/0/RP0/CPU0:router(config-ldp)#
mpls ldp
Step 2
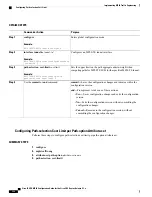
Enters auto-tunnel mesh configuration mode. You can configure
TE auto-tunnel mesh groups from this mode.
traffic-eng auto-tunnel mesh
Example:
RP/0/RP0/CPU0:router(config-ldp-te-auto-mesh)#
traffic-eng auto-tunnel mesh
Step 3
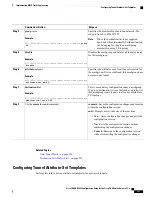
Configures an auto-tunnel mesh group of interfaces in LDP.
You can enable LDP on all TE meshgroup interfaces or you can
groupidall
Example:
RP/0/RP0/CPU0:router(config-ldp-te-auto-mesh)#
group all
Step 4
specify the TE mesh group ID on which the LDP is enabled.
The range of group ID is from 0 to 4294967295.
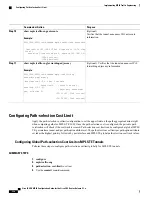
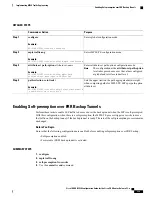
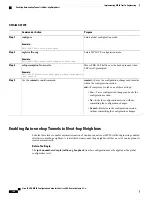
commit
—
Saves the configuration changes and remains within
the configuration session.
Use the
commit
or
end
command.
Step 5
end
—
Prompts user to take one of these actions:
•
Yes
—
Saves configuration changes and exits the
configuration session.
•
No
—
Exits the configuration session without committing
the configuration changes.
Cisco IOS XR MPLS Configuration Guide for the Cisco CRS Router, Release 5.1.x
330
Implementing MPLS Traffic Engineering
Enabling LDP on Auto-Tunnel Mesh

