


Deployment Details
PAGE 21
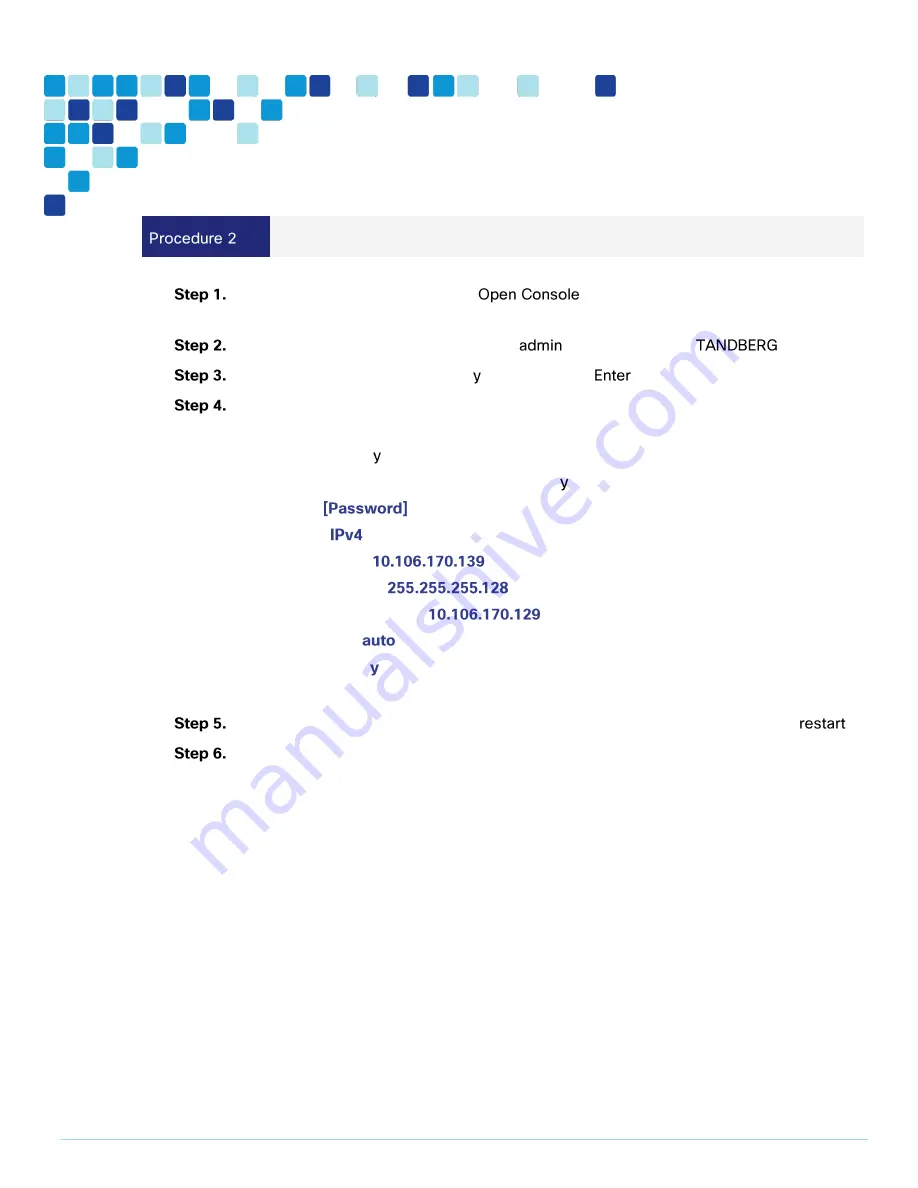
Configure the VM guest
Right-click the VM guest and click
. The VM guest will take some time to
boot.
At the login prompt, enter the username
, and the password
.
At the Install Wizard prompt, type , and then press
.
To enter IP information, follow the Install Wizard. Enter the following in the relevant fields.
Configure other entries as required.
Run Install wizard:
Do you wish to change the system password:
Password:
IP Protocol:
IP Address LAN1:
Subnet Mask LAN1:
Default Gateway Address:
Ethernet Speed:
Run ssh daemon:
The configuration is applied and TelePresence Conductor logs you out.
Log into TelePresence Conductor as root and then restart the VM guest by typing
.
You should now be able to access TelePresence Conductor via a web browser.
Summary of Contents for BE6000
Page 2: ...Preface PAGE 2 ...
Page 3: ...Preface PAGE 3 ...
Page 10: ...Introduction PAGE 10 High level network diagram ...
Page 29: ...Deployment Details PAGE 29 On the welcome screen click ...
Page 50: ...Deployment Details PAGE 50 Click Navigate to and set to ...
Page 62: ...Deployment Details PAGE 62 Click ...
Page 69: ...Deployment Details PAGE 69 Click ...
Page 77: ...Deployment Details PAGE 77 Click ...
Page 93: ...Deployment Details PAGE 93 SIP address URI Click ...
Page 95: ...Deployment Details PAGE 95 Click Click In enter and then click ...
Page 96: ...Deployment Details PAGE 96 Under enter as the URI and click ...
Page 97: ...Deployment Details PAGE 97 Configure SX20 Navigate to In enter and then click ...
Page 100: ...Deployment Details PAGE 100 Click on Click Enter the personal CMR name as and click ...
Page 101: ...Deployment Details PAGE 101 On the Set your click The Personal CMR conference is created ...
Page 104: ...Deployment Details PAGE 104 Click Click on tab ...
Page 106: ...Appendix A Product List PAGE 106 ...


