Firmware
Captiva Service Manual
16
020-000867-03 Rev. 1 (05-2018)
4. Select COM port, press “connect” button.
5. Click “File”-->“Load Project” to choose firmware, then click “Open”.
6. Select “APROM”, and do not select the "Config" item, then press “start” button.
7. “Pass” will appear.
8. Unplug the power cord and RS232 cable, then re-plug the power cord to power on the projector.
9. Press “power->left->right->menu” sequentially to get into service mode to check firmware
version.
Multimedia Firmware Upgrade
Get into Firmware Download Mode
1. Hold on “Power” button and plug in the power cord.
2. Release the “Power” button until all LEDs light red.
3. Connect projector and computer by USB cable (USB A to mini USB B).
i
If upgrade fail, select restore, the upgrade will follow the last setting and jump to the page
“Upgrading in progress” directly.
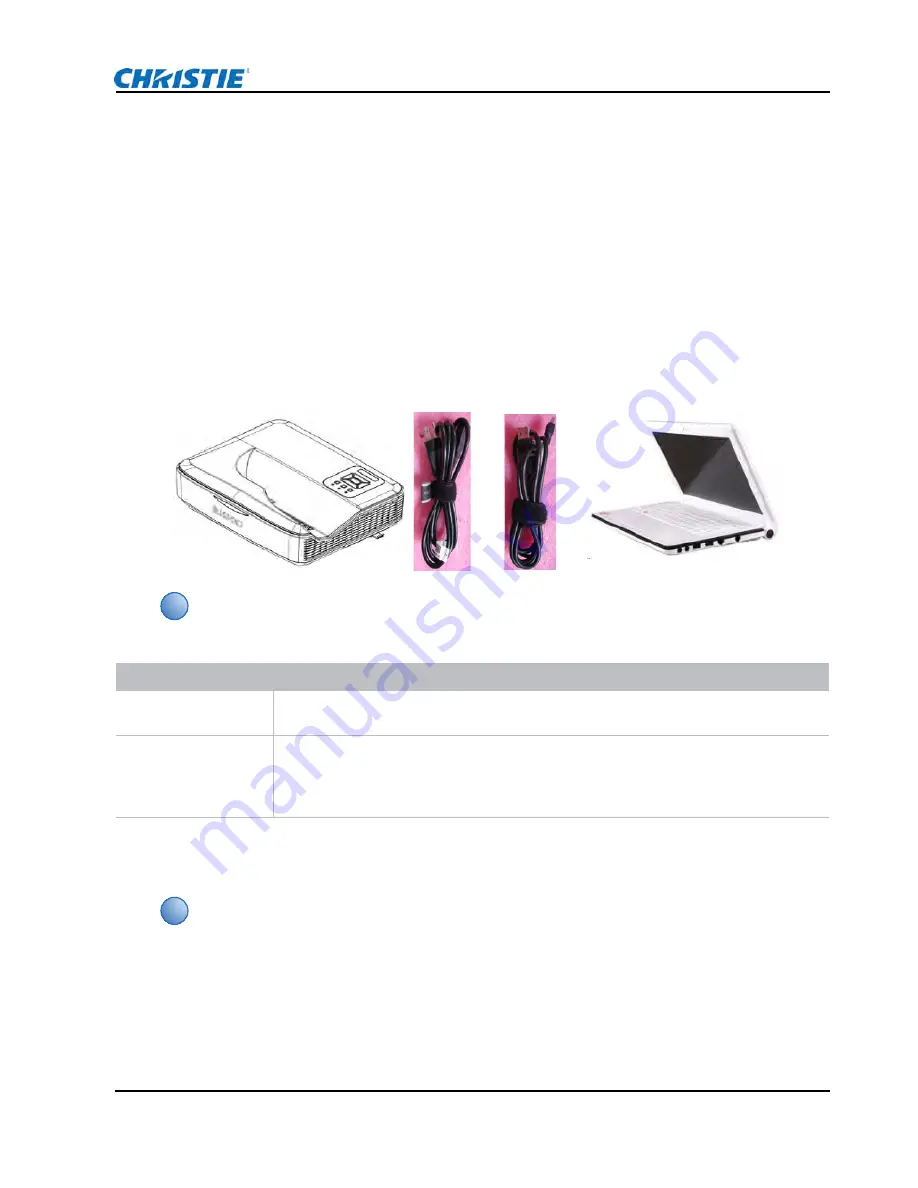
Equipment Needed
Software
• ActionsMpUpdate_v1.14.exe
• Firmware (*.bin)
Hardware
• Projector
• Power Cord P/N: 42.50115G001
• Mini USB Cable: 42.00284G001 (USB A to mini USB B cable)
• PC or Laptop with Windows 32bits
i
To update the firmware on your projector, you must get into firmware download mode first.


