


............................................................................................................................................................. 07
Operation of Multimedia LCD Display
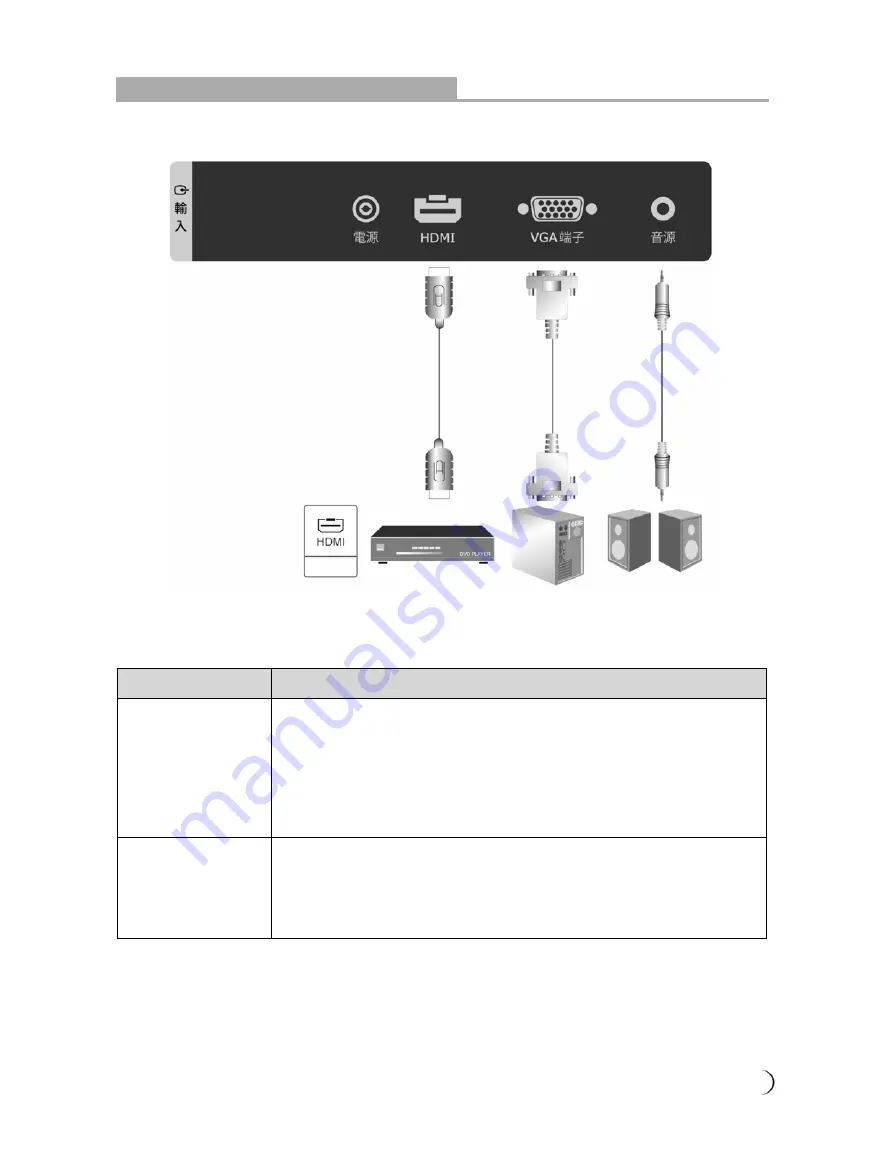
Connectors and sockets
Bottom I/O Connectors
Port (Input)
Functions
HDMI
High Definition Multimedia Interface (HDMI):
This port accepts devices with high definition video/audio signal-HDMI
terminal output.
This connection port supports HDTV video signals or PC-DVI signals.
※
The DVI signals come through HDMI input, the DVI connection wire for
HDMI shall be used, and the sound connection shares the VGA-sound
input terminal.
VGA terminal
VGA terminal and Audio Input:
Can be connected to devices with VGA (RGB analog signals) terminals and
sound output, for instance, computers and other devices.
※
The sound input terminal is shared by VGA/DVI (HDMI) and the terminal
is 3.5 mm jack.
※
For details about the supportive signals, please refer to the specification pages of this User
Manual.
HDMI Input
Output
DVD Player
Summary of Contents for TL-24L6000T
Page 1: ......


