33
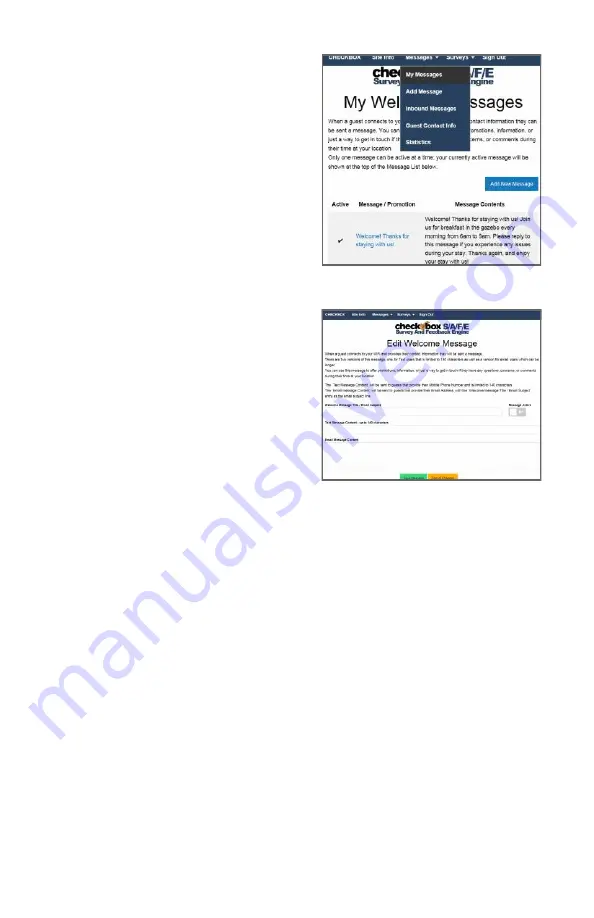
Next navigate to Messages and then My
Messages. Here you will set up the
welcome message that is emailed or
texted to every user.
Here you can add new messages to be
sent and see a summary of all
messages that you have already
created and are available to choose
from.
Click on the Add New Message button.
On this page you will create the
welcome messages emailed or texted to
your guests when the first connect to
your CheckBox.
You can create multiple messages and
save them, but only one message at
time can be active.
Since guests have the option of
supplying an email address or a text
address we have to format the message
two different ways to accommodate the
different formatting of the two types of
messages we may be sending.
The Welcome Message Title / Email Subject box is the subject line of
emails sent.
The Text Message Content box is where you enter the text message that
will be sent. Text messages are limited to 140 characters total, including
spaces, so messages must be short and sweet.
The Email Message Content is where you enter the message sent to
email users. You have more room here and can add more information as
appropriate.
To the right of the Welcome Message Title line is a box you can toggle to
make the message active or not. You can create and save multiple
messages, however only one can be active at a time. You can also
choose to have none active and no message sent.
At this point your welcome message has been set up, and your guests
can reply to your welcome message to ask questions or notify you of
issues, and you can reply to those message - providing a convenient two-
way messaging platform for you and your guests.
Summary of Contents for HSv625
Page 12: ...12...


