


37
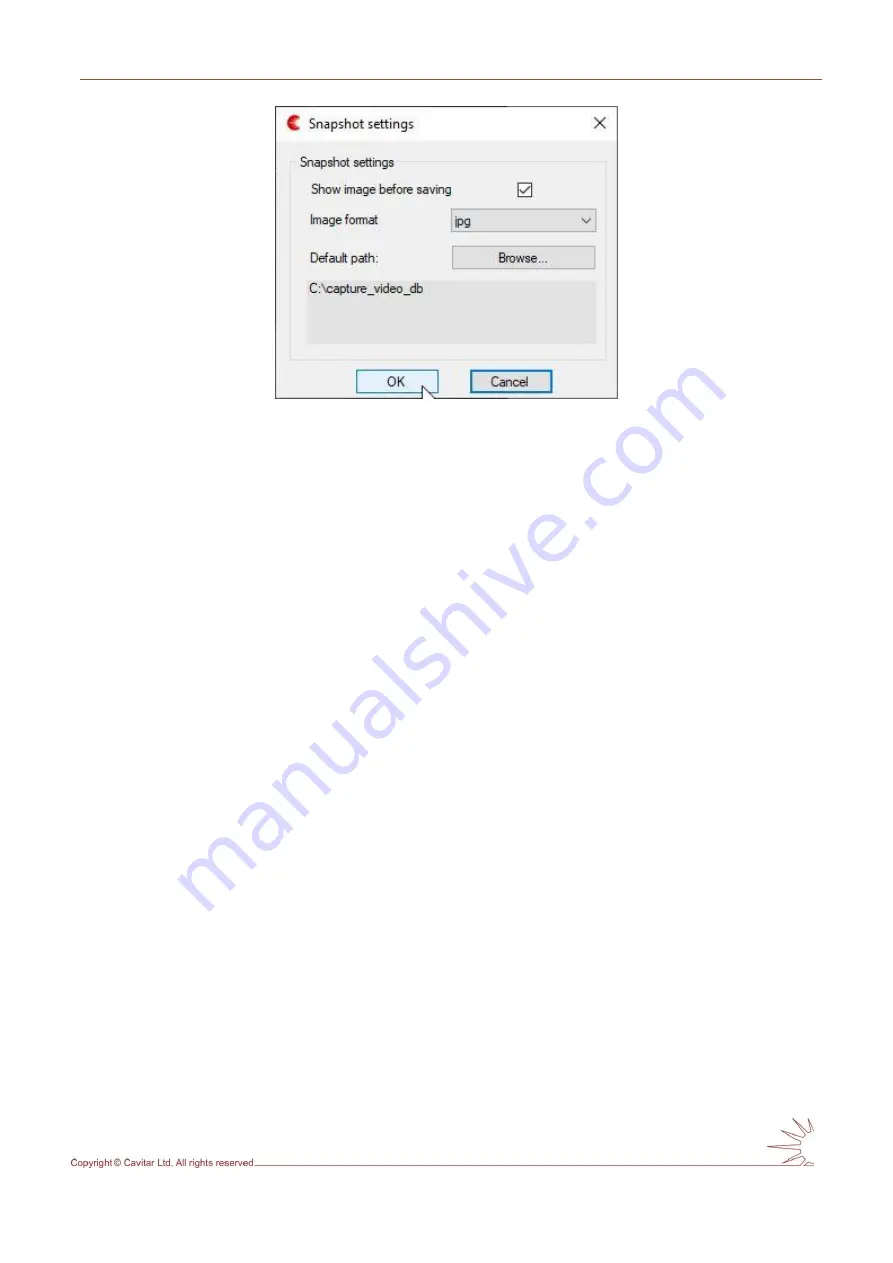
Fig. 5.25. Snapshot settings.
5.3 Starting and stopping laser illumination
Laser illumination will start when both conditions below are met:
“Laser” is “enabled” in Camera settings Timing & sync window (“Settings menu”
“Camera…”)
“Start” button (Fig. 5.10A) has been pressed
To stop laser illumination (and continue image acquisition):
Set “Laser” to “disabled” in Camera settings Timing & sync window (“Settings menu”
“Camera…”)
To stop laser illumination (and image acquisition):
press “Stop” button (Fig 5.10A)
disconnect the power supply cable from AC mains (this will switch off the entire
system)
5.4 After operation
After operation the following procedure should be carried out:
-
ensure that “Stop” button has been pressed (the camera is not taking images)
-
exit CAVITAR Capture
-
disconnect the power supply cable from AC mains
If the system needs to be completely uninstalled, follow these steps:
-
unplug all cables
-
unmount the camera unit
-
carefully pack and store the whole system in a safe and clean place