8
Setting up the
computer
3
Pairing (Searching the sensor ID)
When you do not have the ANT+ sensor
“Pairing” is not required. Press the
MENU
button 5 times to jump to Step 5 “Select
the time zone” (page 11).
When you have the ANT+ sensor
In order for the computer to recognize each sensor, it is necessary to register the
sensor ID of each sensor (pairing). Perform pairing of the computer with your ANT+
sensor according to the following procedure.
This unit has 2 different methods for pairing.
How to search
the sensor ID
Description
Automatic
search
The computer completes pairing by receiving the signal sent from the
sensor.
* Generally, use this method for pairing.
Manual ID
number entry
When the sensor ID number is known, you can perform pairing by
entering the number.
* Use this method for pairing, when there are two or more ANT+ sen-
sors, such as at a race site, and automatic search cannot be done.
1
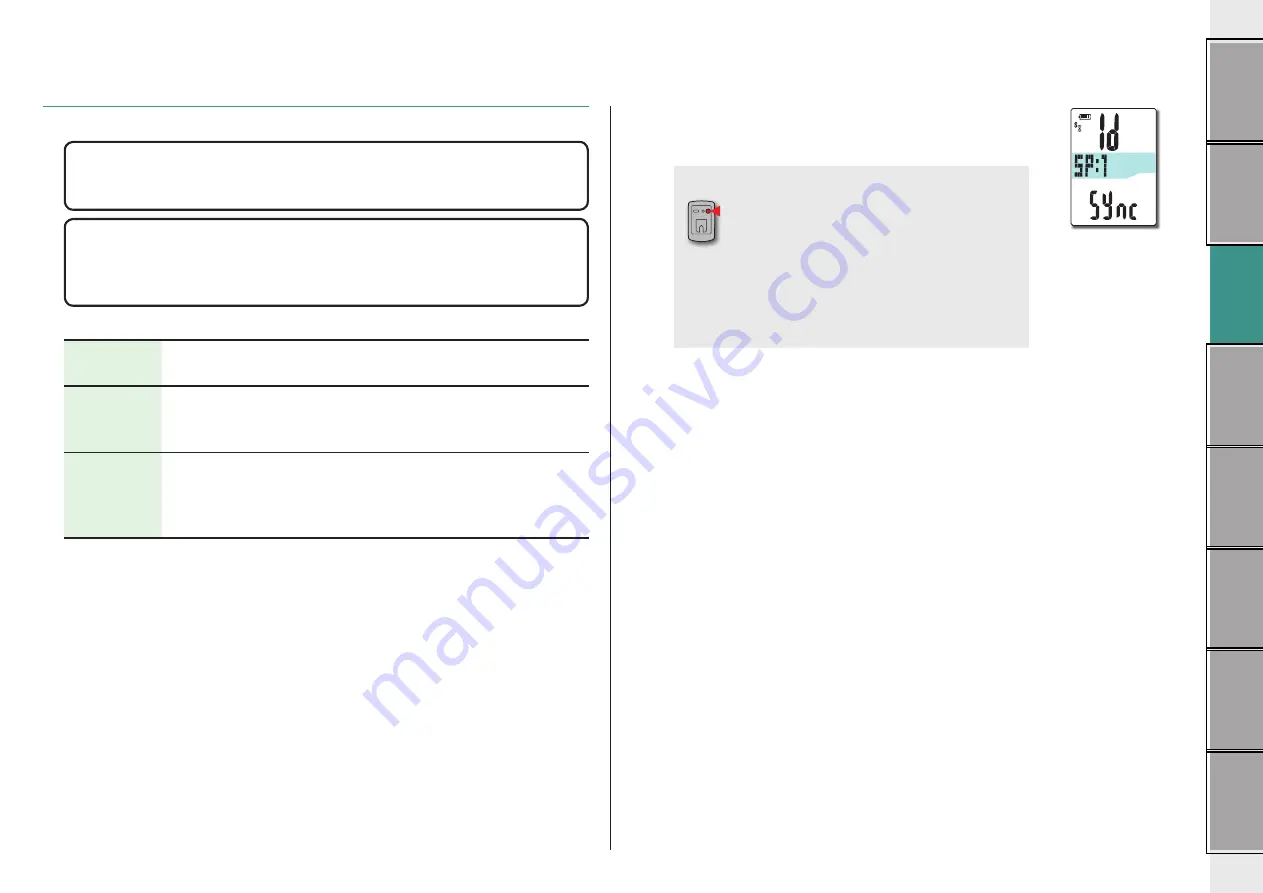
Display the sensor for pairing, on the display
Pressing the
MENU
button changes the sensor for pairing.
Display your sensor.
MENU
(Back)
SP:1
(Speed sensor)
↓
ISC:1
(Speed/cadence sensor)
↓
CD:1
(Cadence sensor)
↓
HR:1
(Heart rate sensor)
↓
PW:1
(Power sensor)
* While setting up the computer, sensor pairing is per-
formed in the order shown in the figure. Complete setting
up of the computer, even if you fail or skip pairing. You
can change the setting later. For details, see “Pairing the
sensor” on the menu screen (page 32).
* By default, you can perform pairing with either “
SP:1
” or
“
ISC:1
”.
•
When you perform pairing with “
SP:1
”, the display of
“
ISC:1
” (speed/cadence sensor) is skipped.
•
When you perform pairing with “
ISC:1
” (speed/cadence
sensor), the display of “
CD:1
” (cadence sensor) is
skipped.


