72
Table and Graph
Chapter 5
To enter the Table Mode, press
m
to display the Main Menu, use the cursor keys to
select the
TABLE
icon, and then press
w
.
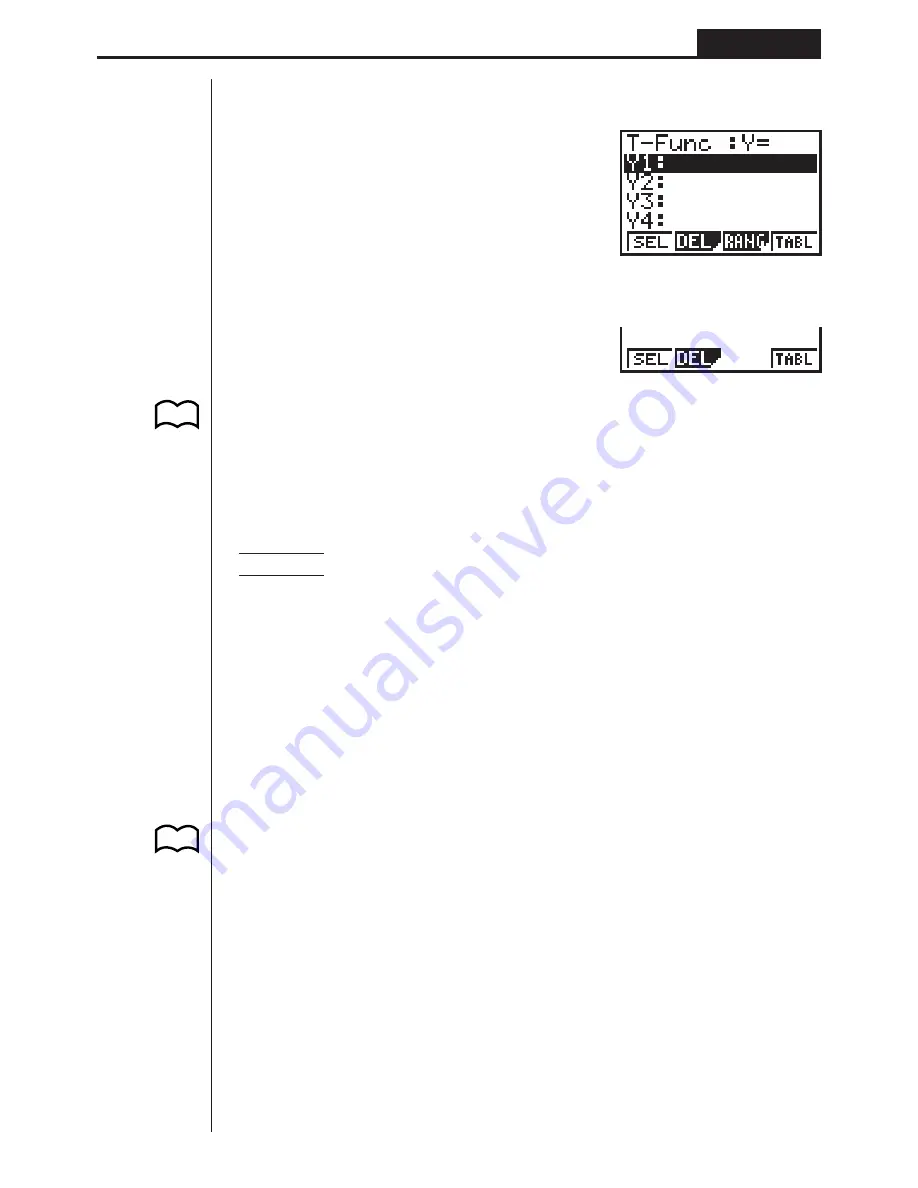
This is the initial Table Mode screen. To generate a table, you must first specify the
variable range.
The menu at the bottom of the display looks like the one shown here when the Var
item of the set-up screen is set to a list name (indicating that variable values should
be obtained from a list).
1. Storing a Function
Example
To store the function
y
= 3
x
2
– 2 in memory area Y1
Use
f
and
c
to move the highlighting in the TABLE Mode function list to the
memory area where you want to store the function. Next, input the function and
press
w
to store it.
2. Deleting a Function
Use
f
and
c
to move the highlighting to the memory area that contains the
function you want to delete.
Press
2
(DEL).
Press
1
(YES) to delete the selected function or
4
(NO) to abort the delete
operation without deleting anything.
The procedures for storing and deleting functions are identical to those used in the
GRAPH Mode.
3. Assigning Values to a Variable
You can use either one of two methods to assign values to a variable: automatic
assignment within a specified range, and assignment of values from a list. The stand-
ard default method is automatic assignment within a specified range.
P.52
P.8
Summary of Contents for fx-7400G
Page 46: ...Differential Calculations Chapter 3 ...
Page 164: ...161 1 2 3 4 5 Program for Circle and Tangents No 4 Step Key Operation Display ...
Page 165: ...162 Program for Circle and Tangents No 4 Step Key Operation Display 6 7 8 9 10 ...
Page 166: ...163 11 12 13 14 15 Program for Circle and Tangents No 4 Step Key Operation Display ...
Page 167: ...164 16 17 18 Program for Circle and Tangents No 4 Step Key Operation Display ...
Page 170: ...167 1 2 3 4 5 Program for Rotating a Figure No 5 Step Key Operation Display ...


