


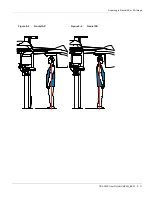
Starting the Imaging Software
4–2
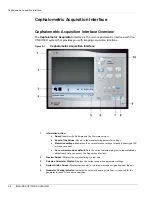
GETTING STARTED
2. Select the following series of parameter settings:
70 kV - 6.3 mA
80 kV - 10 mA
85 kV - 10 mA
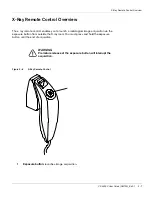
3. Leave the X-ray room and close the door. For each parameter setting, from the X-ray
remote control, press and hold the button to launch the X-ray.
The unit is now ready to be used for acquisition.
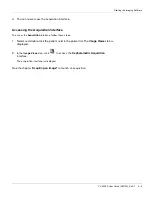
Starting the Imaging Software
Depending on your particular configuration you may have either Kodak Dental Imaging
Software or CS Imaging Software installed.
For
KODAK Dental Imaging Software
see “Starting the KODAK Dental Imaging
Software”.
For
CS Imaging Software
see “Starting the CS Imaging Software”.
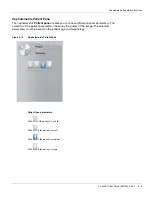
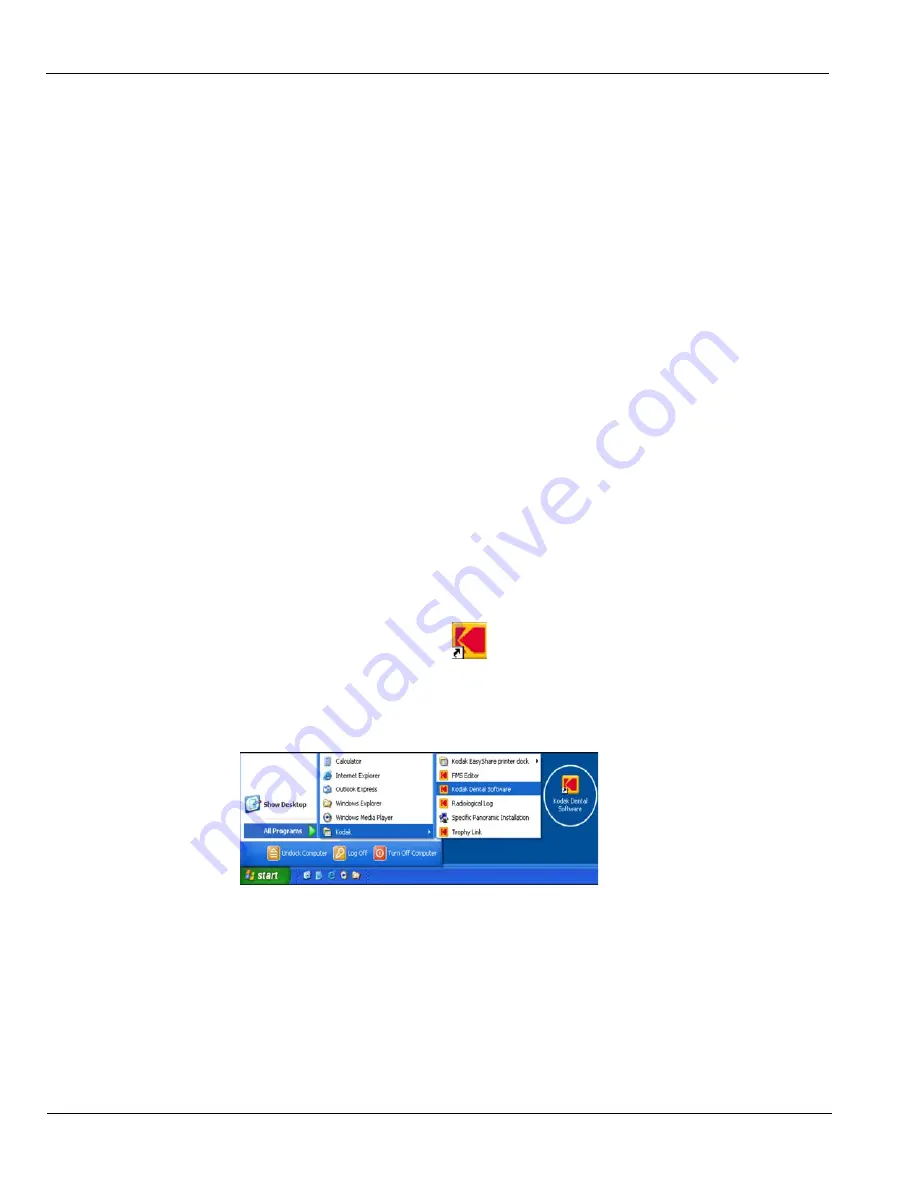
Starting the KODAK Dental Imaging Software
To start the imaging software, follow these steps:
1. On your desktop, double-click
.
OR
From your computer, click
Start > All Programs >
Kodak > Kodak Dental Imaging
Software.
A blank
Patient window
is displayed.
2. Create or open an existing patient record.
Creating a Patient Record
To create a patient record, follow these steps:
Summary of Contents for CS 9300C
Page 1: ...CS 9300C User Guide...
Page 6: ...Conventions in this Guide 1 2 About This Guide...
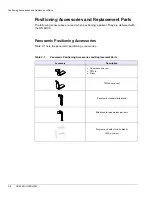
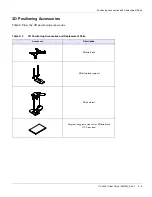
Page 16: ...Positioning Accessories and Replacement Parts 2 10 CS 9300C OVERVIEW...
Page 28: ...Starting the Imaging Software 4 6 GETTING STARTED...
Page 53: ...Acquiring a Submento Vertex Image CS 9300C User Guide SM750 _Ed 01 5 25...
Page 62: ...Annually 6 4 MAINTENANCE...


