4
-6
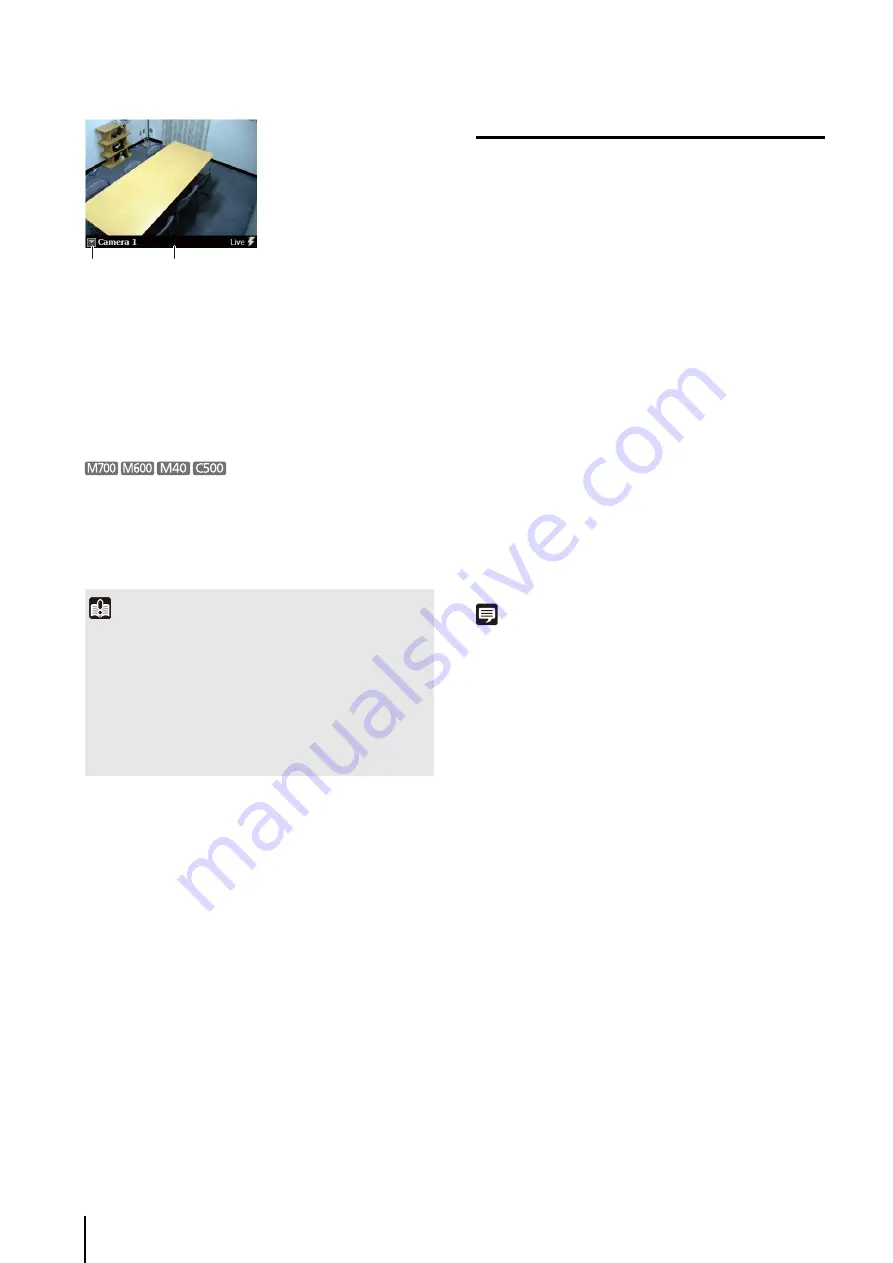
➀
Video window menu button.
Click to display a menu for operating the video window.
➁
Title bar
Displays the camera name and type of image being
displayed.
With the on-screen display feature enabled, if you set the
display position to the lower right or lower left, the video
window title bar, the recorded image indicator, or the
event indicator may hide the text that should be
displayed.
Configure the Video Window
You can configure the video window settings, including
the window size and the video format (JPEG or MPEG-4).
Change the Video Window Size
• [160x120] / [320x240] / [640x480]
Change the size of the video window, selecting from
small ([160x120]), medium ([320x240]) and large
([640x480]).
• [Default]
Adjusts the size of video window to the received (live)
image size. For the image size during reception, see
“Change the Video Window Resolution” (P. 4-7).
• [Full
S
creen]
Display an image on the entire screen. For details, see
“Display on the Full Screen” (P. 4-7).
Note
• Drag the lower right corner of the video window to resize it.
• If the video window size selected in the [Video Receive Size]
submenu is greater than [640 x 480], the load on the CPU will
increase and the Viewer may operate more slowly.
4
To display images from other cameras, repeat step 3.
Important
• When an error occurs, the corresponding error message is
displayed in the video window. For details, see “Error
Messages in the Video Window” (P. 9-4).
• The number of video windows that can be displayed in the
Viewer depends on factors such as the graphics card, CPU
performance, frame rate, camera image size, and the image
quality.
• Viewer operation may slow down in the CPU load is high.
➀
➁
1
Click the video window menu button to display the
menu.
2
S
elect [Video Display
S
ize] and specify the video
window size from the submenu.
Summary of Contents for RM-Lite 1.0
Page 7: ...vii ...
Page 12: ...xii ...
Page 22: ...1 10 ...
Page 23: ...Chapter 2 Setup How to install the software Settings after installation ...
Page 28: ...2 6 ...
Page 43: ...Chapter 4 Viewer Settings Configuring the Viewer Configuring a camera Creating a layout ...
Page 56: ...4 14 ...
Page 76: ...6 14 ...
Page 82: ...7 6 ...
Page 86: ...8 4 ...
Page 96: ...9 10 ...
Page 97: ...Appendix ...
Page 103: ...Index 10 7 Appendix ...


