


1. Roll up paper in opposite direction to paper curl as shown below.
2. Check that paper is now flat.
We recommend printing curl-corrected paper one sheet at a time.
Note
• Depending on paper type, the paper may smudge or may not feed properly even if it is not curled inward.
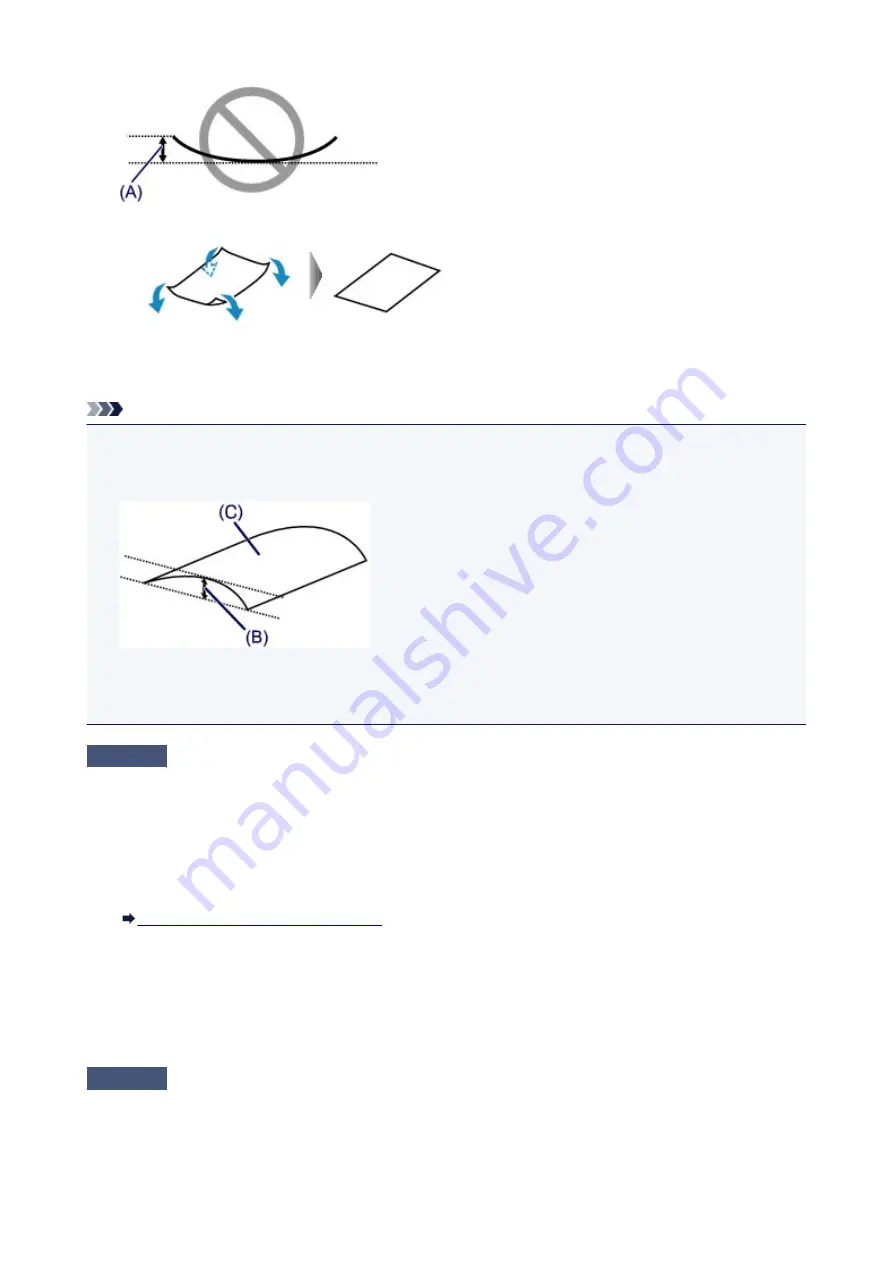
Follow the instructions below to curl the paper outward up to 0.1 inch / 3 mm (B) in height before printing.
This may improve the print result.
(C) Print side
We recommend feeding paper that has been curled outward one sheet at a time.
Check4
Set printer to prevent paper abrasion. (Windows)
Adjusting the setting to prevent paper abrasion will widen the clearance between the print head and the paper. If
you notice abrasion even with the media type set correctly to match the paper, set the printer to prevent paper
abrasion following the procedure below.
1. Make sure printer is turned on.
2. Open printer driver setup window.
Opening Printer Driver's Setup Screen
3. Click
Maintenance
tab and
Custom Settings
.
4. Select
Prevent paper abrasion
check box and click
OK
.
This may reduce the print speed.
* Once you have finished printing, undo this setting. Otherwise, it will apply to subsequent print jobs.
Check5
If intensity is set high, reduce intensity setting and try printing again. (Windows)
If you are printing with a high intensity setting on plain paper, the paper may absorb too much ink and become
wavy, causing paper abrasion.
312
Summary of Contents for PIXMA TS3120
Page 8: ...2900 360 2901 361 4102 362 4103 363 5011 364 5012 365 5100 366 5200 367 5B00 368 6000 369...
Page 50: ...Loading Paper Loading Plain Paper Photo Paper 50...
Page 56: ...Loading Originals Loading Originals on the Platen Glass Supported Originals 56...
Page 85: ...85...
Page 87: ...Safety Safety Precautions Regulatory Information WEEE EU EEA 87...
Page 91: ...91...
Page 108: ...Main Components and Their Use Main Components Power Supply Indication of LCD 108...
Page 109: ...Main Components Front View Rear View Inside View Operation Panel 109...
Page 164: ...Note Selecting Scaled changes the printable area of the document 164...
Page 177: ...In such cases take the appropriate action as described 177...
Page 227: ...Note To set the applications to integrate with see Settings Dialog Box 227...
Page 237: ...ScanGear Scanner Driver Screens Basic Mode Tab Advanced Mode Tab 237...
Page 291: ...Other Network Problems Checking Network Information Restoring to Factory Defaults 291...
Page 314: ...Scanning Problems Windows Scanning Problems 314...
Page 315: ...Scanning Problems Scanner Does Not Work ScanGear Scanner Driver Does Not Start 315...
Page 327: ...Errors and Messages An Error Occurs Message Support Code Appears 327...


