Refilling Ink Tanks
When remaining ink cautions or errors occur, the message will appear on the LCD to inform you of the error.
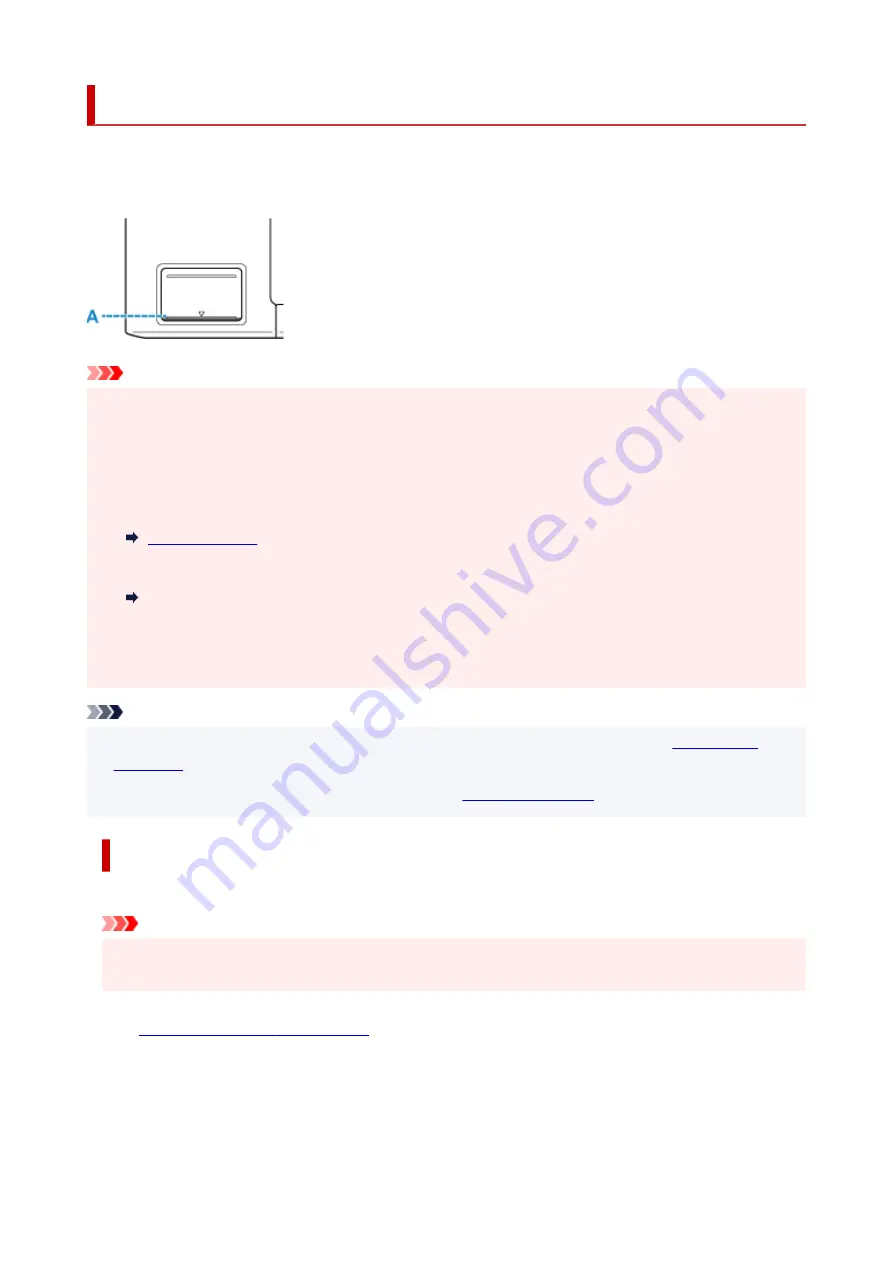
In this state, the printer cannot print. Check the remaining ink level with the ink tank indicator on the front of
the printer. If the ink level is near the lower limit line (A), refill the ink tank.
Important
• If the function for notifying the remaining ink level (remaining ink level notification function) is enabled,
resetting the remaining ink level count is required before refilling ink tanks up to the upper limit line.
If the remaining ink level count is reset when the ink tanks are not full, the printer cannot detect the ink
level correctly.
From the printer
From the computer
Changing the remaining ink level notification setting
• If the remaining ink level notification function is disabled, visually inspect the remaining ink and refill the
ink tanks as necessary. Continuing printing with ink below the lower limit line of an ink tank may prevent
satisfactory print quality.
Note
• If print results become faint or white streaks appear despite sufficient ink levels, see
• For precautionary notes on handling ink bottles, see
.
Refilling Procedure
When you refill ink tanks, follow the steps below.
Important
• Please ensure the printer remains flat after initial setup and is NOT turned upside down or on its side,
as ink in the printer may leak.
1.
Check that printer is turned on.
2.
Open the scanning unit / cover (B).
52
Summary of Contents for PIXMA G2020 Series
Page 1: ...G2020 series Online Manual English ...
Page 29: ...Handling Paper Originals Ink Tanks etc Loading Paper Loading Originals Refilling Ink Tanks 29 ...
Page 30: ...Loading Paper Loading Plain Paper Photo Paper Loading Envelopes 30 ...
Page 50: ...50 ...
Page 51: ...Refilling Ink Tanks Refilling Ink Tanks Checking Ink Level Ink Tips 51 ...
Page 62: ...Adjusting Print Head Position 62 ...
Page 79: ...10 Turn the printer on 79 ...
Page 82: ...Safety Safety Precautions Regulatory Information WEEE EU EEA 82 ...
Page 107: ...Main Components and Their Use Main Components Power Supply LCD and Operation Panel 107 ...
Page 108: ...Main Components Front View Rear View Inside View Operation Panel 108 ...
Page 110: ...I Platen Load an original here 110 ...
Page 218: ...Related Topic Canon IJ Status Monitor 218 ...
Page 220: ...Printing Using Canon Application Software Easy PhotoPrint Editor Guide 220 ...
Page 224: ...Copying Making Copies Basics Reducing Enlarging Copies Special Copy Menu 224 ...
Page 233: ...Note To set the applications to integrate with see Settings Dialog Box 233 ...
Page 246: ...ScanGear Scanner Driver Screens Basic Mode Tab Advanced Mode Tab 246 ...
Page 263: ...Scanning Tips Positioning Originals Scanning from Computer 263 ...
Page 279: ...Back of Paper Is Smudged Uneven or Streaked Colors 279 ...
Page 294: ...Scanning Problems Windows Scanning Problems 294 ...
Page 295: ...Scanning Problems Scanner Does Not Work ScanGear Scanner Driver Does Not Start 295 ...
Page 301: ...Scanner Tab 301 ...
Page 305: ...Installation and Download Problems Failed to MP Drivers Installation Windows 305 ...


