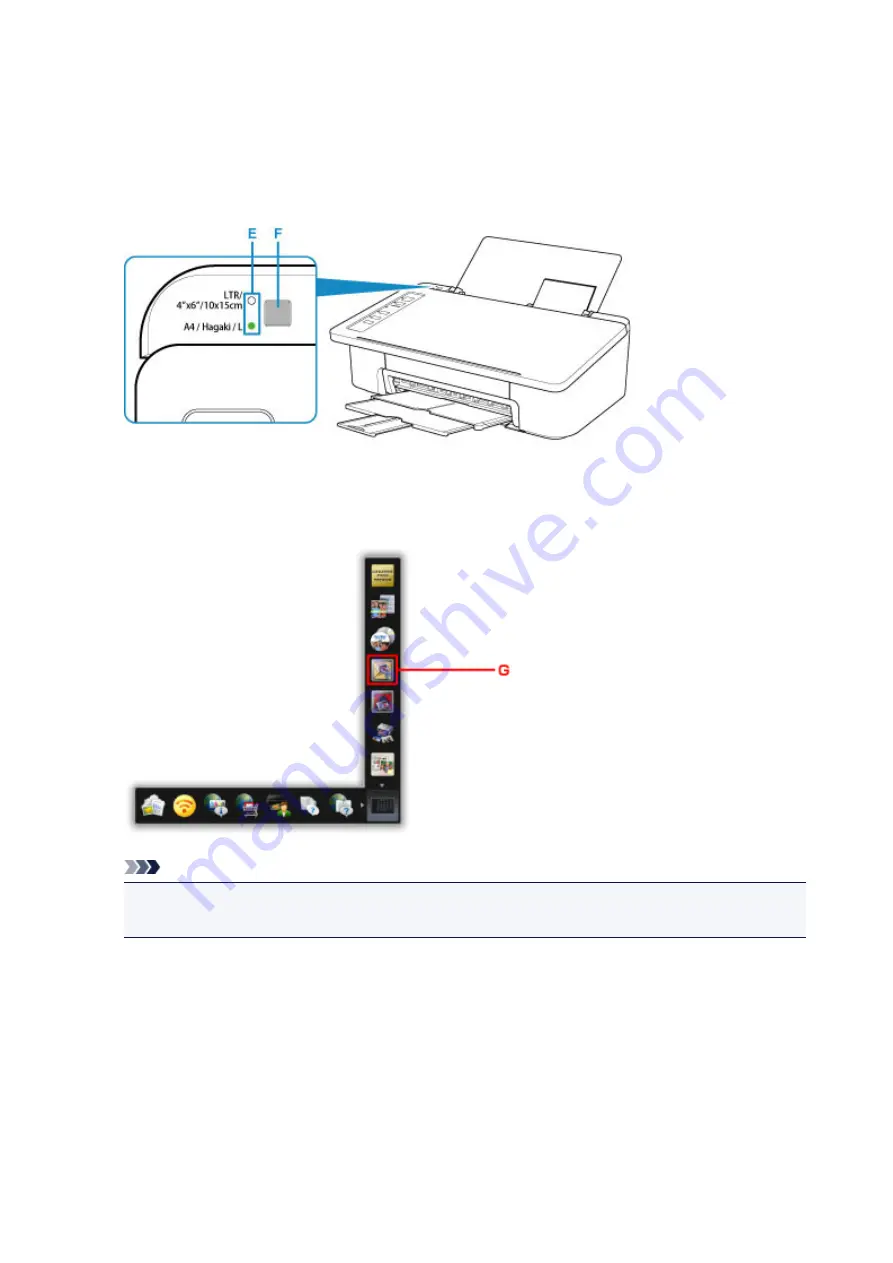
After loading paper on the rear tray, either of the
Paper
lamp lights up.
5. Check paper size setting.
If the paper size loaded on the rear tray is different from the
Paper
lamp indication (E), press the
Paper
Select
button (F) to change the selection.
6. Click the My Image Garden icon (G) in Quick Menu.
The
Guide Menu
screen is displayed.
Note
• The number and types of icons displayed vary depending on your region, the registered printer/
scanner and the installed applications.
7. Click the
Photo Print
icon (H).
25
Summary of Contents for PIXMA E300 series
Page 8: ...4102 334 4103 335 5100 336 5200 337 5B00 338 6000 339 ...
Page 23: ...Basic Operation Printing Photos from a Computer Printing Photos from a Smartphone Tablet 23 ...
Page 45: ...Handling Paper FINE Cartridges etc Loading Paper Replacing a FINE Cartridge 45 ...
Page 46: ...Loading Paper Loading Plain Paper Photo Paper 46 ...
Page 51: ...Replacing a FINE Cartridge Replacing a FINE Cartridge Ink Tips 51 ...
Page 72: ...72 ...
Page 74: ...Safety Safety Precautions Regulatory Information WEEE EU EEA 74 ...
Page 93: ...Main Components and Their Use Main Components Power Supply 93 ...
Page 94: ...Main Components Front View Rear View Inside View Operation Panel 94 ...
Page 143: ...Note Selecting Scaled changes the printable area of the document 143 ...
Page 156: ...In such cases take the appropriate action as described 156 ...
Page 245: ...Other Network Problems Checking Network Information Restoring to Factory Defaults 245 ...
Page 261: ...Problems while Printing from Smartphone Tablet Cannot Print from Smartphone Tablet 261 ...
Page 304: ...Errors and Messages An Error Occurs Message Support Code Appears 304 ...


