Check the
Page Size
list. When you want to change it, select another page size from the list. The list
displays only sizes that can be used for borderless printing.
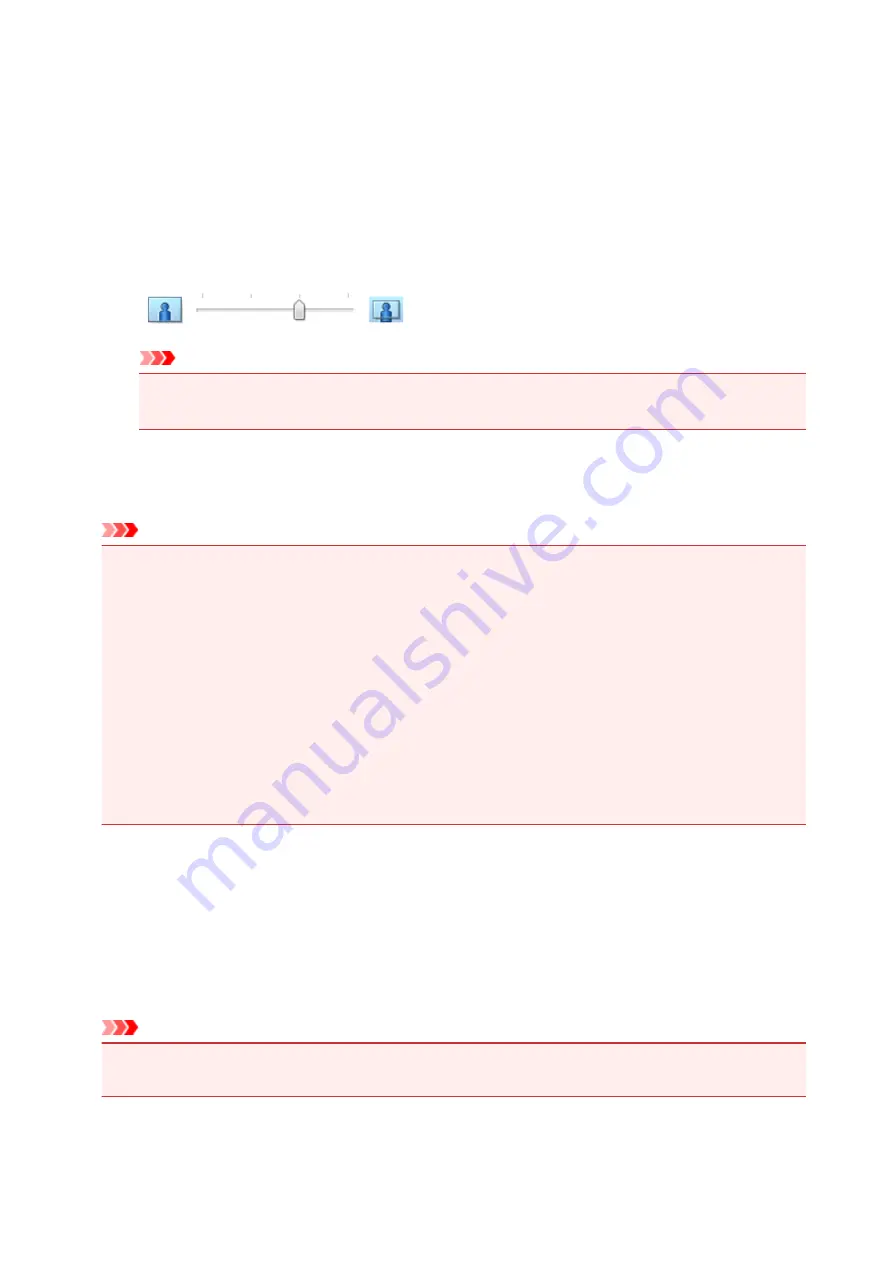
4. Adjust the amount of extension from the paper
If necessary, adjust the amount of extension using the
Amount of Extension
slider.
Moving the slider to the right increases the amount extending off the paper, and moving the slider to
the left decreases the amount.
It is recommended to set the slider at the second position from the right for most cases.
Important
• When the
Amount of Extension
slider is set to the rightmost position, the back side of the
paper may become smudged.
5. Click
OK
When you execute print, the data is printed without any margins on the paper.
Important
• When a page size that cannot be used for borderless printing is selected, the size is automatically
changed to the valid page sizes for borderless printing.
• When
Borderless
is selected, the
Printer Paper Size
,
Duplex Printing (Manual)
,
Stapling Side
settings, and the
Stamp/Background...
(
Stamp...
) button on the
Page Setup
tab appear grayed out
and are unavailable.
• When
Plain Paper
is selected from the
Media Type
list on the
Main
tab, you cannot perform
borderless printing.
• Depending on the type of the media used during borderless printing, the print quality may deteriorate
at the top and bottom of the sheet or stains may form.
• When the ratio of the height to the width differs from the image data, a portion of the image may not
be printed depending on the size of the media used.
In this case, crop the image data with an application software according to the paper size.
Expanding the Range of the Document to Print
Setting a large amount of extension allows you to perform borderless printing with no problems. However,
the portion of the document extending off the paper range will not be printed and for this reason, the
subjects around the perimeter of a photo may not be printed.
When you are not satisfied with the result of borderless printing, reduce the amount of extension. The
extension amount decreases as the
Amount of Extension
slider is moved to the left.
Important
• When the amount of extension is decreased, an unexpected margin may be produced on the print,
depending on the size of the paper.
139
Summary of Contents for PIXMA E300 series
Page 8: ...4102 334 4103 335 5100 336 5200 337 5B00 338 6000 339 ...
Page 23: ...Basic Operation Printing Photos from a Computer Printing Photos from a Smartphone Tablet 23 ...
Page 45: ...Handling Paper FINE Cartridges etc Loading Paper Replacing a FINE Cartridge 45 ...
Page 46: ...Loading Paper Loading Plain Paper Photo Paper 46 ...
Page 51: ...Replacing a FINE Cartridge Replacing a FINE Cartridge Ink Tips 51 ...
Page 72: ...72 ...
Page 74: ...Safety Safety Precautions Regulatory Information WEEE EU EEA 74 ...
Page 93: ...Main Components and Their Use Main Components Power Supply 93 ...
Page 94: ...Main Components Front View Rear View Inside View Operation Panel 94 ...
Page 143: ...Note Selecting Scaled changes the printable area of the document 143 ...
Page 156: ...In such cases take the appropriate action as described 156 ...
Page 245: ...Other Network Problems Checking Network Information Restoring to Factory Defaults 245 ...
Page 261: ...Problems while Printing from Smartphone Tablet Cannot Print from Smartphone Tablet 261 ...
Page 304: ...Errors and Messages An Error Occurs Message Support Code Appears 304 ...


