Editing the Scenes
E
d
iti
n
g Fu
nct
ion
s
E
63
Editing Functions
Editing the Scenes
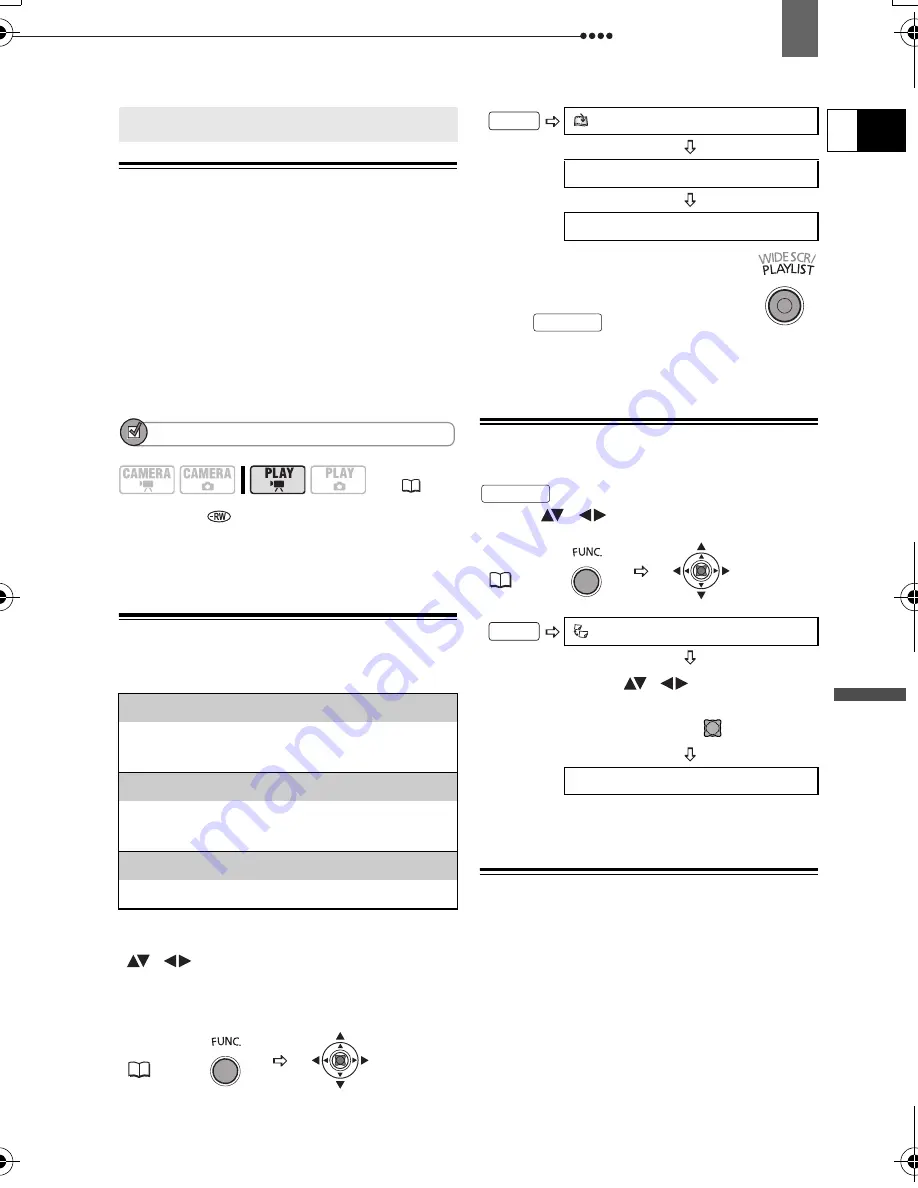
Creating a Playlist
Create a playlist to easily edit your
movies. Include in your playlist only the
scenes you prefer or change the order in
which they will be played back, without
affecting your original recordings. After
you add scenes to the playlist you will
have two types of index screens: The
original index screen (for the original
recordings) and the playlist index screen.
POINTS TO CHECK
Disc type:
DVD-RW initialized in VR
mode.
Adding Scenes to the Playlist
Options
From the original index screen, select
(
,
) the scene to add to the playlist.
To add all scenes there is no need to
select any particular scene.
When the operation is
completed “ADDED TO
PLAYLIST” will be displayed.
Press
to check the
scenes in the playlist index screen.
Moving Scenes in the Playlist
From the original index screen, press
. From the playlist index screen,
select (
,
) the scene to move.
Deleting Scenes
You can delete those scenes that you are
not interested in keeping. Remember that
when you delete scenes in the playlist,
you do not affect your original recordings;
However, when you delete an original
recording, it will be deleted also from the
playlist.
Editing the Scenes
(
13)
[ALL SCENES]
Adds all scenes in the original index
screen to the playlist.
[ONE SCENE]
Adds only the selected scene to the
playlist.
[CANCEL]
Returns to the original index screen.
FUNC.
(
27)
ADD TO PLAYLIST
Desired option
YES
FUNC.
(
27)
MOVE
Move (
,
) the orange
marker to the new position of the
scene and press (
).
YES
FUNC.
PLAYLIST
PLAYLIST
FUNC.
D115_NTSC-E.book Page 63 Friday, June 9, 2006 5:29 PM


