


OK
button.
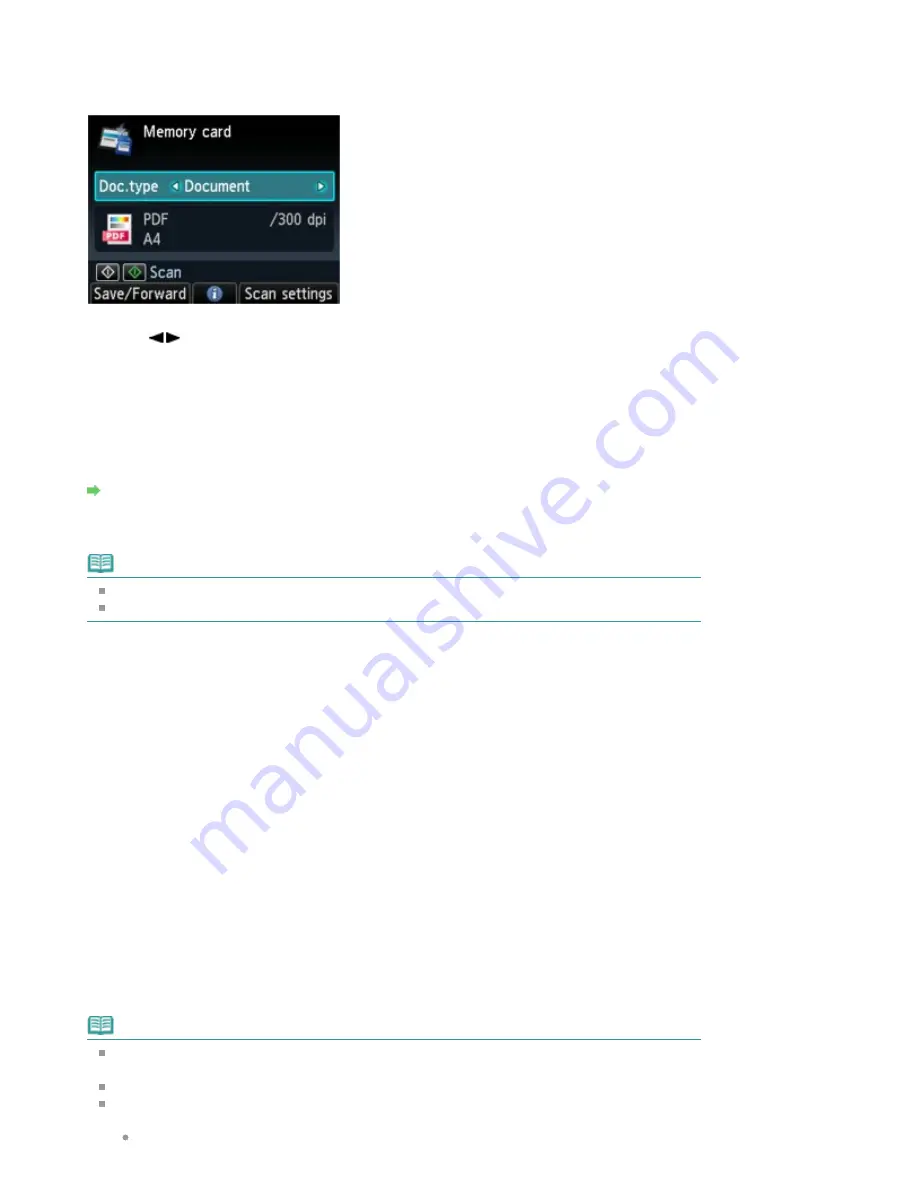
The Scan standby screen is displayed.
* The following screen is a Scan standby screen for saving the data on the memory card.
6.
Use the
button to select the document type for Doc.type.
Document
Scans the original on the Platen Glass applying the optimized settings for scanning a document.
Photo
Scans the original on the Platen Glass applying the optimized settings for scanning a photo.
7.
Press the right Function button to adjust the settings as necessary.
Setting Items on the Operation Panel of the Machine
8.
Load the original on the Platen Glass.
Note
Refer to
Loading Paper / Originals
for how to load the original on the Platen Glass.
You can confirm the procedure to load the original by pressing the center Function button.
9.
Press the
Color
button for color scanning, or the
Black
button for black & white
scanning.
If ON is selected for Preview on the scan settings screen, the preview screen is displayed on the
LCD after scanning. To rescan the original, press the left Function button. If you select PDF or
Compact PDF for Format on the scan setting screen, you can rotate the scanning image on the
preview screen by pressing the right Function button. To start saving, press the
OK
button.
If you select the setting other than PDF or Compact PDF for Format on the scan setting screen:
The machine starts scanning and scanned data is saved either on the memory card or USB flash
drive, which you select as the media for saving scanned data.
If you select PDF or Compact PDF for Format on the scan setting screen:
You can scan the originals continuously. After scanning the first original is complete, the
confirmation screen asking you if you continue scanning is displayed. Load the next original on the
Platen Glass, then press the
Color
button for color scanning, or the
Black
button for black & white
scanning. After scanning is complete, pressing the left Function button allows you to save the
scanned originals in one PDF file on the memory card/USB flash drive. You can save up to 100
pages of images in one PDF file.
Remove the original on the Platen Glass after scanning is complete.
To remove the memory card after scanning is complete, refer to
Printing Photos
.
To remove the USB flash drive after scanning is complete, see
Removing the USB Flash Drive
.
Note
If the memory card or USB flash drive becomes full while scanning images is in progress, only
the images already scanned can be saved.
You can save up to 2000 files of scanned data in both PDF and JPEG data format.
The folder and file name of scanned data saved on the memory card or USB flash drive is as
follows:
Folder name: (file extension: PDF): CANON_SC\DOCUMENT\0001
Page 473 of 1037 pages
Saving Scanned Data on the Memory Card/USB Flash Drive Using the Opera...
Summary of Contents for MG5200 series
Page 29: ...Page top Page 29 of 1037 pages Inserting the USB Flash Drive ...
Page 58: ...Page top Page 58 of 1037 pages Printing Web Pages Easy WebPrint EX ...
Page 71: ...Page top Page 71 of 1037 pages Loading Paper ...
Page 74: ...Page top Page 74 of 1037 pages Loading Paper in the Cassette ...
Page 87: ...Page top Page 87 of 1037 pages Loading Originals ...
Page 97: ...Page top Page 97 of 1037 pages Replacing an Ink Tank ...
Page 103: ...Page top Page 103 of 1037 pages Printing the Nozzle Check Pattern ...
Page 177: ...See Help for details on the Edit screen Page top Page 177 of 1037 pages Editing ...
Page 181: ...Page top Page 181 of 1037 pages Printing Stickers ...
Page 188: ...See Help for details on the Print Settings screen Page top Page 188 of 1037 pages Printing ...
Page 190: ...How Can I Move or Copy the Saved File Page top Page 190 of 1037 pages Printing Layout ...
Page 193: ...Page top Page 193 of 1037 pages Selecting the Paper and Layout ...
Page 197: ...Page top Page 197 of 1037 pages Editing ...
Page 263: ...Page top Page 263 of 1037 pages Cropping Photos Photo Print ...
Page 267: ...menu Page top Page 267 of 1037 pages Printing an Index ...
Page 273: ...Page top Page 273 of 1037 pages Opening Saved Files ...
Page 277: ...Page top Page 277 of 1037 pages Changing Layout ...
Page 285: ...Page top Page 285 of 1037 pages Replacing Photos ...
Page 289: ...Page top Page 289 of 1037 pages Cropping Photos ...
Page 297: ...Page top Page 297 of 1037 pages Adding Text to Photos ...
Page 309: ...Page top Page 309 of 1037 pages Setting a Page Size and Orientation ...
Page 316: ...border before printing Page top Page 316 of 1037 pages Execute Borderless Printing ...
Page 557: ...Page top Page 557 of 1037 pages Navigation Mode Screen ...
Page 559: ...Page top Page 559 of 1037 pages Scan Import Documents or Images Tab ...
Page 600: ...Page top Page 600 of 1037 pages Send via E mail Dialog Box ...
Page 607: ...Page top Page 607 of 1037 pages Correct Enhance Images Window ...
Page 623: ...Page top Page 623 of 1037 pages Save Dialog Box ...
Page 669: ...Related Topic Auto Scan Mode Tab Page top Page 669 of 1037 pages Scanning in Auto Scan Mode ...
Page 698: ...Related Topic Scanning in Basic Mode Page top Page 698 of 1037 pages Basic Mode Tab ...
Page 721: ...Page top Page 721 of 1037 pages Scanner Tab ...
Page 820: ...Page top Page 820 of 1037 pages Bluetooth settings Screen ...
Page 849: ...Page top Page 849 of 1037 pages Changing the Print Options ...
Page 975: ...Page top Page 975 of 1037 pages Using Easy PhotoPrint EX ...
Page 1003: ...Page top Page 1003 of 1037 pages How to Set a Network Key Network Password Passphrase ...
Page 1015: ...Page top Page 1015 of 1037 pages Checking Information about the Network ...


