


3.
Check the paper size
Check the Page Size list. When you want to change, select another page size from the list. The list
displays only sizes that can be used for borderless printing.
4.
Adjust the amount of extension from the paper
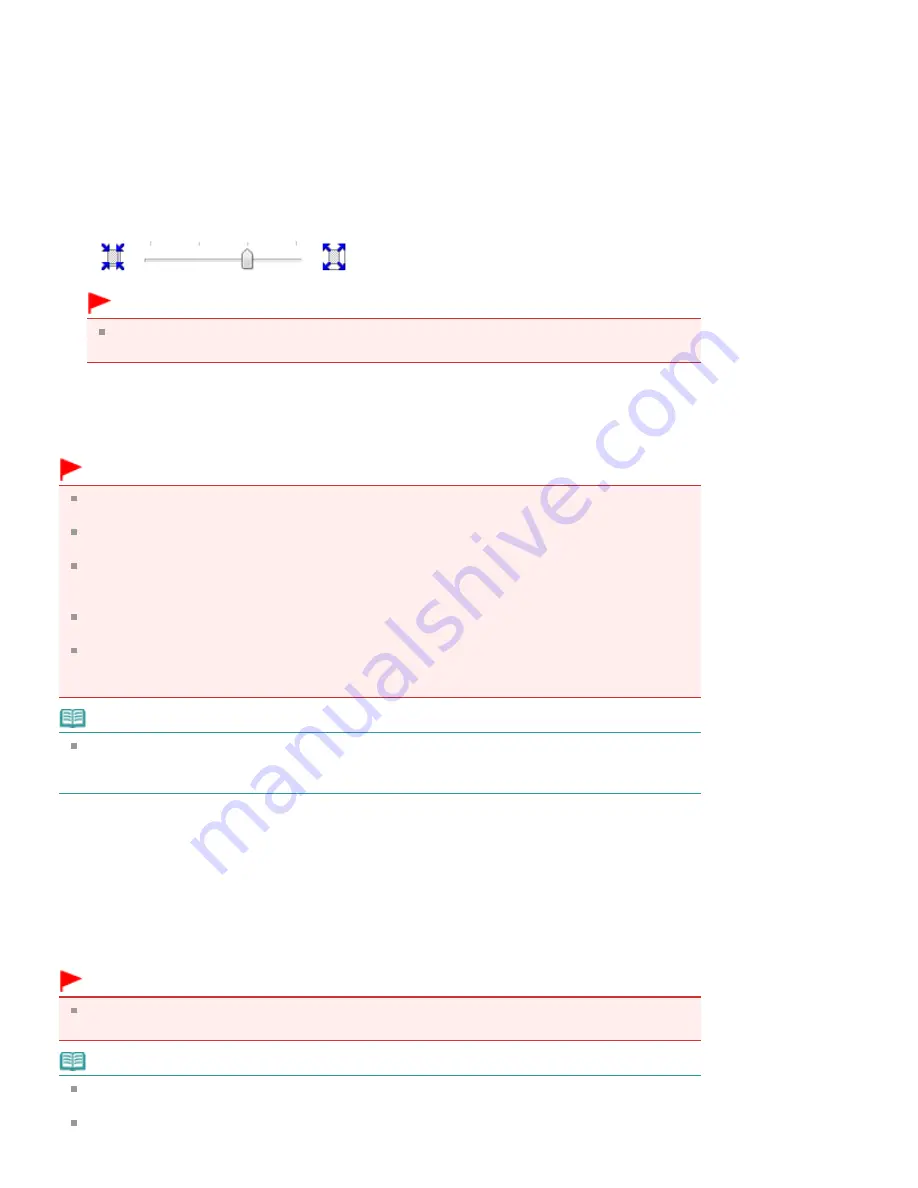
If necessary, adjust the amount of extension using the Amount of Extension slider.
Moving the slider to the right increases the amount extending off the paper, and moving the slider to
the left decreases the amount.
It is recommended to set the slider at the second position from the right for most cases.
Important
When you set the slider at the rightmost position, the back side of the paper may become
smudged.
5.
Complete the setup
Click OK.
When you execute print, the data is printed without any margins on the paper.
Important
When a page size that cannot be used for borderless printing is selected, the size is automatically
changed to the valid page sizes for borderless printing.
When High Resolution Paper, T-Shirt Transfers, or Envelope is selected from the Media Type list on
the Main tab, you cannot perform borderless printing.
When Borderless is selected, the Printer Paper Size, Duplex Printing, Staple Side settings, and the
Stamp/Background... (Stamp...) button on the Page Setup tab appear grayed out and are
unavailable.
Depending on the type of the media used during borderless printing, the print quality may
deteriorate at the top and bottom of the sheet or stains may form.
When the ratio of the height to the width differs from the image data, a portion of the image may not
be printed depending on the size of the media used.
In this case, crop the image data with an application software according to the paper size.
Note
When Plain Paper is selected for Media Type on the Main tab, borderless printing is not
recommended, and therefore the message for media selection appears.
When you are using plain paper for test printing, select Plain Paper, and click OK.
Expanding the Range of the Document to Print
Setting a large amount of extension allows you to perform borderless printing with no problems.
However, the portion of the document extending off the paper range will not be printed. Subjects around
the perimeter of a photo may not be printed.
Try borderless printing once. When you are not satisfied with the result of borderless printing, reduce the
amount of extension. The extension amount decreases as the Amount of Extension slider is moved to
the left.
Important
When the amount of extension is decreased, an unexpected margin may be produced on the print,
depending on the size of the paper.
Note
When the Amount of Extension slider is set to the leftmost position, image data will be printed in the
full size.
When Preview before printing is checked on the Main tab, you can confirm whether there will be no
Page 315 of 1037 pages
Execute Borderless Printing
Summary of Contents for MG5200 series
Page 29: ...Page top Page 29 of 1037 pages Inserting the USB Flash Drive ...
Page 58: ...Page top Page 58 of 1037 pages Printing Web Pages Easy WebPrint EX ...
Page 71: ...Page top Page 71 of 1037 pages Loading Paper ...
Page 74: ...Page top Page 74 of 1037 pages Loading Paper in the Cassette ...
Page 87: ...Page top Page 87 of 1037 pages Loading Originals ...
Page 97: ...Page top Page 97 of 1037 pages Replacing an Ink Tank ...
Page 103: ...Page top Page 103 of 1037 pages Printing the Nozzle Check Pattern ...
Page 177: ...See Help for details on the Edit screen Page top Page 177 of 1037 pages Editing ...
Page 181: ...Page top Page 181 of 1037 pages Printing Stickers ...
Page 188: ...See Help for details on the Print Settings screen Page top Page 188 of 1037 pages Printing ...
Page 190: ...How Can I Move or Copy the Saved File Page top Page 190 of 1037 pages Printing Layout ...
Page 193: ...Page top Page 193 of 1037 pages Selecting the Paper and Layout ...
Page 197: ...Page top Page 197 of 1037 pages Editing ...
Page 263: ...Page top Page 263 of 1037 pages Cropping Photos Photo Print ...
Page 267: ...menu Page top Page 267 of 1037 pages Printing an Index ...
Page 273: ...Page top Page 273 of 1037 pages Opening Saved Files ...
Page 277: ...Page top Page 277 of 1037 pages Changing Layout ...
Page 285: ...Page top Page 285 of 1037 pages Replacing Photos ...
Page 289: ...Page top Page 289 of 1037 pages Cropping Photos ...
Page 297: ...Page top Page 297 of 1037 pages Adding Text to Photos ...
Page 309: ...Page top Page 309 of 1037 pages Setting a Page Size and Orientation ...
Page 316: ...border before printing Page top Page 316 of 1037 pages Execute Borderless Printing ...
Page 557: ...Page top Page 557 of 1037 pages Navigation Mode Screen ...
Page 559: ...Page top Page 559 of 1037 pages Scan Import Documents or Images Tab ...
Page 600: ...Page top Page 600 of 1037 pages Send via E mail Dialog Box ...
Page 607: ...Page top Page 607 of 1037 pages Correct Enhance Images Window ...
Page 623: ...Page top Page 623 of 1037 pages Save Dialog Box ...
Page 669: ...Related Topic Auto Scan Mode Tab Page top Page 669 of 1037 pages Scanning in Auto Scan Mode ...
Page 698: ...Related Topic Scanning in Basic Mode Page top Page 698 of 1037 pages Basic Mode Tab ...
Page 721: ...Page top Page 721 of 1037 pages Scanner Tab ...
Page 820: ...Page top Page 820 of 1037 pages Bluetooth settings Screen ...
Page 849: ...Page top Page 849 of 1037 pages Changing the Print Options ...
Page 975: ...Page top Page 975 of 1037 pages Using Easy PhotoPrint EX ...
Page 1003: ...Page top Page 1003 of 1037 pages How to Set a Network Key Network Password Passphrase ...
Page 1015: ...Page top Page 1015 of 1037 pages Checking Information about the Network ...


