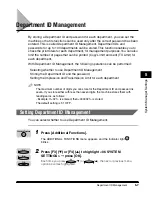
Department ID Management
5-10
System Manager Settings
5
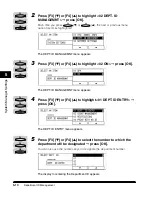
2
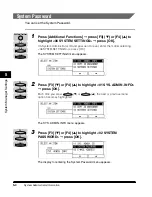
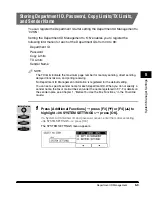
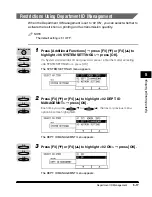
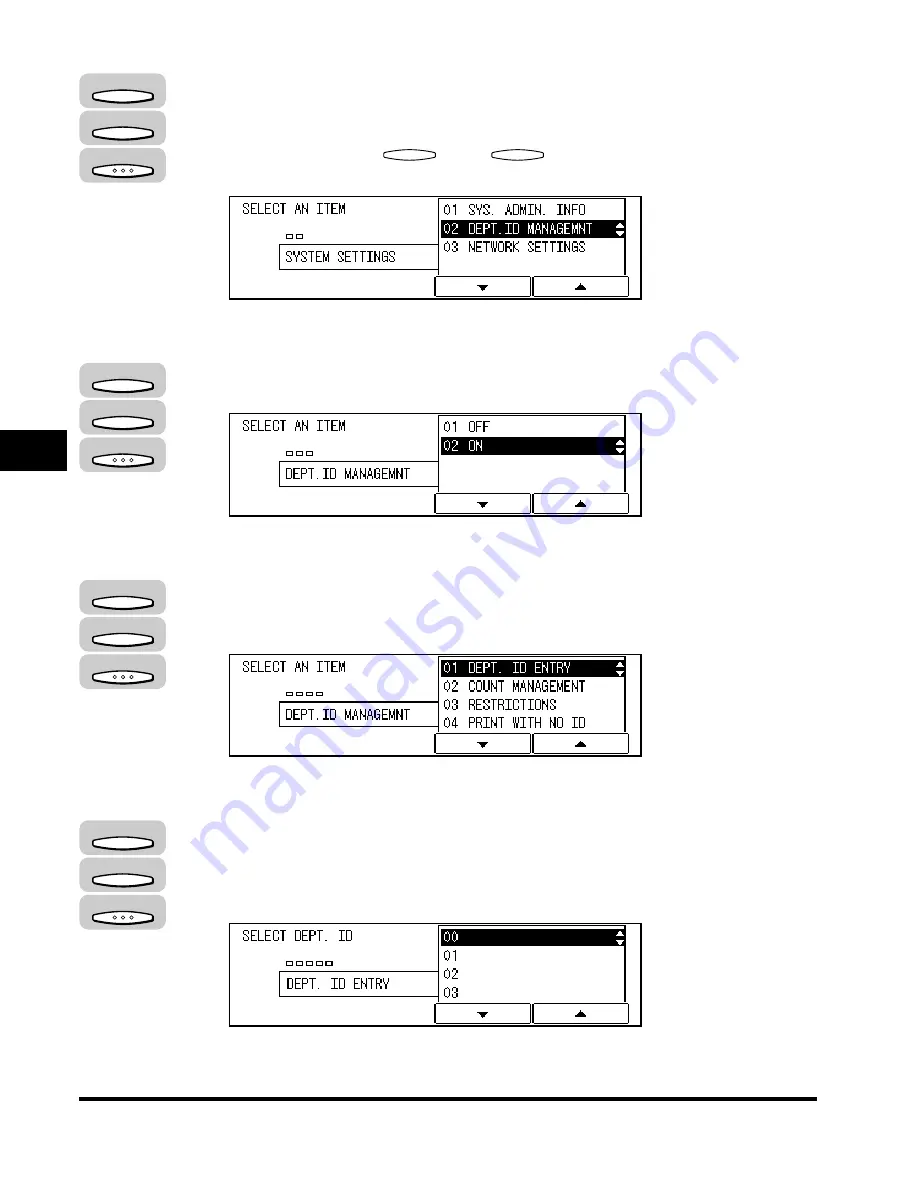
Press [F3] (
▼
) or [F4] (
▲
) to highlight <02 DEPT. ID
MANAGEMNT>
➞
press [OK].
Each time you press
(
▼
) or
(
▲
), the next or previous menu
option becomes highlighted.
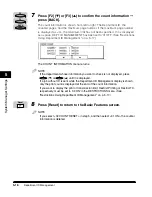
The DEPT. ID MANAGEMNT menu appears.
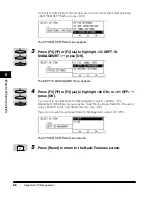
3
Press [F3] (
▼
) or [F4] (
▲
) to highlight <02 ON>
➞
press [OK].
The DEPT. ID MANAGEMNT menu appears.
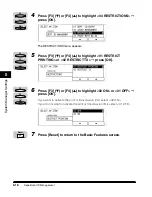
4
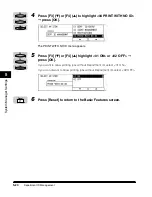
Press [F3] (
▼
) or [F4] (
▲
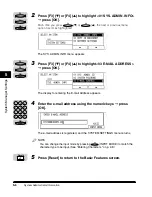
) to highlight <01 DEPT. ID ENTRY>
➞
press [OK].
The DEPT. ID ENTRY menu appears.
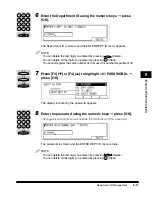
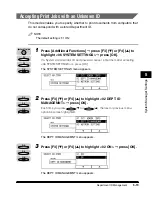
5
Press [F3] (
▼
) or [F4] (
▲
) to select the number to which the
department will be designated
➞
press [OK].
You can also use the numeric keys to designate the department number.
The display for entering the Department ID appears.
F3
F4
F3
F4
OK
F3
F4
OK
F3
F4
OK
F3
F4
OK
Summary of Contents for ImageCLASS 2300
Page 1: ......
Page 2: ...imageCLASS 2300 Reference Guide 0 Ot...
Page 10: ...ix Function Keys Key icon Key Function Example Press F3 DENSITY Press F4 F3 F4...
Page 12: ...xi Copying Scanning of an original printing through finishing...
Page 23: ...xxii...
Page 43: ...System Settings 1 20 Before You Start Using This Machine 1...
Page 67: ...Paper Type 2 24 Basic Operations 2...
Page 103: ...Printing Reports and Lists 3 36 Selecting and Storing Settings 3...
Page 187: ...Report Samples 8 4 Appendix 8...
Page 197: ......


