57
E
Recor
ding
The camcorder sets the audio recording level automatically when the REC LEVEL switch is set to A.
However, you can manually adjust the recoding level of the built-in microphone or an external
microphone connected via the MIC terminal or advanced accessory shoe (including microphones
connected via the optional MA-300 Microphone Adapter).
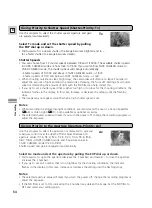
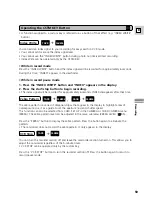
The camcorder is equipped with a audio level indicator at the side. You can also display the audio
level indicator on the LCD or viewfinder screen (open the menu, select DISPLAY SET UP and set
AUDIO LEVEL to ON).
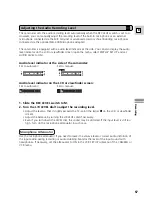
Audio level indicator at the side of the camcorder:
Set to automatic:
Set to manual:
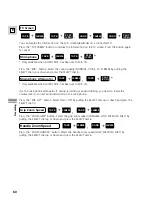
Audio level indicator on the LCD or viewfinder screen:
Set to automatic:
Set to manual:
1. Slide the REC LEVEL switch to M.
2. Turn the L/R LEVEL dial to adjust the recording level.
• Adjust the level so that it slightly exceeds the 12-point (the larger
2
on the LCD or viewfinder
screen).
• Adjust the balance by turning the L/R LEVEL dial if necessary.
• Even if you turn down the LEVEL dial, the sound may be distorted if the input level is still too
high. Turn on the microphone attenuator in such case.
Use the microphone attenuator if you need to lower the volume level or correct audio distortion of
the input audio during recording or audio dubbing. Monitor the level of the input sound with
headphones. If necessary, set the attenuator to ON in the VCR SET UP submenu of the CAMERA or
VCR menu.
Adjusting the Audio Recording Level
L
-dB 50 40
30
20
12
6 2 0
R
L
-dB 50 40
30
20
12
6 2 0
R
MANU
Microphone Attenuator

