2.4 Resetting the EEPROM
The EEPROM stores such information as function settings, control ROM version, total
number of sheets passed, total waste ink absorbed, and records of the last user-
unrecoverable error. Once the EEPROM has been reset, there is no way to recover
cleared data. Be careful when resetting the EEPROM.
Since the new EEPROM data is undefined, you must reset the EEPROM when replacing
the logic board.
After the EEPROM is reset, you need to set the waste ink counter, adjust the head
position, and verify the model name.
2.5 Setting the Waste Ink Counter
This printer detects the amount of waste ink based on the total EEPROM data - amount
of waste ink absorbed. After the waste ink absorber is replaced, you must reset the
data.
Before replacing the logic board, you should perform the service test print or the
EEPROM information print to check in advance the total amount of waste ink in the
absorber. If this is not possible, visually check the waste ink absorber and replace if
necessary, or set the waste ink counter to 25%, 50%, and 75%. To determine which
value the counter is to be set to, check how much ink has been absorbed by the
absorber, as a percentage. Use
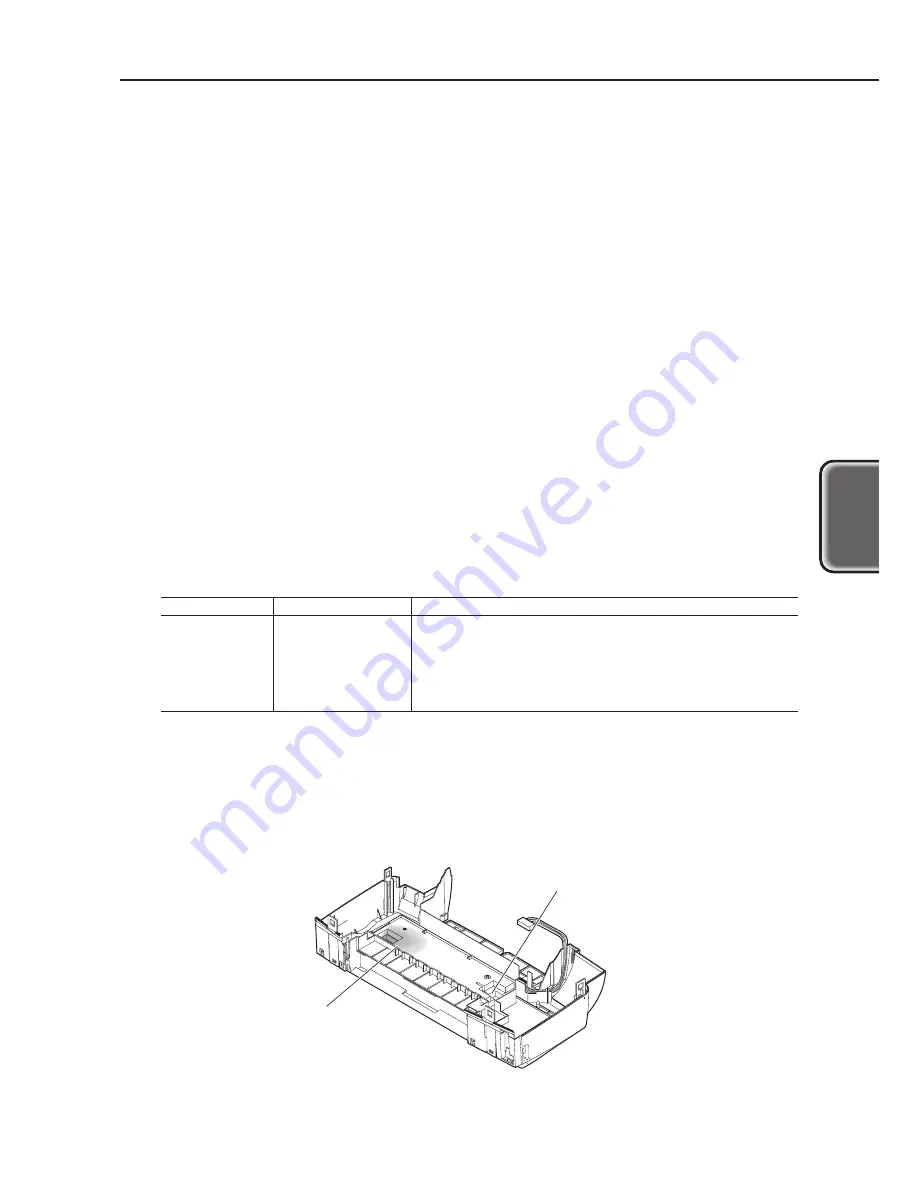
Figure 3-7
as a guide to determine the percentage. Note,
however, that it depends on how the printer has actually been used.
To select the counter value, select "Waste ink setting" in
"
2.1 Service Mode Operations
"
and press the
POWER button
. Then, press the
RESUME button
the number of times listed
below. (The beeper will sound each time the
RESUME button
is pressed.)
Times
Indicator
Functions
0
Lights in green
Waste ink counter cleared
1
Lights in orange
Waste ink counter set to 25%
2
Lights in green
Waste ink counter set to 50%
3
Lights in orange
Waste ink counter set to 75%
4 or more
Blinks in orange
No operation
After the selection, press the
POWER button
, and the counter will be set to the value
selected, followed by a beep sound. (Also, the printer returns to the service function
selection status.)
After setting the waste ink counter, verify the setting is made correctly by checking
either the service test print or EEPROM information print.
3-11
BJC-8200
Part 3: OPERATION
OPERA
TION
50%: The 2nd layer from the top has
become black.
25%: Almost no ink has been absorbed
to the 2nd layer from the top.
75%: Ink is absorbed
in the top layer.
Figure 3-7 A Guide to Determine the Amount of Waste Ink Absorbed (Sample)
Summary of Contents for Color Bubble Jet BJC-8200
Page 2: ...1199 SE 0 28 0...
Page 3: ......
Page 10: ...VI This page intentionally left blank...
Page 12: ......
Page 22: ......
Page 36: ...Part 2 MAINTENANCE BJC 8200 2 14 This page intentionally left blank...
Page 38: ......
Page 52: ...Part 3 OPERATION BJC 8200 3 14 This page intentionally left blank...
Page 54: ......
Page 74: ...Part 4 TROUBLESHOOTING BJC 8200 4 20 This page intentionally left blank...
Page 76: ......
Page 95: ...5 19 BJC 8200 Part 5 REFERENCE REFERENCE Figure 5 20 Logic Board Bottom View...
Page 96: ...3 1 2 Carriage board Part 5 REFERENCE BJC 8200 5 20 Figure 5 21 Carriage Board...
Page 104: ......
Page 105: ...PRINTED IN JAPAN IMPRIME AU JAPON CANON INC This document is printed on 100 recycled paper...


