8
Section 2
Scanner 3100 Wi-Fi & Advanced Networking Guide
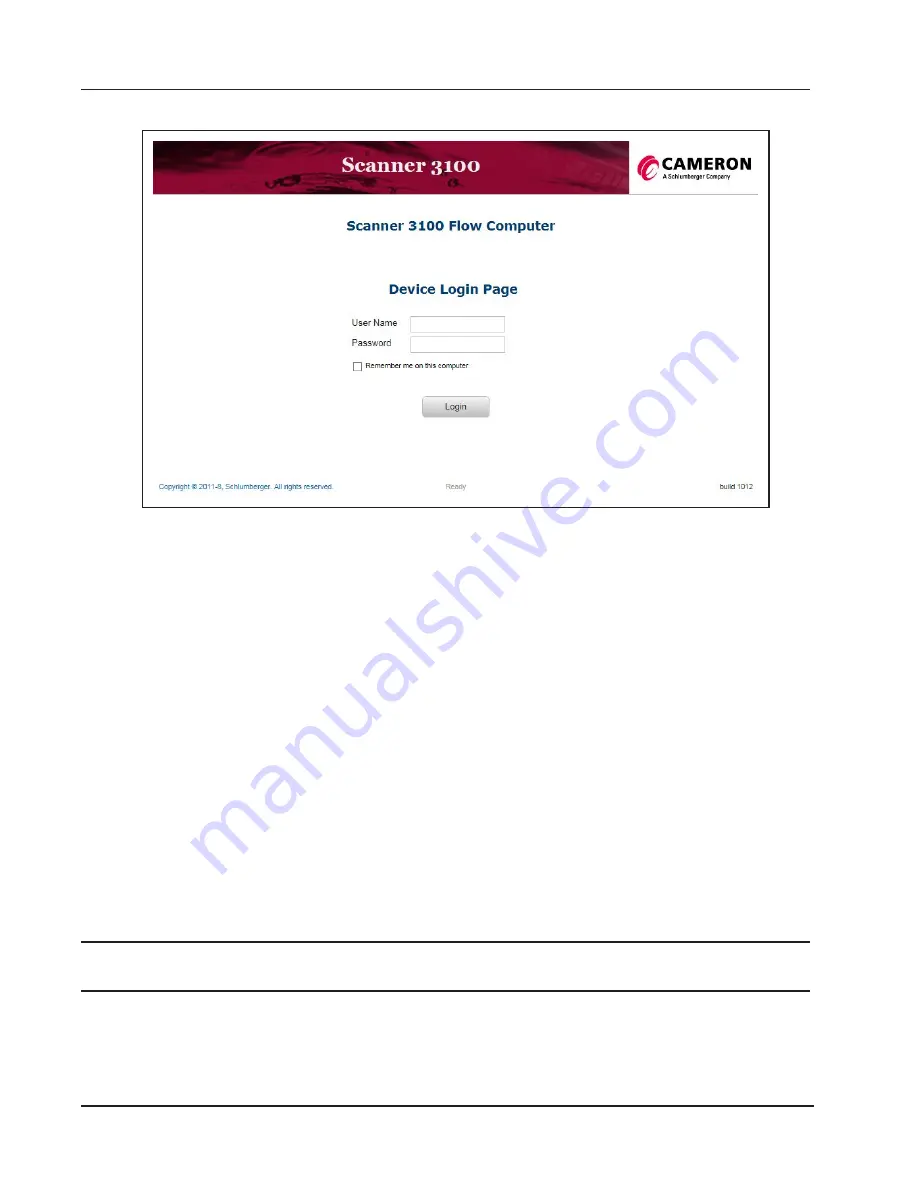
b. The Scanner 3100 home page will appear as shown in
6.
Log into the Scanner 3100 using the following default credentials:
User Name –
admin
and Password –
scanner
.
Note: User names and passwords are case sensitive.
7. Click on the
Login
button and now you are successfully connected to the Ethernet for the first time using
LAN Server (DHCP).
Now the Scanner 3100 has been successfully setup to connect to the Ethernet directly over a managed
network, you now have the option to either:
Configure the Scanner 3100 as a Wireless Access Point (
Configure the Scanner 3100 as a Wireless Client (
)
.
However, if you want to further configure the Ethernet settings on the Scanner 3100 go to
FIGURING AN ETHERNET NETWORK (
)
.
Connecting directly to the Scanner 3100 without a managed network –
Stand-Alone Ethernet Access
Follow the steps in this section if you are connecting the Scanner 3100 for the first time when there is no ex
-
isting managed network for the Scanner 3100 to connect to (Stand-Alone Access). These steps will setup the
Scanner 3100 as a DHCP Server and the Scanner 3100 will issue an IP address a device (e.g. laptop, PC)
connected to it through an ethernet cable.
IMPORTANT
Place hand over the left hand side of the Scanner 3100 LCD for 8 seconds to wake up the
gesture detection mode.
1.
Configure the Scanner 3100 as a “LAN Server” using the keypad on the Scanner 3100 faceplate:
a. Press
<ACCESS>
and
<UP>
keypad buttons together at the same time (Refer to
b. Release the buttons at the same time.
c.
Wait 3 seconds and a
Ethernet Mode Stand-Alone On
message will appear.
Figure 12 - Scanner 3100 Login Screen
Summary of Contents for Scanner 3100
Page 1: ...Scanner 3100 Wi Fi Advanced Networking Guide Manual No 50349155 Rev 2...
Page 2: ......
Page 37: ...Manual No 3100 01 01...


