16
OPERATION / BEDIENUNG / UTILISATION / OPERACIÓN / OBSŁUGA / UTILIZZO
EN
NOTES
• When the spotlight is properly connected to the mains, “Update Wait...” (only for internal purposes), “Zoom Reset...” (reset of the zoom motor)
and “WELCOME TO Cameo” appear successively on the display during the start-up process. After this operation, the spotlight is ready for use and
changes to the mode that was previously selected.
• If one of the DMX operating modes is activated and there is no DMX signal at the DMX input, the display starts to flash after a few seconds and
both “-NO DMX-” and the operating mode in the settings sub-menu “DMXFail” are displayed.
• If the Slave operating mode is activated and there is no master device at the DMX input, the display starts to flash after a few seconds and both
“-NO DMX-” and the operating mode in the settings sub-menu “Slave” are displayed.
• After approximately 30 seconds of inactivity, the display will automatically show the currently active operating mode.
• Fast Access Feature: In order to simplify the menu guide, the device has an intelligent menu structure which allows menu and sub-menu items
that were last selected to be accessed directly. 1. Pressing MODE and ENTER simultaneously will take you directly to the sub-menu item that was
last edited and allows you to instantly change the corresponding value as desired (DMX start address and all operating modes). 2. Pressing MODE
will take you directly to the menu item that was last selected and edited; now press ENTER to instantly access the sub-menu item that was selected
and edited last (DMX start address and all operating modes).
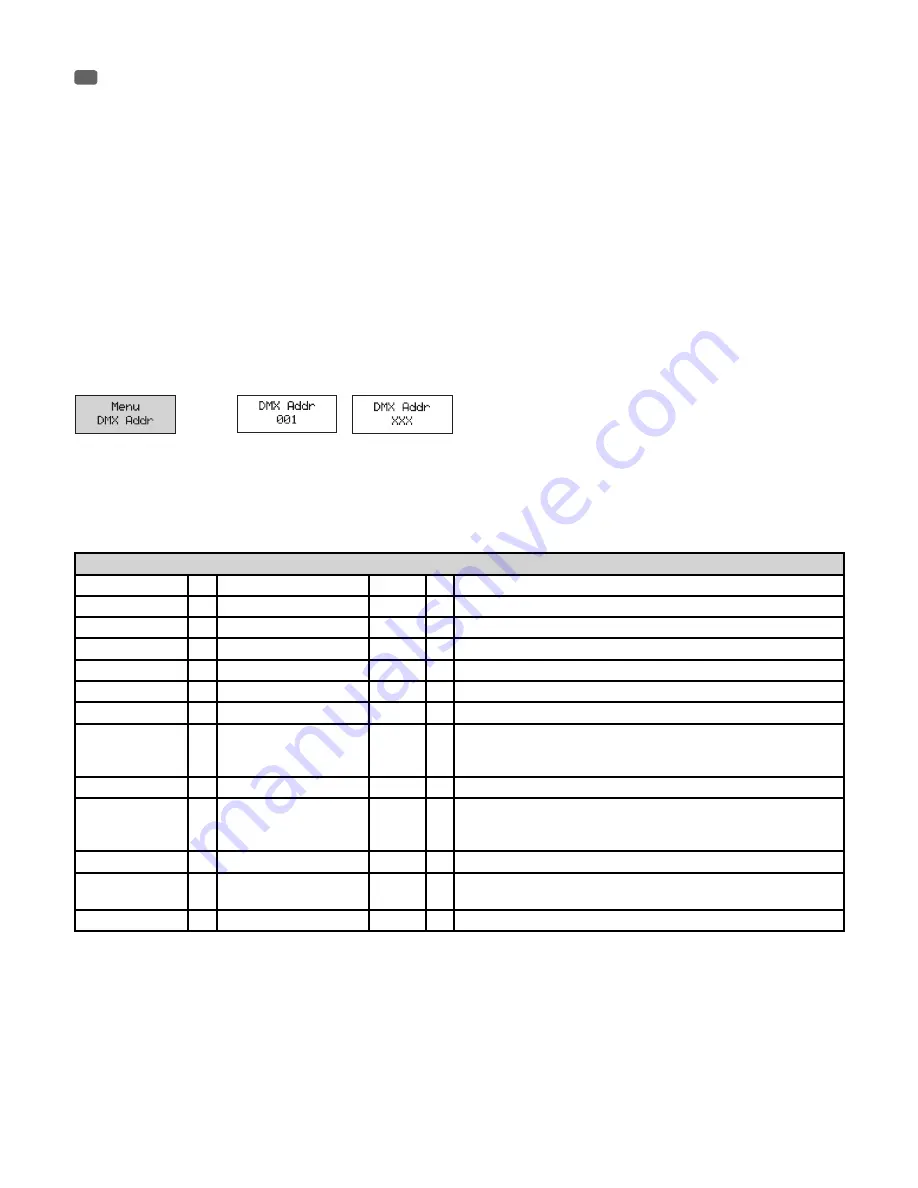
SETTING THE DMX START ADDRESS
Press the MODE button repeatedly until “Menu DMX Addr” or “Menu Mode” appears on the display. If necessary, using the UP and DOWN buttons,
select the “Menu DMX Addr” menu item and confirm with ENTER. Using the UP and DOWN buttons, select the desired DMX start address and confirm
with ENTER (highest address depending on the selected DMX mode). At the same time, the DMX mode is started and the last selected DMX mode is
activated.
ENTER
UP/DOWN
-
ENTER
SETTING THE OPERATING MODE (Mode)
Press the MODE button repeatedly until “Menu DMX Addr” or “Menu Mode” appears on the display. If necessary, using the UP and DOWN buttons,
select the “Menu Mode” menu item and confirm with ENTER. The required DMX mode can be selected as desired by using the UP and DOWN buttons
and activated by pressing ENTER (see tables, observe the sub-menus) You will find comprehensive DMX tables in the DMX CONTROL section of this
manual.
Operating modes
Mode DMX
= DMX operating modes
3CH
= 3-channel mode
4CH
= 4-channel mode
5CH
= 5-channel mode
9CH
= 9-channel mode
10CH
= 10-channel mode
11CH
= 11-channel mode
17CH
= 17-channel mode
Mode Slave
= Slave mode
= Connect the DMX IN of the slave unit to the DMX OUT of the master unit
(same model) and activate one of the standalone modes in the master
unit. Now the slave unit follows the master unit.
Mode Auto
= Automatic Control Mode
Fade
= Colour blending with speed setting (Speed).
Program
= Combination of Fade and Jump mode. Setting the colour or fade speed
in the respective operating mode. "Rerun" = number of repeats of fade
or jump runs.
Jump
= Rapid succession colour blending with speed setting (Speed).
Mode Static
= Setting a "scene" without
external controllers
= Master Dimmer, strobe, individual colours, colour temperature and zoom
can be set individually.
Mode ColMacro
= Colour Macros
= 15 different colour macros are available as presets.


