background image

CD


PLAYER TL53Z

Important Safety Instructions

#!54)/.4/2%$5#%4(%2)3+/&%,%#42)#3(/#+
$/./42%-/6%4(%#/6%2/22%!20!.%,)4$/%3
./4#/.4!).!.953%23%26)#%!",%0!2432%&%2
3%26)#).'4/15!,)&)%$3%26)#%0%23/..%,

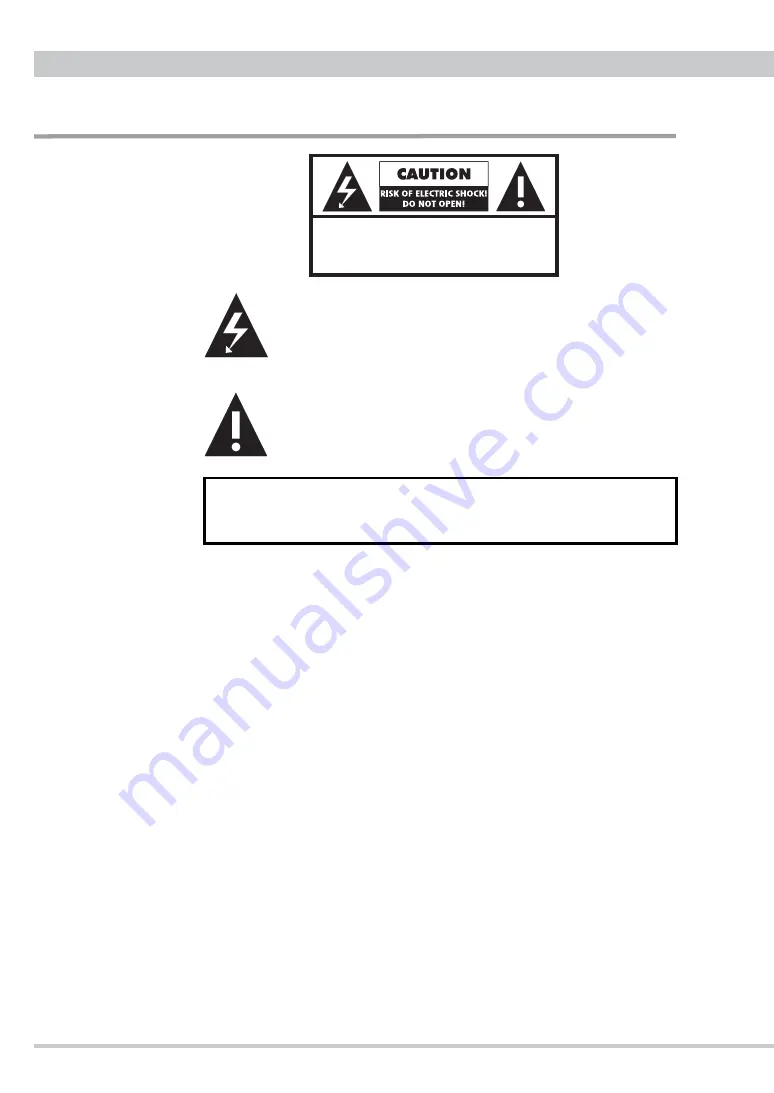
The lightning flash with arrowhead symbol, within an equilateral 

triangle, is intended to alert the user to potential electric shock 
hazards within the product’s enclosure.

The exclamation point within an equilateral triangle is intended to 
notify the user to the presence of important operating and mainte-

nance (servicing) instructions in the accompanying documentation.

WARNING : TO PREVENT FIRE OR SHOCK HAZARD, DO NOT 
EXPOSE THIS APPLIANCE TO RAIN OR MOISTURE.

1)  Read these instructions.
2)  Keep these instructions.
3)  Heed all warnings.
4)  Follow all instructions
5)  Do not use the TL53Z near water.
6)  Clean only with a dry cloth.
7)  Do not block any ventilation openings. Install in accordance with the manufac

-

turer’s instructions.

8)  Do not install the TL53Z near any heat sources such as radiators, heat registers, 

stoves, or other apparatus (including amplifiers) that produce heat.

9)  (For USA, Canada: ) Do not defeat the safety purpose of the polarized or 

grounding-type plug. A polarized plug has two blades, with one blade wider 
than the other. A grounding type plug has two blades and a third grounding 
prong. The wide blade or the third prong is provided for your safety. If the pro-

vided plug does not fit your outlet, consult an electrician for replacement of the 
obsolete outlet. (For European Countries: ) Do not defeat the safety purpose of 

the grounding-type plug. This plug has two poles and a third grounding hole. 

The third hole is provided for your safety. If the provided plug does not fit your 

outlet, consult an electrician for replacement of the obsolete outlet.

Summary of Contents for tl53z

Page 1: ......

Page 2: ...and adequately It is recommended that you keep the unit s packaging available for future transportation needs The TL53Z CD player uses CEC s proprietary belt drive mechanism that minimiz es the vibra...

Page 3: ...he DAC output current into an output voltage without any negative feed back circuitry combined with the TL53Z s unique LEF circuit offers even more improvement in sound quality The analog circuit is b...

Page 4: ...h a dry cloth 7 Do not block any ventilation openings Install in accordance with the manufac turer s instructions 8 Do not install the TL53Z near any heat sources such as radiators heat registers stov...

Page 5: ...objects have fallen into the TL53Z when the TL53Z has been exposed to rain or moisture when the TL53Z does not operate normally or when the TL53Z has been dropped Do not expose the TL53Z to drips or s...

Page 6: ...ser Pickup The optical pickup is one of the important components that determine the perfor mance of a CD player Never touch the optical lens of the pickup with your fingers etc Close the CD door to ke...

Page 7: ...nduction hum Also avoid mounting the unit on surfaces that may be affected by vibration 7 Avoid lightning strikes Disconnect the AC power cord from the AC outlet when there is a thunderstorm in your v...

Page 8: ...gerprints or soiling may cause reading errors during playback If a compact disc s surface becomes soiled wipe it directly away from the disc s center with a soft dry cloth Try to keep the discs clean...

Page 9: ...use the unit to malfunction The TL53Z is able to playback CD R RW discs recorded in audio CD format and finalized Some CD R RW discs may be unplayable due to the quality of the CD R RW disc and or the...

Page 10: ...cord 4 Remote control unit 5 Two AA batteries for the remote control unit 6 Owner s Manual Note Keep the packaging available for future transportation needs The AC power cord is for use with the TL53...

Page 11: ...ere is no disc on the tray the display will indicate no disc NOTE Approximately 10 seconds after turning the TL53Z on you will hear a small click from the unit as the analog output relay switch activa...

Page 12: ...d time D Programming indicator lights up during program mode E Track number display indicates the track being played F Repeat indicator lights up when repeat mode is enabled Remote Sensor The remote s...

Page 13: ...nd decrease playback accuracy so handle with care Turntable Place a compact disc on the turntable and place the stabilizer on top of the disc The stabilizer can be left on the turntable when not in us...

Page 14: ...connect to an amplifier XLR Balanced Line out audio signal output jacks equipped with balanced XLR connectors Use interconnect XLR cables to connect these XLR outputs to an amplifier with XLR line inp...

Page 15: ...is optimized for best fre quency response and sharp filtering of ultrasonic noise Pulse is optimized for best dynamic response while avoiding filter ringing Over sampling Switch The Over sampling sett...

Page 16: ...lace the disc on the turntable with the label side facing up and place the stabilizer on the disc before closing the CD door Use only the provided CD stabilizer Do not use commercially available stabi...

Page 17: ...omatically if you open the CD door without pushing this button but it will take a few seconds for the turntable to stop spinning Do not touch the stabilizer or the disc until they stop completely Touc...

Page 18: ...ds searches forwards NOTE There are no Search buttons on the front panel of the TL53Z Stop Button Press this button to stop playback PROG Button Press this button to enable programmed playback You can...

Page 19: ...emaining track time total remain ing time total elapsed time back to track number elapsed track time default display REPEAT Button Press this button to repeat playback all the tracks on a disc When th...

Page 20: ...on the remote control unit The selected track will be added to the program Repeat this process to program ad ditional tracks 3 Press the STOP button to complete the programming phase Playback in Progr...

Page 21: ...ck will be added to the end of the cur rent playback order Repeat this process to add more tracks to the program Press the STOP button to complete the track adding phase Changing Tracks in the Program...

Page 22: ...age Battery Installation Unscrew the battery compartment cover using a Philips screwdriver and remove the cover Insert the supplied two AA batteries into the compartment Make sure that the batteries a...

Page 23: ...o adhere to the stabilizer when removing the latter from the turntable Make sure you do not drop the disc by accident To prevent vibrations from the surroundings and maximize the sound quality and per...

Page 24: ...the surface of the TL53Z case Also avoid using aerosol insecticides near the unit If dust accumulates on the turntable remove it with stick tape e g Scotch tape Make sure not to touch the optical pic...

Page 25: ...not use scratched damaged or warped disc Humming noise Check that the pin plugs are connected adequately Interference on the tuner The tuner is too close to the TL53Z Install the TL53Z away from it o...

Page 26: ...2 Digital Output TOSLINK 1 COAXIAL SPDIF 1 AES EBU Balanced XLR HOT 2 1 Optical Pickup Type SF P101NXR Manufacturer SANYO Electric Co Ltd Laser Output Less than 0 5mW on the objective lens Wave Length...

Page 27: ......

Reviews: