13
exPloring the Pages : options and settings
•
Update Data
-select this option and press the Right button to choose: Update
Now (updates weather information to the latest available), Auto Update (let
the ONIX update weather info automatically on a regular basis) or Data Status
(monitor the age of the displayed weather data, reception status, XM satellite
signal strength, etc).
Note
: “
Auto Update
” is a battery saving XM operating
mode which limits active XM satellite contact time (much like SafeTrack does
with regard to the GPS satellites). With
Auto Update
selected, you will not
be able to receive “streaming” XM signals, such as entertainment radio. XM
reception is activated briefly at regular intervals, and only to receive updated
weather and sports information. To return to continuous operation, press the
Power button briefly to go to the Power menu.
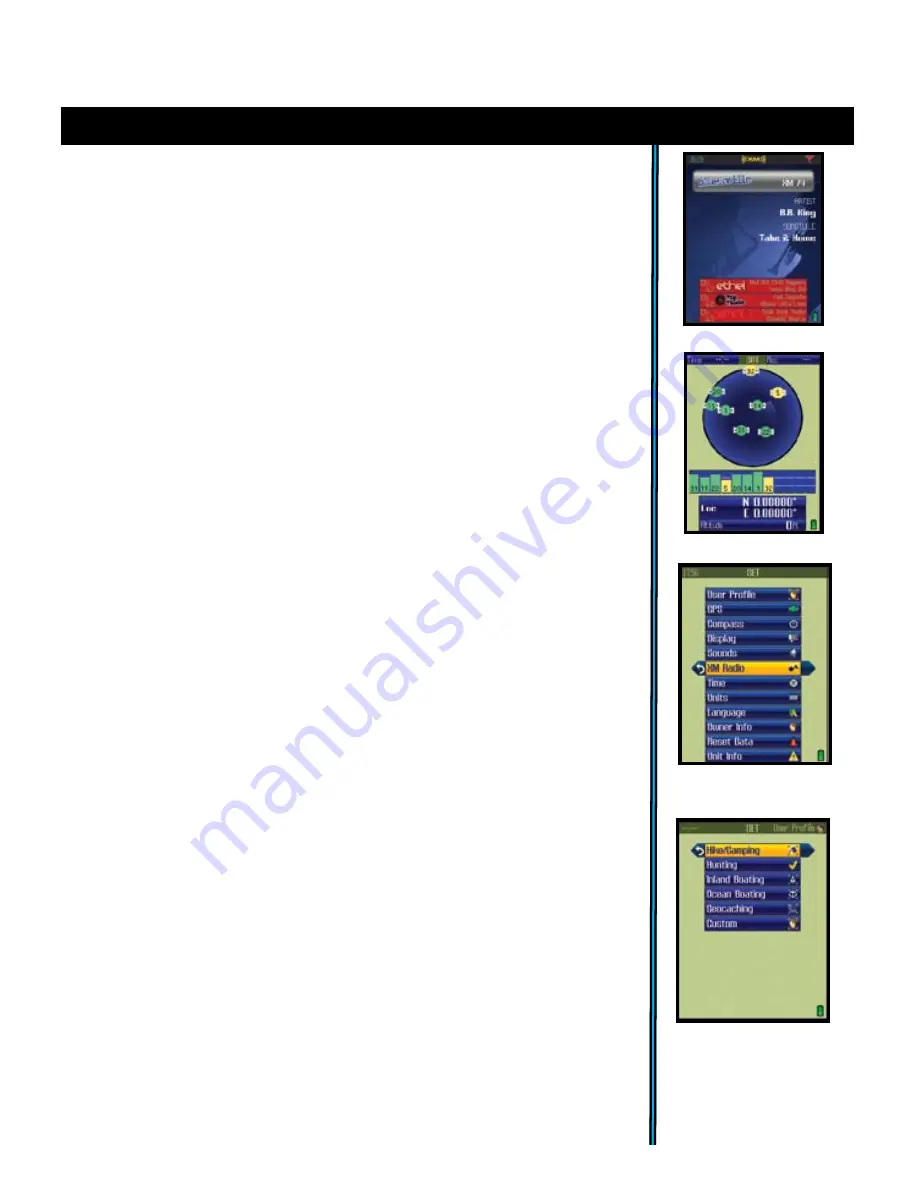
4. The XM Radio Page
(Fig.
16
) (
Plug supplied earbuds into audio jack
)
This page is used to select from any of the over 170 XM channels of music,
news, sports and talk for your audio entertainment. Press and hold the MENU
button to setup your favorite 3 channels in the lower Info Boxes for quick
access (
see pg.10 for more Info Box tips
). Use the Up/Down buttons to browse
through the full list of channels, press OK to select and listen to the currently
highlighted channel. Use the Left/Right buttons to browse channels by XM
Radio category, such as Decades, Country, Sports, Comedy, News, etc.
5. The SAT Page
(Fig.
17
)
As seen earlier in “Getting Started”, The SAT page view is used to identify the
quality or strength of the satellite signals being received by the unit. The Info
Boxes on the bottom of the satellite page are used to identify your location,
shown as Location (latitude, longitude) and Altitude (above sea level). The
items displayed on the satellite page view are fixed, and cannot be changed by
the user, so there is are no options or settings menus for this page.
6. The SET Page
The SET page user options
(Fig.
18
)
include all the following:
•
User Profiles
(Fig.
19
)
-select to customize and set various display options.
You can save different sets of screen configurations that are best suited to
your different activities.
To save a profile, select an activity from the list (hiking/camping, etc), then
press the right arrow to save your current display configuration under that
name. The checkmark indicates the current active profile. One “custom” user
profile may bet setup and selected in addition to the other five pre-named
profiles for common activities (Hiking/Camping, Hunting, Inland Boating,
Ocean Boating, Geocaching, Custom). You may also choose to “Reset to
default” instead of saving your current settings as one of the profiles-this
restores the original factory default screen configuration (display options for
all pages).
Fig 19.
SET Page
User Profiles
Fig 16.
XM Radio Page
Fig 18.
SET Page
Options List
Fig 17.
SAT Page


