Photoplotter FilmStar-PLUS
Instructions to Use
Page 9 / 16
Gerber2Bitmap
Gerber2Bitmap handles Gerber data. You may load
files, place the artwork image on the plot area, and
view them. You may also convert the aperture tables
of non-extended Gerber data. Further, this software
can panelize boards and generate drill data from the
panels. Finally, Gerber2Bitmap creates raster data
that are ready for use with the following program that
drives the photoplotter. These raster data are actually
a bitmap that comes in a special FPF format. There is
an additional output possibility for 250 dpi Windows
BMP files, so that you can inspect the conversion res-
ults by double clicking the BMP file in Windows Ex-
plorer.
Here we describe only the features that are required
to create the plot data. For more CAD / CAM func-
tions such as panelization, drilling data export and fi-
ducials we recommend the software IsoCam. Upon
request, we will provide a more detailed guide to the
program Gerber2Bitmap and Run-Filmstar.exe.
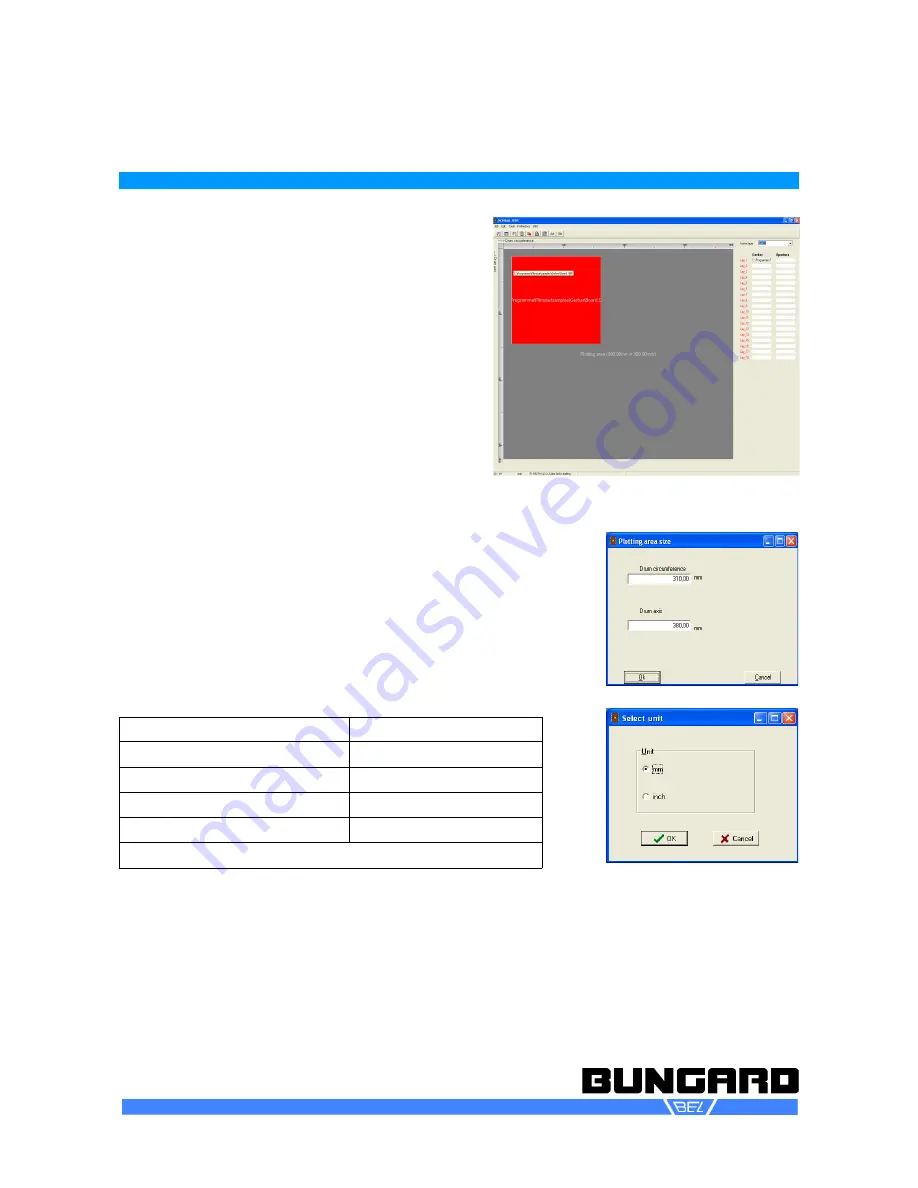
The program screen is divided in the menu bar, the icon bar, the (dark
gray) plot area and, at the right of the screen, a vertical list of layers
and aperture files. The icons have bubble help coming up if you place
the mouse cursor over them.
The plotting area shows the maximum film size that the plotter can
handle. Please set the value to what applies to your unit. This is done
in the menu
Preference / Plotting area
. In
Preference / Units
you may
set your preferred measuring unit (metric, inch). A last, but important
setting that must be done only once, is under
P reference / memory
size
. Set this value according to the table below.
Computer RAM
Set used memory
less than 0,5 GB
128 MB
0,5 - 1 GB
384 MB
1 - 1,5 GB
512 MB
more than 1,5 GB
768 MB
768 MB is max. allowed value for "used memory".
Here is a typical work flow with Gerber2Bitmap:
1.
Job / Import Master Gerber
opens a file selector that allows to import Gerber files, either standard or
extended. In a first approach we assume you have selected a file in Extended Gerber format, since the
Standard Gerber Format is not state of art anymore. A rectangle comes up in the upper right corner
that corresponds to the artwork in size and orientation. You drag this rectangle versus the plot origin in
the upper left corner.
Repeating this step you may arrange several layouts on the plot surface. If you right click the red rect-
angle a pop up menu comes up that allows to position, lock, unlock and delete the particular image. If
you have several images on the screen the one in red color is the active one.
Bungard Elektronik GmbH & Co. KG, Rilkestraße 1, 51570 Windeck – Germany
Tel.: +49 2292 / 9 28 28-0, Fax: +49 2292 / 9 28 28-29
, E-mail: [email protected]


