PaperJet 55 user guide – Edition 3 – 10.10.01
18
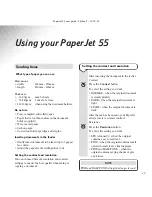
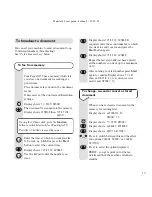
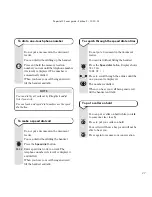
If using the 12 hour clock, press the
Function
button to switch between
a
for
AM
and
p
for
PM
.
Press the
< >
buttons to move the cursor.
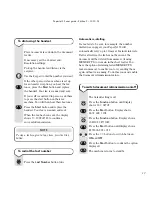
NOTE
To cancel your pre-set fax transmission, press
the
Stop
button or remove the document from the
document feeder.
If you want to store the document in memory
for delayed faxing, see “To fax from memory” on
page 19.
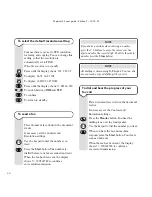
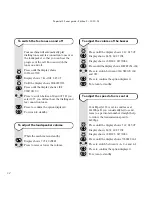
To send a fax at a pre-set time (delayed
faxing)
You can set your PaperJet 55 to send a fax
at a specific time in order to take advantage
of cheaper call rates or to allow for different
time zones.
Place document face down in the document
feeder.
If necessary set the Contrast and
Resolution settings.
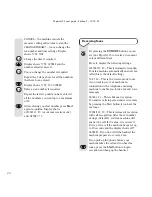
Press until the display shows
DELAYED TX
Press the
Start
button.
Display shows
TYPE TIME
HH:MM
Enter the time at which you want your fax
to be sent, e.g.
18.30
.
Display shows
TYPE FAX NUMBER
and
NUM/TOUCH/SPEED
.
You can enter a number using the keypad, one
touch or speed dial memories. For one touch,
press the appropriate keypad button until
the entry appears in the display. For speed
dial, press speed dial followed by Code No.
Refer to pages 21 to 23.
Enter the number you want.
0-9
1 2 3
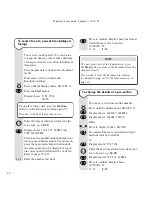
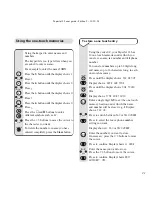
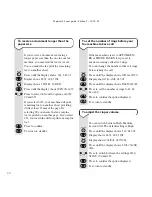
To change the details of a pre-set fax
You can set a new time and fax number.
Press until the display shows
DELAYED TX
Display shows
ALREADY ENTERED
Display shows
CHANGE PARAM?
Either
Press to display
CANCEL SETTING
To confirm. The fax is cancelled and your
machine returns to standby.
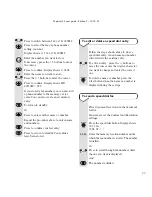
Or
Display shows
TYPE TIME
Enter the new time at which you want your
fax to be sent, e.g.
19.00
Display shows
TYPE FAX NUMBER
Press to confirm. Display shows
AUTOMATIC RX
TX AT
19.00
0-9
Volume
F
Function
Start
Start
F
Function
Start
Start
Start
Start
Start
Start
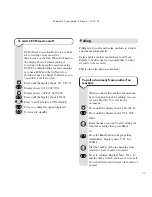
Press to confirm. Display shows the time at
which the fax is due to be sent
AUTOMATIC RX
TX AT
18:30
Start


