Chapter 3 – Taking Measurements
Taking Measurements
BB1224 – 11
25
Type 2239 B
Hand-Arm Vibration Functions User Manual
1.
Press
to switch on the instrument. (If the instrument
is already switched on but not measuring, then press
and skip to step 4.)
2.
Wait for the vibration meter to start-up (about 20 seconds).
This gives you time to step away from the instrument if
required.
3.
Measurement begins automatically.
4.
Measurement will stop automatically after the preset time
interval has expired. All measured parameters will be
saved in the next available record (see section 4.1 for more
information). If there are no records left, then you will see
a warning on your screen (see section 4.1.2).
5.
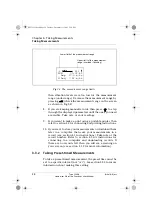
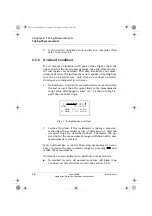
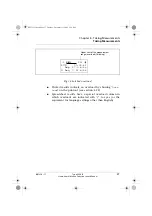
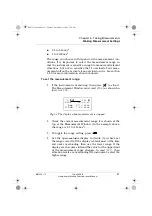
Check the upper limit of the measurement range, if it is
blinking, then an overload has occurred and the measure-
ment may be invalid (see Fig. 3.2). If an overload has oc-
curred, then increase the measurement range by pressing
. You may want to erase the last record of the over-
loaded measurement as described in section 4.1.4. Begin
a new measurement by pressing
and repeat from step 4.
6.
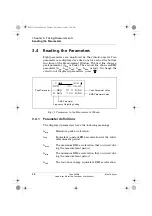
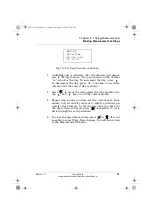
Step through the displayed measurement parameters by
pressing
. If some of them show no value (
---- m/ss
),
then input levels were too low for the measurement range
(under range). If necessary, decrease the measurement
range by pressing
(check the measurement range on
the screen as shown in Fig. 3.2). You may want to erase
the last record of the under ranged measurement as de-
scribed in section 4.1.4. Begin a new measurement by
pressing
and repeat from step 4.
7.
If you are keeping manual records, then press
to step
through the displayed parameters until the ones you need
are visible. Take note of your readings.
8.
If you want to make a print using a portable printer, then
refer to section 4.2 for connecting and printing instruc-
tions.
bb122411.book Page 25 Tuesday, December 11, 2001 2:34 PM


