7-10
My Custom Stitch
1 —
2 —
3 —
4 —
5 —
6 —
7 —
8 —
?
!
9 —
CONTENTS
Index
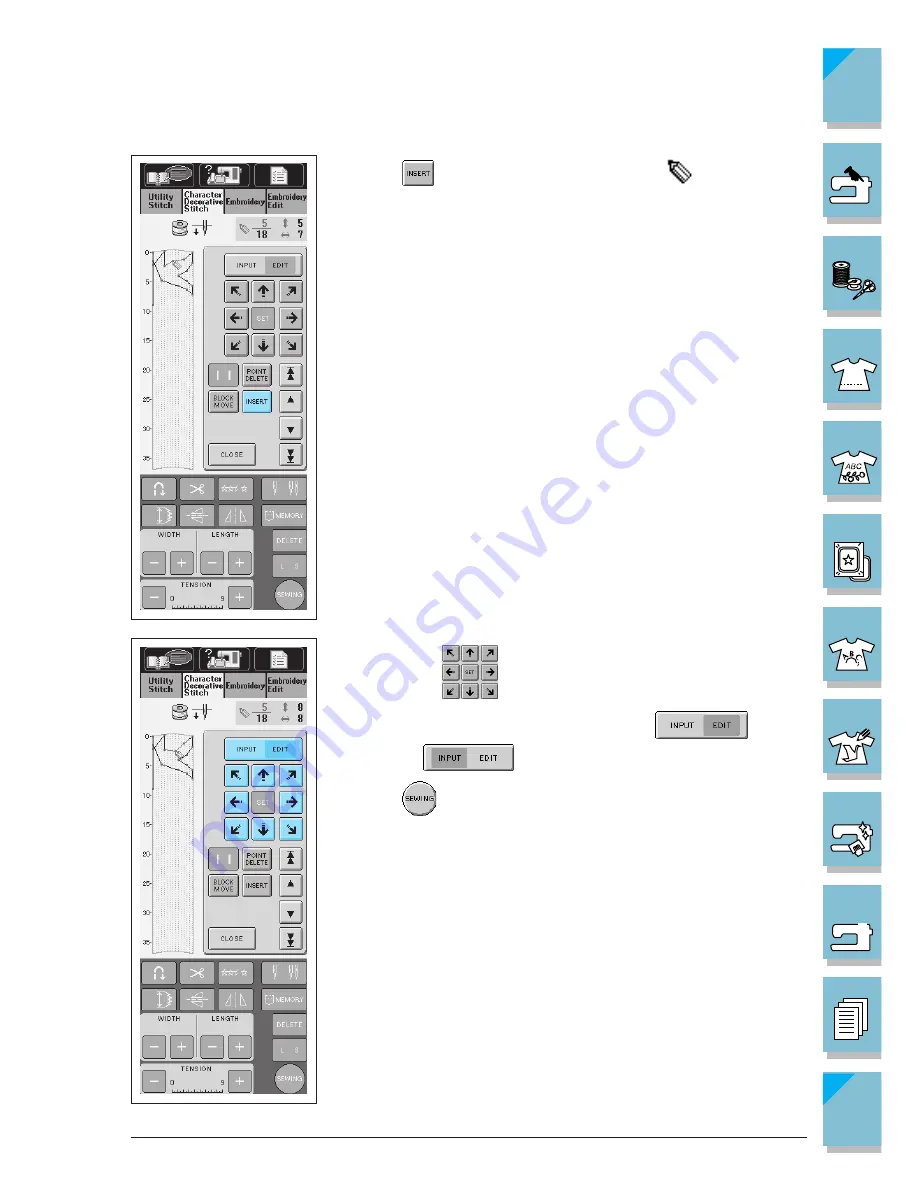
2. Press
. A new point is inserted and the
moves to it.
3. Use any of
to move the point to the desired position.
4. When finished revising the pattern, press
so it ap-
pears as
.
5. Press
to go to the sewing screen. (See page 4-9 for instruc-
tions on sewing the stitch).
Summary of Contents for ULT-2003D
Page 1: ......
Page 34: ...Setting Up 1 23 1 2 3 4 5 6 7 8 9 CONTENTS Index Contents of Other Categories ...
Page 57: ...1 46 Setting Up 1 2 3 4 5 6 7 8 9 CONTENTS Index ...
Page 168: ...Sewing Character Decorative Stitches 4 25 1 2 3 4 5 6 7 8 9 CONTENTS Index More Examples ...
Page 293: ...7 16 My Custom Stitch 1 2 3 4 5 6 7 8 9 CONTENTS Index ...
Page 313: ...9 16 Troubleshooting 1 2 3 4 5 6 7 8 9 CONTENTS Index ...
Page 315: ...A 2 Appendix 1 2 3 4 5 6 7 8 9 CONTENTS Index ...
Page 321: ...ENGLISH 114 230 XC3200 001 0205 Printed in Japan ...


