Replacing the Presser Foot
GE
T
T
IN
G RE
A
D
Y
Basic operations
B-31
B
Removing and attaching the presser foot
holder
Remove the presser foot holder when cleaning the machine or
when installing a presser foot that does not use the presser
foot holder, such as the walking foot and quilting foot. Use
the screwdriver to remove the presser foot holder.
a
Press .
• If
is pressed while the presser foot is raised, an
error message appears. Lower the presser foot.
→
The screen changes, and all keys and operation
buttons are locked (except
).
b
Remove the presser foot.
• For details, refer to “Replacing the presser foot” on
page B-30.
c
Use the screwdriver to loosen the presser foot holder
screw.
Turn the screw toward the back of the machine
(counterclockwise).
• The presser foot holder screw can also be loosened
or tightened with the L-shaped (or disc-shaped)
screwdriver.
1
Screwdriver
2
Presser foot holder
3
Presser foot holder screw
■
Attaching the presser foot holder
a
Press .
• If
is pressed while the presser foot is raised, an
error message appears. Lower the presser foot.
→
The screen changes, and all keys and operation
buttons are locked (except
).
b
Raise the presser foot lever.
c
Align the presser foot holder with the lower-left side of
the presser bar.
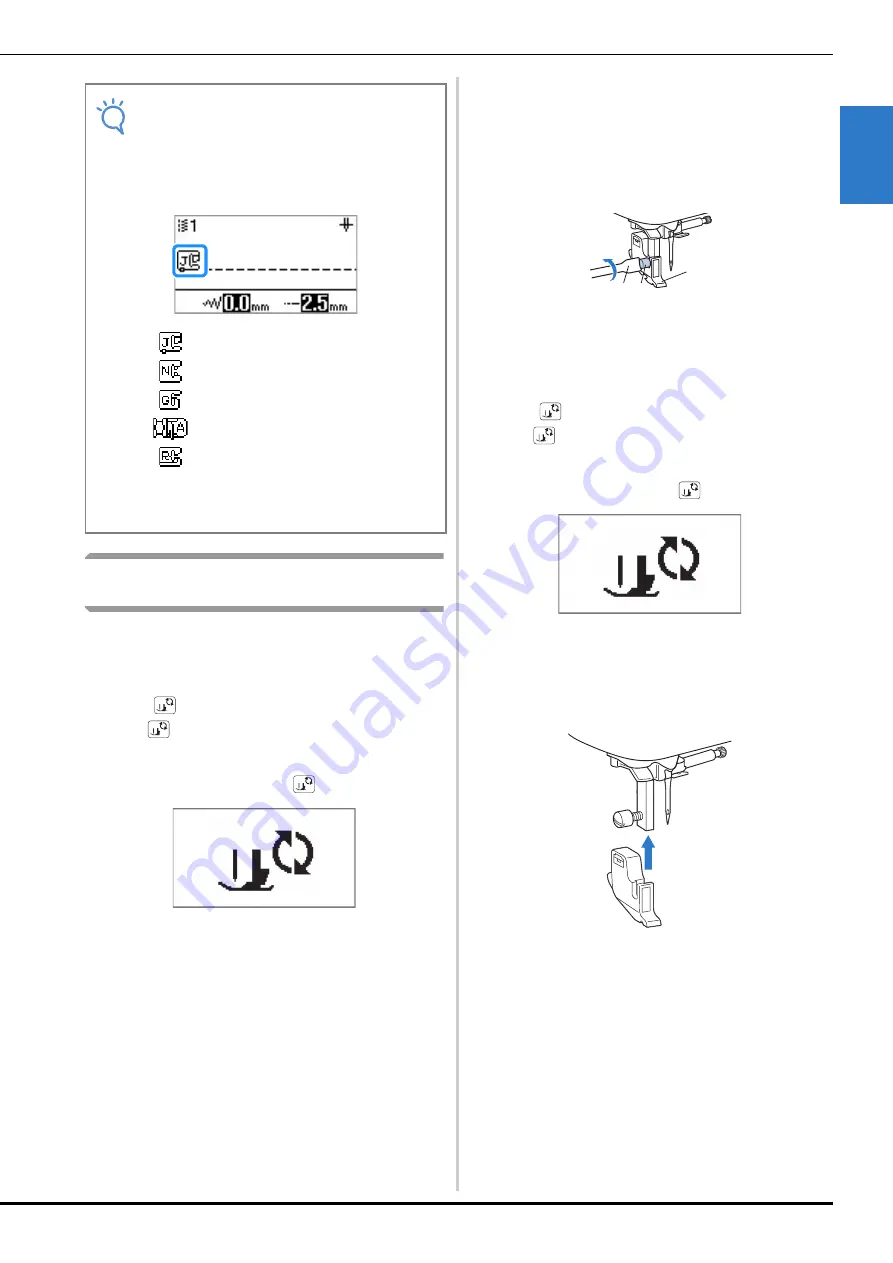
Note
• When a stitch is selected, the icon for the presser
foot that should be used appears in the screen.
Check that the correct presser foot is attached
before starting to sew. If the wrong presser foot
is installed, attach the appropriate presser foot.
Zigzag foot “J”
Monogramming foot “N”
Overcasting foot “G”
Buttonhole foot “A”
Blind stitch foot “R”
• For details on the presser foot that should be
used with the selected stitch, refer to “Stitch
Setting Chart” on page B-44.
1 3
2
Summary of Contents for 888-F42
Page 2: ...Cover2 3 PANTONE 285 C K ...
Page 41: ...Replacing the Presser Foot GETTING READY Basic operations B 33 B ...
Page 96: ...Decorative Stitching S 42 ...
Page 118: ...Cover2 3 PANTONE 285 C K ...
Page 119: ...Cover2 3 PANTONE 285 C K ...


