Embroidering
57
2
— — — — — — — — — — — — — — — — — — — — — — — — — — — — — — — — — — — — — — — — — — — — — — — — — — — —
Embroidering
After the preparations are done, you can try embroidering. This section describes the steps for embroidering and appliqu
é
ing.
Note
z
Before embroidering, check that there is enough thread in the bobbin. If you continue embroidering
without enough thread in the bobbin, the thread may tangle.
z
When embroidering on large garments (especially jackets or other heavy fabrics), do not let the fabric
hang over the table. Otherwise, the embroidery unit cannot move freely, and the pattern may not turn
out as planned.
Checking the pattern before
embroidering
The embroidery frame is moved to indicate the
embroidering position. Closely watch the frame to
check that the pattern will be sewn at the correct
place.
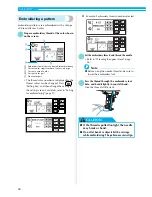
a
After selecting the embroidery pattern, press
.
X
The embroidery screen is displayed.
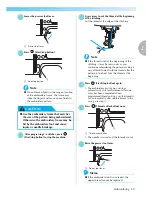
b
Press .
X
The layout screen is displayed.
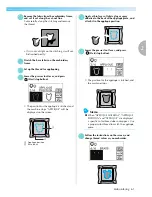
c
Press .
X
The frame moves to indicate the entire
embroidering area.
CAUTION
●
Make sure the needle is up when the
embroidery frame is moving. If the needle
is down, it could break and result in
injury.

