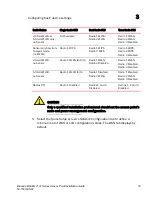
LED indicators
2
Brocade Mobility 7131 Series Access Point Installation Guide
19
53-1001935-02
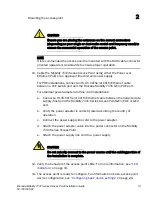
a. Connect a RJ-45 Ethernet cable between the network data supply (host)
and the Mobility 7131 Series Access Point GE1/POE or GE2 port.
b. Verify the power adapter is correctly rated according the country of
operation.
c. Connect the power supply line cord to the power adapter.
d. Attach the power adapter cable into the power connector on the Mobility
7131 Series Access Point.
e. Attach the power supply line cord to a power supply
.
CAUTION
Do not actually connect to the power source until the cabling portion of
the installation is complete.
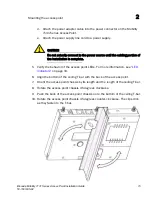
15. Verify the behavior of the access point LED light pipe. For more information, see
“LED indicators”
on page 19.
16. Place the ceiling tile back in its frame and verify it is secure.
17. The access point is ready to configure. For information on basic access point
device configuration, see
“Configuring basic device settings”
on page 29.
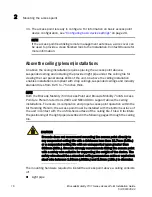
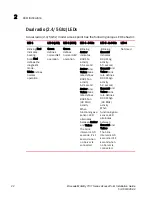
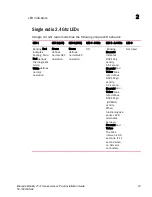
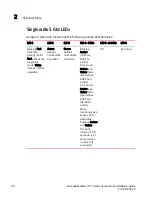
LED indicators
Both Brocade Mobility 7131 Access Points and Brocade Mobility 7131N Access
Points have six LEDs on the top of the access point housing, and one optional LED
light pipe at the bottom of the unit. However, a Brocade Mobility 7131 Access Point
does not use LED 6, as no third radio is available. Five LEDs illuminate (on top of
the housing) for dual radios models and four illuminate for single radio models.

