NOTE:
1.
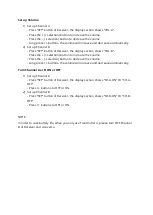
The Channel-A and Channel-B of receiver can be adjusted separately, when use
two transmitters, transmitter A and transmitter B doesn’t need to keep same
channel.
Just need to keep Channel-A of receiver as same channel as Transmitter A,
Channel-B of receiver as same channel as Transmitter B.
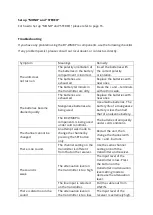
Noted: 1) If you are using multiple BY-WM8 Pro wireless systems, make sure each
system is set to a different channel, which can reduce the chance of intermodulation.
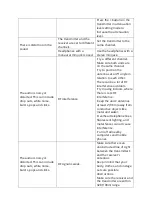
2) If the transmitters and the receiver connect, the power indicator stays blue.
Otherwise, if the power indicator of receiver light off, that means, the transmitters and
the receiver is disconnected.
For more details, please kindly refer to page 7.
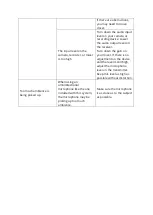
3) The results are stored in memory automatically. The stored channel number
will appear in the display section in next time if you turn on the transmitters and the
receiver.
4.
With the headphone volume low, plug your headphones into the receiver and
gradually raise the level to a comfortable volume for monitoring the
transmission.
5.
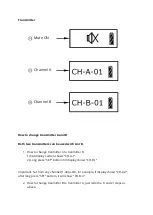
The Channel and Volume of the Transmitters and the Receiver are “CH-1” and
“VOL-24” when turn on them for the first time.
- Adjust channel as you need.
- Adjust as necessary to make sure an ample level is being transmitted to the
receiver.
The objective is to transmit the highest level without distortion for the best
signal-to-noise ratio throughout the signal path.
6.
Once you have determined the transmission quality and level are good, mount
the transmitter and the receiver.
Summary of Contents for BY-WM8 Pro
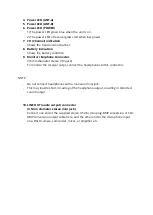
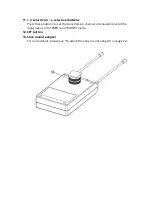
Page 10: ...1 Power OFF ON 2 Battery compartment 3 Antenna Receiver ...
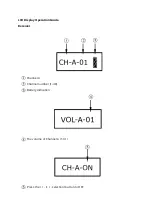
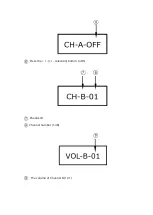
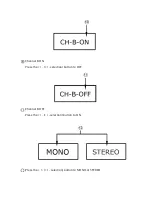
Page 14: ...Press the selection button to ON Channel B Channel number 1 48 The volume of Channel B 1 31 ...
Page 46: ...1 On Off 2 Přihrádka na baterie 3 Anténa Přijímač ...
Page 50: ...Pro zapnutí stiskněte tlačítko výběr Kanál B Číslo kanálu 1 48 Hlasitost kanálu B 1 31 ...
Page 57: ...Připojení tlumiče k mikrofonu Vložte mikrofon do otvoru ve spodní části tlumiče ...
Page 81: ...1 On Off 2 Priehradka na batérie 3 Anténa Prijímač ...
Page 85: ...Na zapnutie stlačte tlačidlo výber Kanál B Číslo kanála 1 48 Hlasitosť kanála B 1 31 ...
Page 92: ...Pripojenie tlmiča k mikrofónu Vložte mikrofón do otvoru v spodnej časti tlmiča ...
Page 116: ...1 KI BEkapcsoló 2 Elemtartó 3 Antenna Vevő ...
Page 151: ...1 AUS EIN 2 Batteriefach 3 Antenne Empfänger ...
Page 154: ...Drücken Sie die Taste Auswahl auf ON Kanal B Kanalnummer 1 48 Lautstärke B 1 31 ...

