136
Importing SMF data to create a pattern
8.
Press [ENTER].
When connection with the PC has been
established, the message will displayed
“1.Copy one SMF” and “2.CloseConnection.”
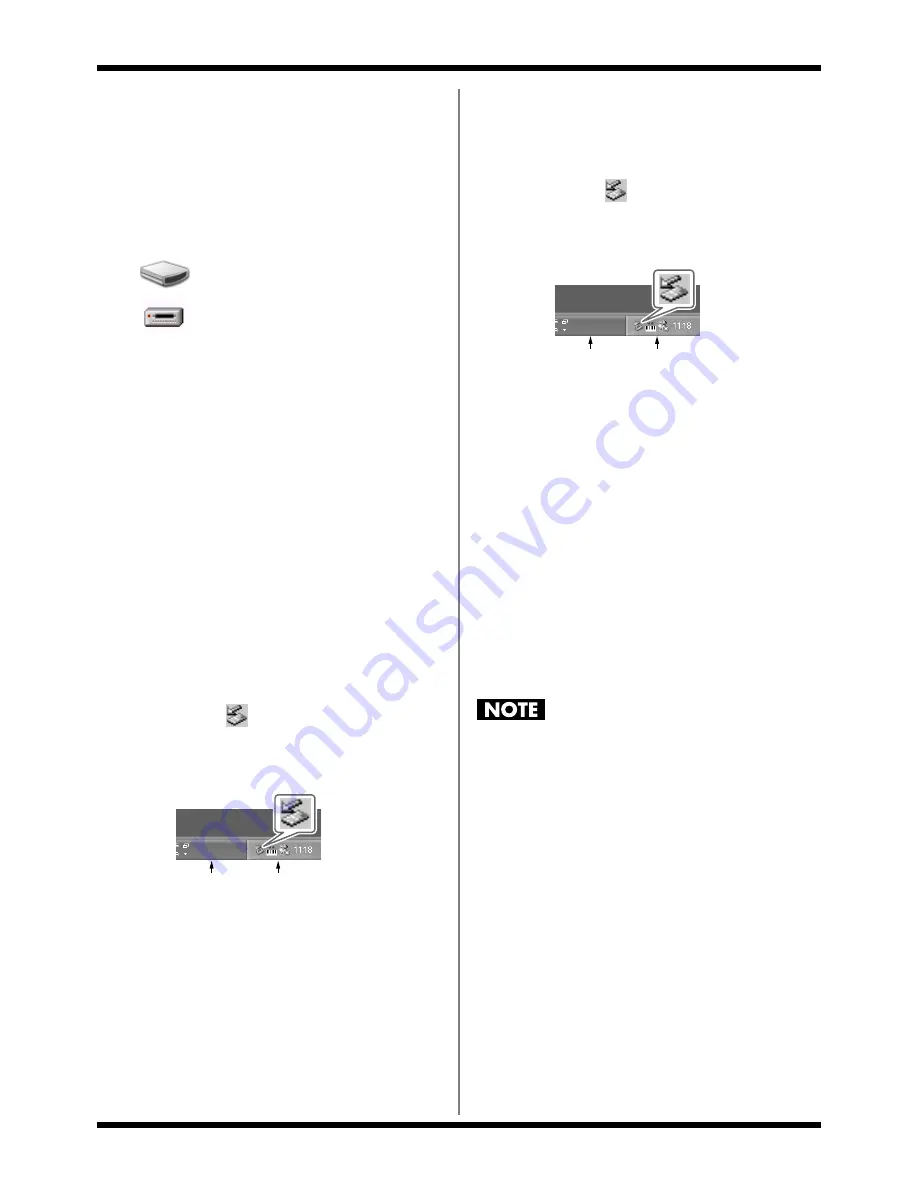
A “BOSS_DR-880” icon (or a “Removable
disk (*:)” icon) will appear on your computer.
fig.09-030
9.
Drag and drop the SMF file you want to
import onto the “DR-880” icon (or the
“Removable disk (*:)” icon).
* Only one file can be imported in one operation. Do not
drag and drop two or more files.
When the copy is completed, the idling
screen will reappear.
10.
Close the USB connection.
Windows XP users
Right-click the “DR-880” icon (or the
“Removable disk (*:)” icon) in My Computer,
and execute “Remove.”
If you are unable to execute the “Remove”
operation in this way, proceed as follows.
1)
Click the
icon in the task tray, and
click the message that indicates “Safely
remove drive (*:)”.
fig.09-200
2)
In the “Safely Remove Hardware”
dialog box, click [OK].
Windows 2000/Me users
1)
Right-click the “DR-880” icon (or the
“Removable disk (*:)” icon) in My
Computer, and execute “Remove.”
2)
Click the
icon in the task tray, and
click the message that indicates “Safely
remove drive (*:)”.
fig.09-200
3)
In the “Safely Remove Hardware”
dialog box, click [OK].
11.
Press [EXIT].
* If you press [EXIT] without copying SMF data to the
DR-880, the message “No file!” is displayed. In this case,
press [ENTER] to return to the SMF Import screen.
The message “Now writing...” will appear,
and the SMF will be imported.
When the SMF have been imported, the
message will disappear.
At this point, you can safely disconnect the
USB cable from the DR-880 and the
computer.
If you press [EXIT] without performing step 10, the
message “Import cancel?” is displayed.
In this case, press [EXIT] and then perform step 10.
If you press [ENTER], the Import operation will be
cancelled, and you will return to the SMF Import
screen.
BOSS_DR-880
Removable Disk (*:)
(Ex.)
Task tray
Task bar
Task tray
Task bar
Summary of Contents for Dr. Rhythm DR-880
Page 2: ......
Page 21: ...21 Quick Start ...
Page 48: ...48 ...
Page 74: ...74 ...
Page 84: ...84 ...
Page 115: ...115 Chapter 8 Convenient function System settings ...
Page 144: ...144 ...
Page 145: ...145 Appendices ...
Page 168: ......


