


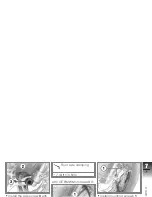

If no clear pressure points are
perceptible:
Have the brakes checked
by a certified workshop,
preferably an authorized
BMW Motorrad retailer.
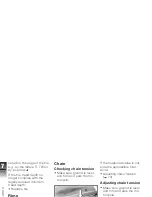
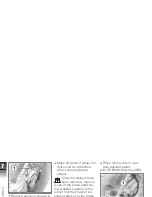
Brake pads
Checking front brake pad
thickness
Brake pads worn past
the minimum permissible
thickness can impair brak-
ing efficiency and under cer-
tain circumstances they can
cause damage to the brake
system.
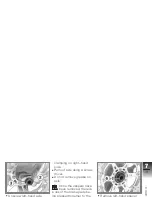
In order to ensure the operat-
ing reliability of the brake sys-
tem, make sure that the brake
pads are not worn beyond
their minimum thickness.
Make sure ground is level
and firm and park the mo-
torcycle.
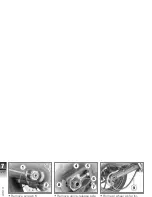
Check the brake pad thick-
ness with visual inspec-
tion. Direction of view: be-
tween wheel and fork tube
at brake caliper.
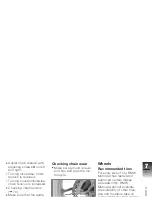
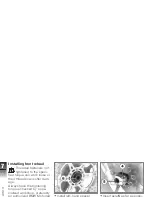
Front brake-pad wear
limit
0.04 in (1 mm) (Only fric-
tion material without carri-
er plate)
Wear markings (grooves)
must be clearly visible.
If the wear indicating marks
are no longer clearly visible:
Have the brake pads re-
placed by a specialized
workshop, preferably an
authorized BMW Motorrad
retailer.
7
64
z
Maintenance
Summary of Contents for 2006 G 650 Xmoto
Page 1: ...Rider s Manual US Model G 650 Xmoto ...
Page 2: ...Motorcycle Retailer Data Motorcycle data Model Retailer Data Contact in Service ...
Page 6: ......
Page 10: ...1 8 tions ...
Page 12: ...2 10 iews ...
Page 14: ...2 12 iews ...
Page 18: ...Handlebar fitting right 1 Emergency ON OFF switch 31 2 Starter button 44 2 16 iews ...
Page 20: ...Headlight 2 18 iews ...
Page 28: ...3 26 ators ...
Page 32: ...Setting is also ended if speed is greater than zero Battery voltage 4 30 ation ...
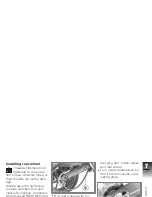
Page 36: ...Installing seat Mirrors Adjusting mirrors 4 34 ation ...
Page 56: ...5 54 iding ...
Page 57: ...Accessories General instructions 56 Onboard socketOE 56 6 55 ories ...
Page 60: ...6 58 ories ...
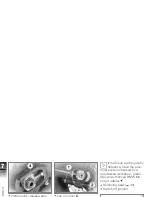
Page 77: ...Front axle clamping 7 lb ft 10 Nm with OE BMW Motorrad ABS 7 75 ance ...
Page 78: ...7 76 ance ...
Page 84: ...Replacing low beam and high beam bulb Removing headlight 80 Switch off ignition 7 82 ance ...
Page 92: ...Installing battery 7 90 ance ...
Page 93: ...Take off fairing side panel Installing right fairing side panel 7 91 ance ...
Page 95: ...7 93 ance ...
Page 96: ...7 94 ance ...
Page 114: ...9 112 data ...
Page 125: ...Work carried out Odometer reading Date 10 123 rvice ...


