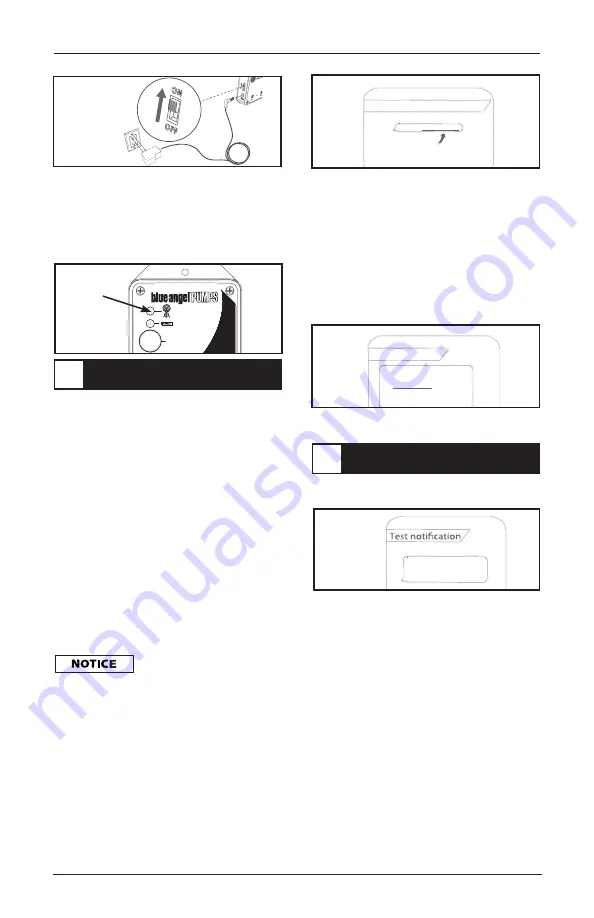
Figure 5
d. Once the status light turns solid
green this device is ready to
receive text messages from your
cell phone. (Figure 6) In the next
step, you will program the device
by sending it text message
commands from your cell phone.
PUSH TO TEST
Advanced Text
Notification
The Professional’s Line
Figure 6
a. Using your cell phone, create and
send a text message to the
Advanced Text Notification
number that you saved in step 5.
Type the following command:
Phone1{space}10 digit phone
number. (Figure 7)
Phone1{space}<10 digit phone number>
Adding emergency contacts
Phone1 5557654321
EXAMPLE CELL PHONE SCREEN:
Figure 7
Operating Instructions and Parts Manual
BCPA1
5
Solid
green
light
This number will be saved to
Phone1 or position #1. It is
necessary to type the set up as
shown in the diagram including
spaces where indicated.
Otherwise, set up may not be
successful.
NOTE: Do NOT enter a “1”
in front of the area code.
The reference to “{space}”
throughout this manual
indicates a space in the text entered
e.g. Phone1 5557654321 and should not be
entered as shown with brackets and the
word “{space}”, otherwise the entry will be
invalid and you may not be able to send and
receive text alerts.
b. It is recommended to add contact
numbers for
Phone1, Phone2 and
Phone3. In case of an emergency
alert, if one of the phone numbers
are out of network range, service
has been interrupted or
disconnected, or the phone is off,
it will NOT receive an alert text
notification. The device will send
alerts to all of the phone numbers
that have been saved to Phone1,
Phone2 and Phone3 entries.
c. If successful, the device will chirp
twice and you will receive a
text message to the phone
number you just entered in
approximately 30 seconds after
the device chirps. (Figure 8) You
can repeat this process up to two
additional phones, using Phone2
and Phone3 commands. See
troubleshooting section if this step
is unsuccessful. (Page 9)
Unit settings
Advanced Text Notification:
Name: My Advanced Text
#1 5557654321
#2
#3
Contractor:
Contact:
EXAMPLE CELL PHONE SCREEN:
Figure 8
www.blueangelpumps.com/AdvancedText
Congratulations!
Your installation is complete.
Press the “
PUSH TO TEST” button to
test the system. (Figure 9)
John Doe Residence
is operating correctly
at 8:55AM on __/__/__
EXAMPLE CELL PHONE SCREEN:
Figure 9
FLOAT TEST: Lift each float
individually. Confirm that the unit
responds with an audible alarm and
a corresponding text message. When
floats are returned to home position,
an “OK” test message should be
received.
POWER TEST: Unplug A/C power
(for 10 seconds). Confirm that alert
text message is received. Restore
power and an “OK” text message
should be received.
NOTE: Text messages may take
up to (1) minute to receive and is
based upon signal strength and
cellular network congestion. If text
message is not received, refer to
troubleshooting section. (Page 9)
STEP 7 - ENTER EMERGENCY
CONTACTS
STEP 8 -TEST DEVICE


