29
3. DOWN key:
• Press the key to decrease the resistance during exercise mode.
• During the setting mode, press the key to decrease the value of Time, Distance, Calories,
Age and select Gender and Program.
4. ENTER key:
• During the setting mode, press this key to accept the current data entry.
• Hold this key for over two seconds to reset all values to zero or default value.
• While setting the Clock, press this key to accept the hour and minute.
5. BODY FAT key: Press the key to input your HEIGHT, WEIGHT, GENDER and AGE
then to measure your body fat ratio,
6. PULSE RECOVERY key: Press the key to activate heart rate recovery function.
PROGRAM INTRODUCTION & OPERATION:
Manual Program: Manual
P1 is a manual program. User can start exercise by pressing START/STOP key. The default
resistance level is 5. Users may exercise in any desired of resistance level (Adjusting by UP/
DOWN keys during the workout) with a period of time or a number of calories or a certain
distance. Operations:
1. Use UP/DOWN keys to select the MANUAL (P1) program.
2. Press the ENTER key to enter MANUAL program.
3. The TIME will flash and you can press UP or DOWN keys to set your exercise TIME.
Press ENTER key to confirm your desired TIME.
4. The DISTANCE will flash and you can press UP or DOWN keys to set your target
DISTANCE. Press ENTER key to confirm your desired DISTANCE.
5. The CALORIES will flash and you can press UP or DOWN keys to set your exercise
CALORIES. Press ENTER key to confirm your desired CALORIES.
6. The PULSE will flash and then you can press UP or DOWN keys to set your exercise
PULSE. Press ENTER key to confirm your desired Pulse.
7. Press the START/STOP key to begin exercise.
Preset Program: Steps, Hill, Rolling, Valley, Fat Burn, Ramp, Mountain, Intervals,
Random, Plateau, Speedplay, Precipice Program
PROGRAM 2 to PROGRAM 13 are the preset programs. Users may exercise in any desired
of resistance level (Adjusting by UP/DOWN keys during the workout) with a period of
time or a number of calories or a certain distance. Operations:
1. Use UP/DOWN keys to select one of the above programs from P2 to P13.
Summary of Contents for R300II
Page 4: ...4 WARNINGS AND LABELS ...
Page 13: ...13 HARDWARE AND TOOLS 20PCS 10PCS 18PCS 65 Bolt 20mm 4PCS ...
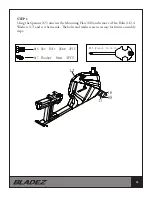
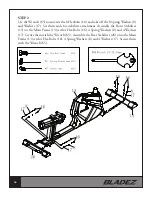
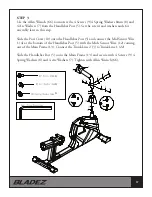
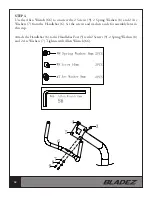
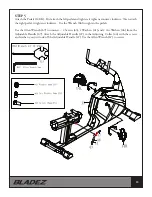
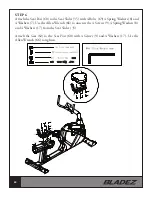
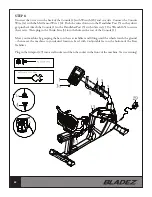
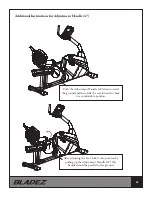
Page 14: ...14 ASSEMBLY INSTRUCTIONS ...
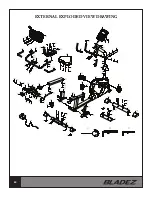
Page 24: ...24 EXTERNAL EXPLODED VIEW DRAWING ...
Page 25: ...25 EXPLODED VIEW DRAWING ...
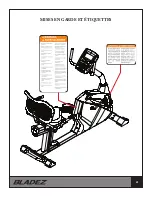
Page 41: ...41 MISES EN GARDE ET ÉTIQUETTES ...
Page 51: ...51 INSTRUCTIONS D ASSEMBLAGE ...
Page 61: ...61 CROQUIS EN VUE ÉCLATÉE ...
Page 62: ...62 CROQUIS EN VUE ÉCLATÉE ...

