background image

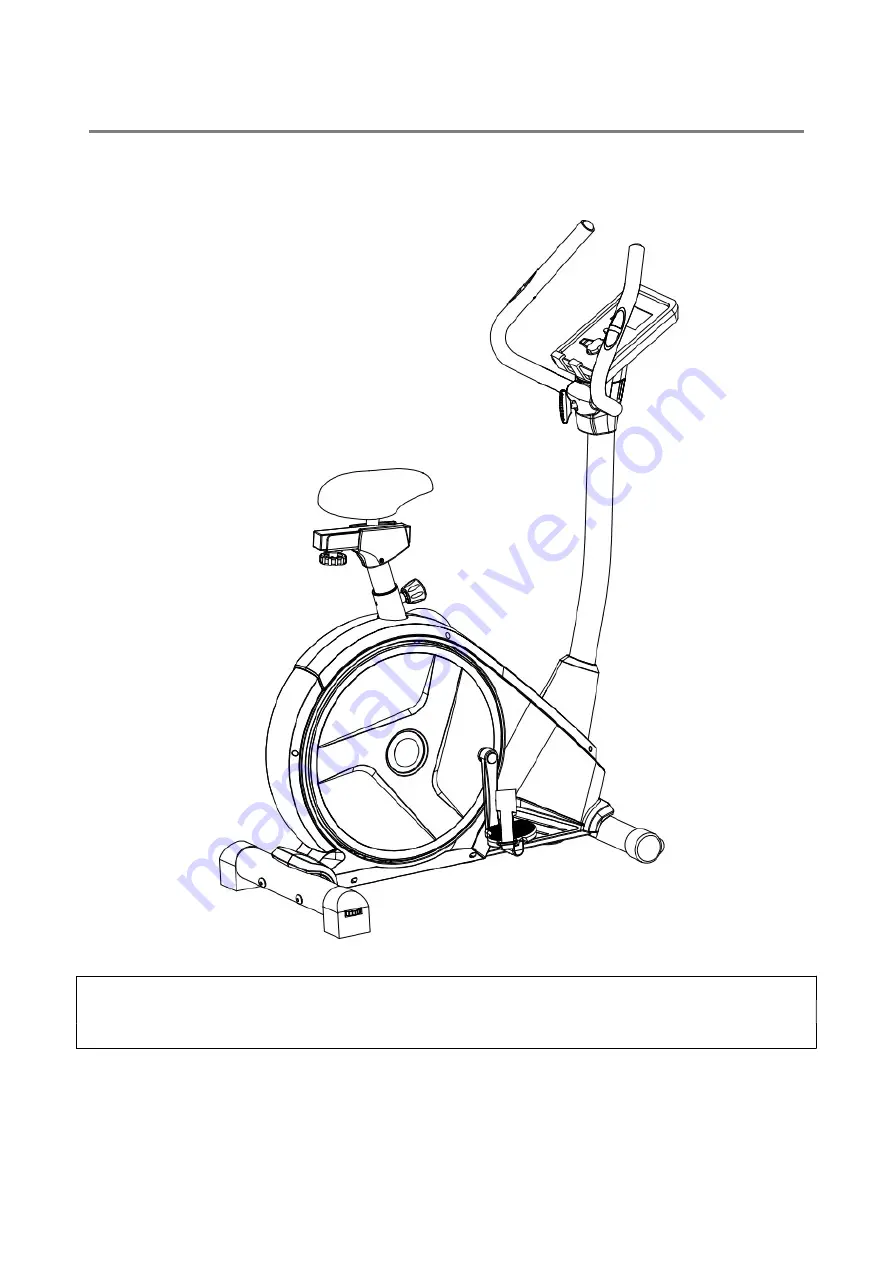
FitNord Cyclo 500E 

OWNER’S MANUAL 


IMPORTANT! 

Read all instructions carefully before using this product.  Retain this manual for future 

reference. The specifications of this product may vary slightly from the illustrations and are 

subject  to change without notice. 


Summary of Contents for Cyclo 500E

Page 1: ...ANUAL IMPORTANT Read all instructions carefully before using this product Retain this manual for future reference The specifications of this product may vary slightly from the illustrations and are subject to change without notice ...

Page 2: ...g 05 Your health can be affected by incorrect or excessive training Consult a doctor before beginning a training program He can define the maximum settings Pulse Watts Duration of training etc to which you may train yourself and can get precise information during training This machine is not suitable for therapeutic purposes 06 Only train on the machine when it is working correctly Use only origin...

Page 3: ...3 EXPLODED DIAGRAM 4 PARTS LIST 5 ASSEMBLY INSTRUCTIONS 6 DISPLAY MANUAL 11 DISPLAY FUNCTIONS 11 KEY FUNCTIONS 11 OPERATIONS 12 APP 16 ...

Page 4: ...4 EXPLODED DIAGRAM ...

Page 5: ...Flat washer D10 Φ25 2 1 11 Seat bracket 1 31 U shaped slider 1 12 BushingΦ13 2 35 1 32 Square end cap 2 13 Nylon nut 3 33 Saddle Slider 1 14 Flat washer 3 34 Saddle 1 15 Cross tapping screw ST4 2 12 4 35 Computer 1 16 Rear end cap 2 36 Foam grip 2 17L R Crank 1pr 37 Cross screw 4 18L R Pedal 1pr 38 Knob 1 19 Pulse wire 2 39 Flat washer D8 Φ13 1 5 1 20 Pop pin knob 1 40 Adapter 1 NOTE Most of the l...

Page 6: ...be 3 to the Main frame 1 with Hex bolts 9 and Arc washers 7 Step 2 Attach the Pedals 18L R to the Cranks 17L R accordingly with the wrench Note Secure the left pedal in a clockwise direction and the right pedal in a counter clockwise direction as the following picture Make sure the Pedals 18L R are securely tightened to avoid damage to the pedals ...

Page 7: ...cover 23 onto the Handlebar post 4 2 Connect the Extension Sensor wire 22 with Sensor wire 21 3 Attach the Handlebar post 4 to the Main frame 1 with Allen bolts 6 and Arc washers 7 4 Slide down the Handlebar post cover 23 and fit in place ...

Page 8: ...ulse wires 19 through the hole on the Handlebar post 4 and pull them out from the top of the computer bracket 2 Attach the Handlebar 5 to the Handlebar post 4 with the Knob 38 bushing 12 Computer cover 25a and flat washer 39 ...

Page 9: ...re 22 and Pulse wire 19 with the Computer 35 wires 2 Attach the Computer 35 to the computer bracket of the Handlebar post 4 with Cross screws 37 3 Tighten the Handle and Computer cover 25a b on the Handlebar post 4 with Cross tapping screws 24 ...

Page 10: ... nuts 13 2 Attach the saddle 34 to the Saddle slider 33 with the wrench tightly 3 Attach the Saddle Slider 33 to the Saddle post 28 with the Knob 29 Flat washer 30 and U shaped slider 31 Note Always make sure the saddle 34 has been tightly fastened on the Saddle slider 33 before exercising ...

Page 11: ... This data is a rough guide for comparison of different exercise sessions and cannot be used for medical purposes PULSE User may set up target pulse from 0 30 to 230 buzzer will beep when actual heart rate is over the target value during workout WATTS Display current workout watts Display range 0 999 MANUAL Manual mode workout BEGINNER 4 PROGRAM selection ADVANCE 4 PROGRAM selection SPORTY 4 PROGR...

Page 12: ...ture 6 Picture 7 Manual Mode Press START in the main menu to workout in manual mode 1 Use WHEEL to select workout program choose Manual and press MODE ENTER 2 Use WHEEL to set TIME Picture 8 DISTANCE Picture 9 CALORIES Picture 10 PULSE Picture 11 and press MODE ENTER to confirm 3 Press START STOP to start exercising Use WHEEL to adjust load level Load level displays in WATT window After 3s of no i...

Page 13: ...am choose Advance and press MODE ENTER 2 Use WHEEL to browse Advance programs 1 4 Picture 14 and select with MODE ENTER 3 Use WHEEL to set TIME 4 Press START STOP to start exercising Use WHEEL to adjust load level 5 Press START STOP to pause Press RESET to go back to main menu Picture 14 Sporty Mode 1 Use WHEEL to select workout program choose Sporty and press MODE ENTER 2 Use WHEEL to browse Spor...

Page 14: ...120 Picture 18 3 Use WHEEL to set TIME 4 Press START STOP to start exercising Use WHEEL to adjust Watt level 5 Press START STOP to pause Press RESET to go back to main menu Picture 18 RECOVERY 1 After exercising for a period keep holding the hand grips or wearing the chest strap and press RECOVERY 2 All function displays will stop TIME starts counting down from 00 60 to 00 00 Picture 19 3 Screen w...

Page 15: ... Picture 24 for 30 seconds Error messages 1 The LCD displays Picture 25 User is holding the handgrips incorrectly or the chest strap is not correctly worn 2 E 1 No heart rate signal input detected 3 E 4 Occurs when FAT is below 5 or exceeds 50 and BMI result is below 5 or exceeds 50 Picture 26 Picture 21 Picture 22 Picture 23 Picture 24 Picture 25 Picture 26 Note 1 After 4 minutes without pedaling...

Page 16: ...16 APP User can scan the QR code label to download i Console training APP to a tablet or mobile device Turn on Bluetooth on your tablet search for the console device and connect ...

Reviews: