


1301-C00 page 13/56
4.0 MAINTENANCE
4.1 Disassembly Procedure
Always use a lifting device capable of
supporting the full weight of the pump
components or assemblies.
Heavy assemblies
can cause personal
injury or porperty
damage.
Personal protective equipment must be
worn if there is a potential for handling
hazardous or toxic materials. Fluid must
be handled and disposed of in
accordance with local and national
regulations. Pump must be isolated by
closing suction and discharge valves
before working on the pump.
. Hazardous or
toxic fluids can
cause serious
injury.
Lock-out power to the driver before
working on the pump. Failure to
properly lock-out driver could result in
accidental start, causing personal
injury.
Hazardous
machinery can
cause serious
personal injury.
Do not adjust or disassemble any
pressure containing component or shaft
seal prior to depressurizing the primary
and auxiliary fluid systems. This will
ensure that no hazardous or high
pressure fluid is ejected that may cause
personal injury or equipment damage.
Hazardous pressure
can cause personal
injury or property
damage
The System One Pump design incorporates the back pullout
feature. This permits removal of the entire power end
assembly, including the seal, back cover and impeller, without
disturbing the discharge piping, suction piping or motor. The
power end with C-frame or D-flange motor adapter can also be
removed as a unit if the motor is wired with flexible conduit.
Remove the Power End Assembly
See the appropriate pump assembly drawing in section 8.0.
1. Lockout driver and tag it.
2. If pump has a C-frame adapter and power is rigid piped,
disconnect the power connection at driver.
3. Remove the coupling guard.
4. Disconnect the coupling between the pump and the driver
shafts by removing the spacer piece between the hubs. If
the pump has a motor adapter and the driver is
suspended and wired with flexible conduit, the coupling
will not have to be removed.
5. Drain the entire system and be sure there is no liquid left
in the pump casing.
6. Disconnect inlet and outlet lines to the mechanical seal, if
applicable.
7. Remove the screws or nuts securing the casing (1) as
follows:
Frame SD
Remove 8 nuts from studs that fasten the bearing frame
(19) to casing (1).
Frame S
6 in. pumps:
Remove 4 nuts from studs that fasten the bearing frame
ring (19) to casing (1).
8 in. pumps:
Remove 8 nuts from studs that fasten the adapter plate
(432) to the casing (1).
Frame A and LD17
8 in. (200 mm),10 in. (250 mm) pumps:
Remove nuts securing frame adapter (71) to casing (1).
13 in. (330 mm) pumps:
Remove 12 fasteners securing back cover (11) to casing
(1).
Frame M
:
Remove the nuts that fasten the frame adapter (71) to the
casing (1).
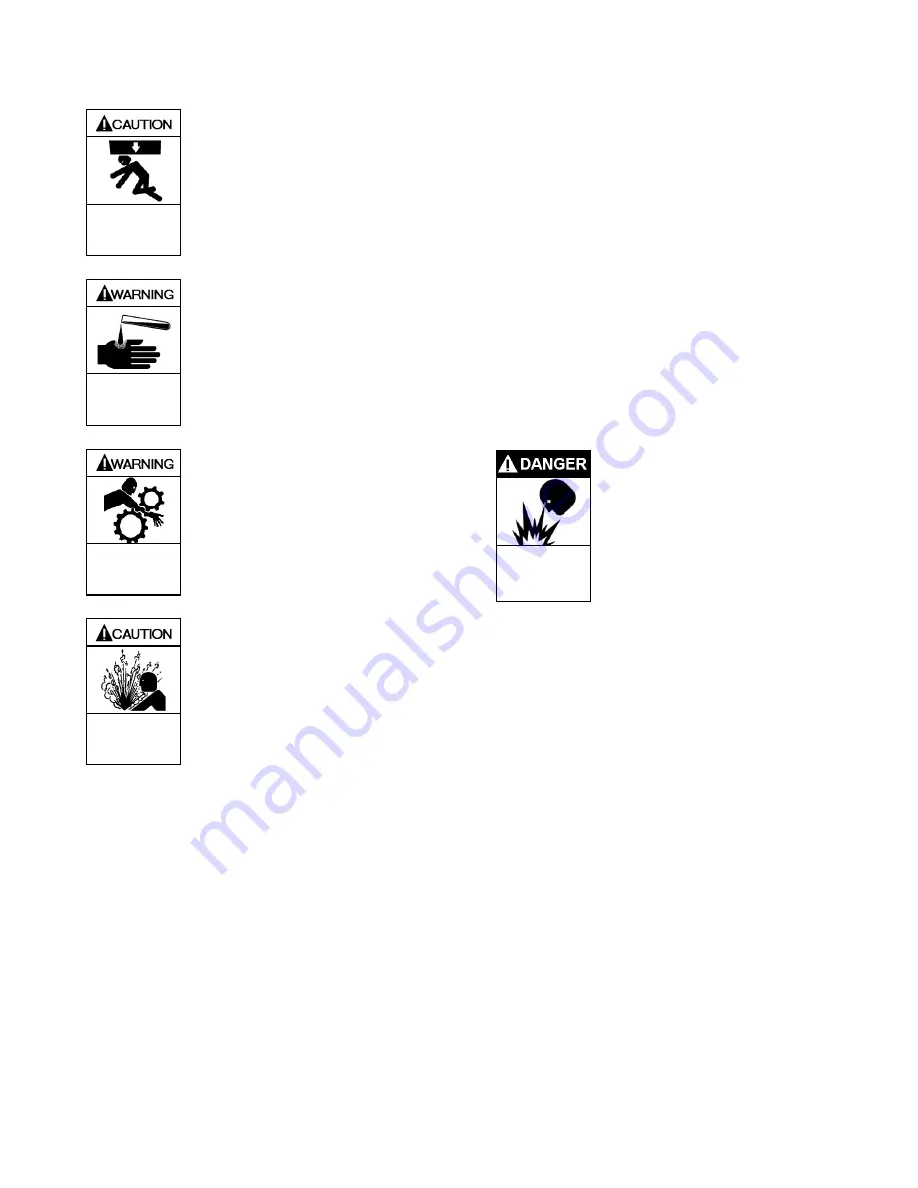
Never use heat to remove parts. Use of
heat may cause an explosion due to
trapped fluid resulting in physical injury
and property damage.
Explosive fluids will
cause severe
personal injury
death or major
property damage.
8. Unfasten the holddown bolts between the bearing frame
foot (400) and the pump baseplate, also Frame S 8 in.
adapter plate, motor feet and motor adapter if applicable.
Be sure to mark any shims so that they can be replaced
appropriately during reassembly.
9. The complete power end assembly can now be removed
from the pump casing (1). Jackbolts are located on the
frame adapter ring to help remove the backcover from the
casing.
10. The vortex pump has a separate suction cover (9) that
can be replaced if worn.
Remove the Impeller, Back Cover and Seal
1. Remove the impeller (2) and O-ring (38) from the shaft
(6). The impeller has a right hand thread. The coupling
end of the shaft can be held firm with an impeller wrench.
An impeller wrench can be made by welding a steel bar to
a steel coupling hub. Do not put a pipe wrench directly on
the shaft. The impeller wrench is recommended for this
operation as it provides proper leverage for easy impeller
removal:
a. Insert the impeller wrench onto the coupling end of
the shaft.
b. Grip the impeller and rotate clockwise to lift the
wrench off the work surface.
c. Quickly turn the impeller counterclockwise (facing
suction end) impacting the wrench on the work bench
until the impeller loosens.
Summary of Contents for SYSTEM ONE
Page 27: ...1301 C00 page 26 56 8 2 Pump Assembly Parts List Frame S Horizontal 6 1 ...
Page 28: ...1301 C00 page 27 56 8 3 Pump Assembly Parts List Frame S Horizontal 8 ...
Page 29: ...1301 C00 page 28 56 8 4 Pump Assembly Parts List Frame A and IPP Frame A ...
Page 30: ...1301 C00 page 29 56 8 5 Pump Assembly Parts List LD17 and IPP LD17 ...
Page 31: ...1301 C00 page 30 56 8 6 Pump Assembly Parts List Vortex Frame A and IPP Vortex Frame A ...
Page 32: ...1301 C00 page 31 56 8 7 Pump Assembly Parts List Vortex LD17 and IPP Vortex LD17 ...
Page 33: ...1301 C00 page 32 56 8 8 Pump Assembly Parts List Frame M ...
Page 55: ...1301 C00 Page 54 56 notes ...
Page 56: ...1301 C00 Page 55 56 notes ...


