


213
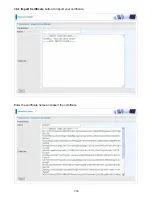
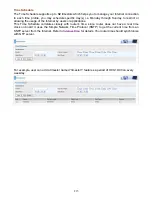
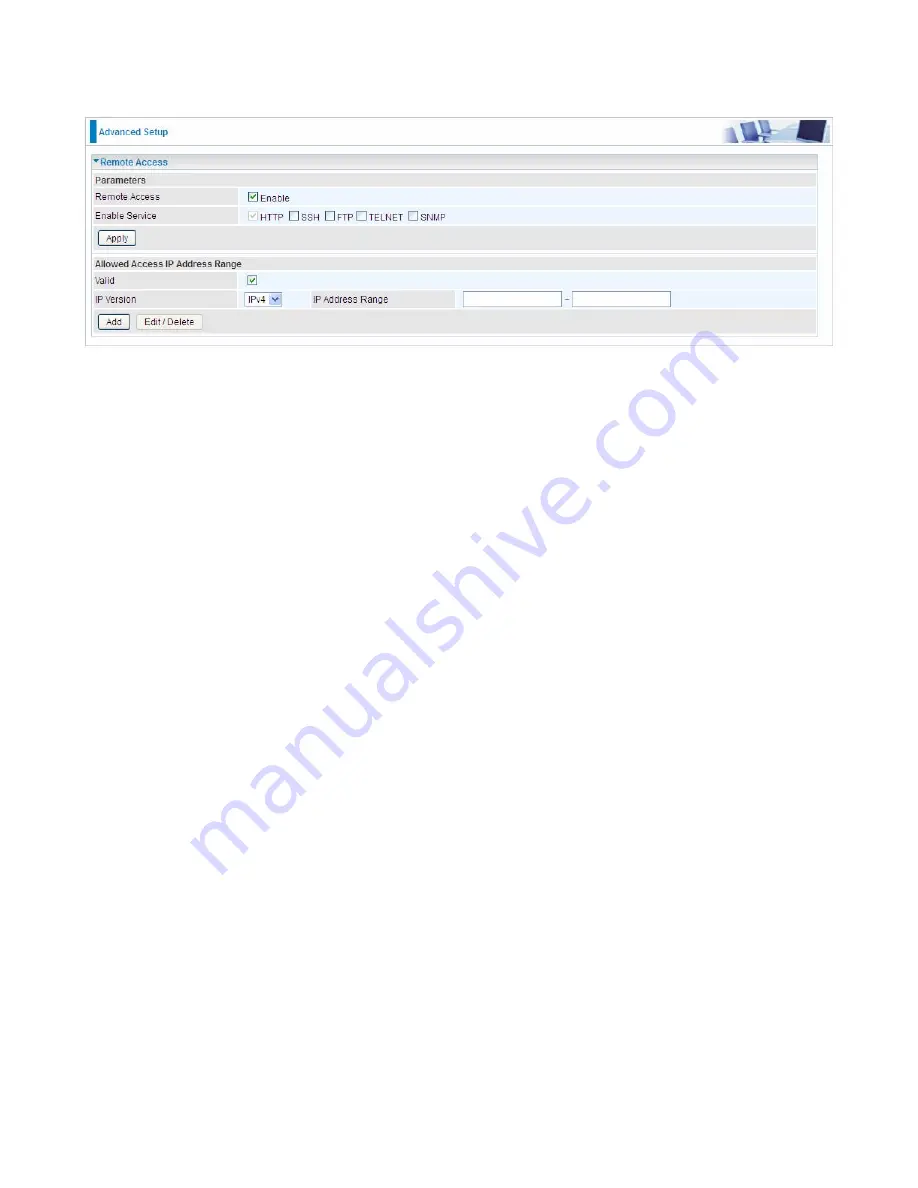
Remote Access
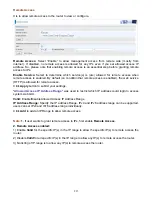
It is to allow remote access to the router to view or configure.
Remote Access:
Select “Enable” to allow management access from remote side (mostly from
internet). If disabled, no remote access is allowed for any IPs even if you set allowed access IP
address. So, please note that enabling remote access is an essential step before granting remote
access to IPs.
Enable Service:
Select to determine which service(s) is (are) allowed for remote access when
remote access is enabled. By default (on condition that remote access is enabled), the web service
(HTTP) is allowed for remote access.
Click
Apply
button to submit your settings.
"
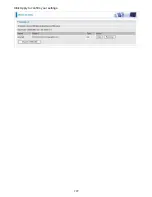
Allowed Access IP Address Range
" was used to restrict which IP address could login to access
system web GUI.
Valid:
Enable/Disable Allowed Access IP Address Range
IP Address Range:
Specify the IP address Range, IPv4 and IPv6 address range can be supported,
users can set IPv4 and IPv6 address range individually.
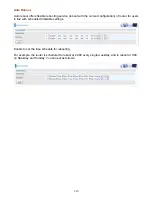
Click
Add
to add an IP Range to allow remote access.
Note:
1.
If user wants to grant remote access to IPs, first enable
Remote Access
.
2. Remote Access enabled:
1) Enable
Valid
for the specific IP(s) in the IP range to allow the specific IP(s) to remote access the
router.
2) Disable
Valid
for all specific IP(s) in the IP range to allow any IP(s) to remote access the router.
3) No listing of IP range is to allow any IP(s) to remote access the router.
Summary of Contents for BiPAC 8800AXL
Page 14: ...10 Device Description The Front LEDs ...
Page 20: ...16 Connecting Your Router Users can connect the ADSL2 router as the following DSL Router mode ...
Page 21: ...17 Broadband Router mode ...
Page 22: ...18 3G LTE Router mode ...
Page 40: ...36 Click link 192 168 1 254 it will lead you to the following page ...
Page 43: ...39 Click 192 168 1 254 it will lead you to the following page ...
Page 46: ...42 Click 192 168 1 254 it will lead you to the following page ...
Page 98: ...94 Configure AP as Enrollee Add Registrar with PIN Method 1 Set AP to Unconfigured Mode ...
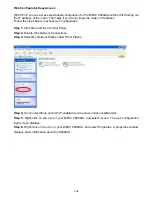
Page 143: ...139 Accessing mechanism of Storage In your computer Click Start Run enter 192 168 1 254 ...
Page 145: ...141 Access the folder public ...
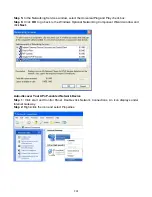
Page 148: ...144 Step 2 Click Add a Printer Step 3 Click Add a network wireless or Bluetooth printer ...
Page 159: ...155 Rule inactive ...
Page 180: ...176 Means the rule is inactive ...
Page 186: ...182 ALG The ALG Controls enable or disable protocols over application layer ...
Page 198: ...194 2 ipoe_eth0 with DDNS www hometest1 com using username password test test ...
Page 211: ...207 Click Apply to confirm your settings ...
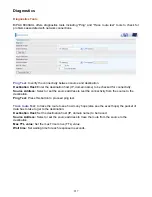
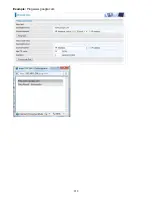
Page 222: ...218 Example Ping www google com ...
Page 223: ...219 Example trace www google com ...


