22
Starting to embroider/Motifs and functions
Starting to embroider
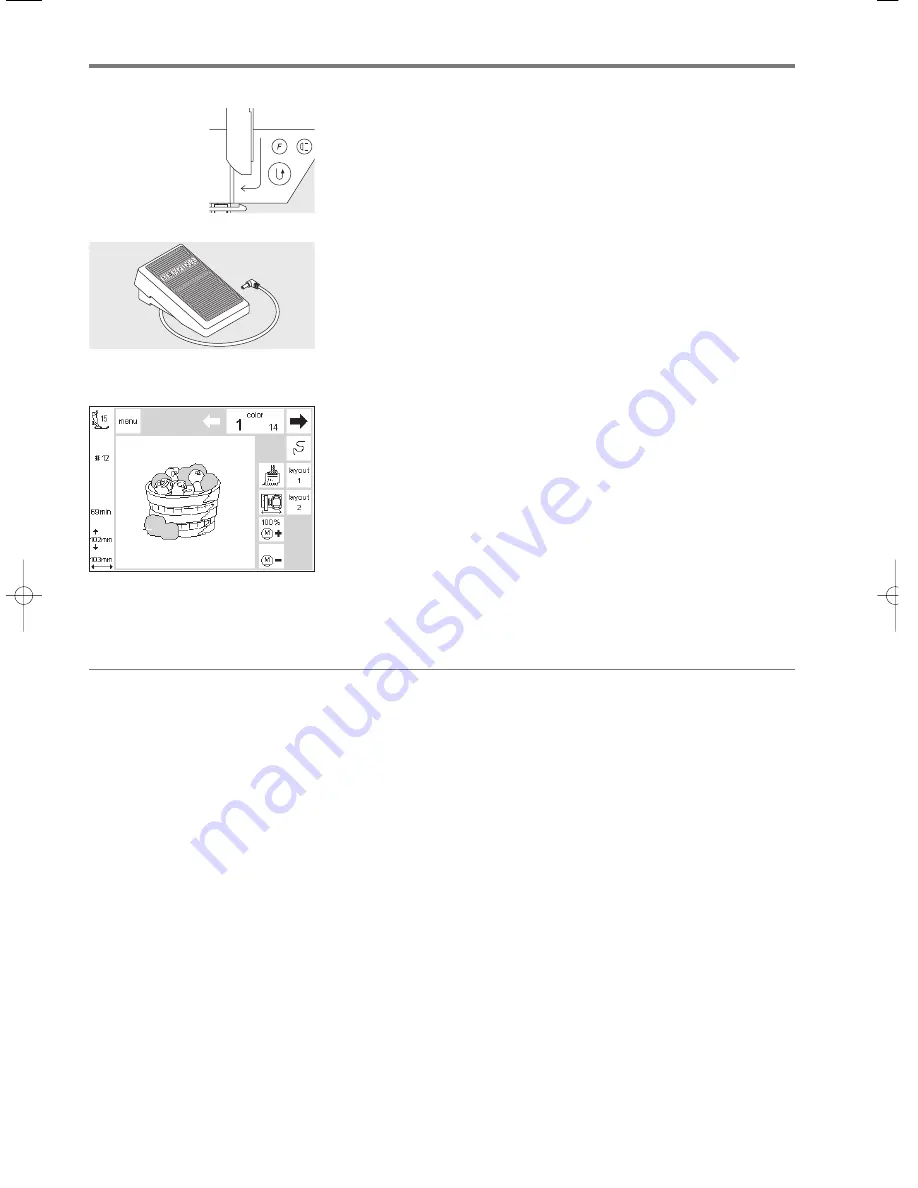
Starting to embroider with the quick
reverse button
· lower the presser foot
· press the quick reverse button on
the head frame (approximately 3
seconds will elapse until the audio
signal stops)
· the sewing computer will automati-
cally sew approximately 6 stitches
and stop
· raise the presser foot
· cut the thread tail
· lower the presser foot
· press the quick reverse button to
resume sewing
Starting to embroider with foot
control
· lower the presser foot
· press the foot control
· the sewing computer will stop
automatically after a few stitches
(approx. 6)
· release the foot control
· raise the presser foot
· cut the thread tail
· lower the presser foot
· continue embroidering by pressing
the foot control
Interrupting with the foot control
· when the sewing computer is
embroidering, tap the foot control
lightly
· the sewing computer will stop
automatically
Complete the color
· lower the presser foot
· press the foot control or quick
reverse button
· the sewing computer embroiders all
the sections in the color selected
and stops automatically when
complete
Color change
· the sewing computer is
automatically ready to embroider
the next color
· change the upper thread
accordingly
· embroider as described above
Cutting thread ends after embroidery
· raise the presser foot
· remove the embroidery hoop from
the embroidery arm
· cut threads close to the embroidery
· carefully remove any connecting
threads from the embroidered area
if necessary
· Take care that the bobbin thread is
not cut too tightly on the stitch
plate when removing the embroi-
dery hoop. This prevents tangling
when starting again.
Using motifs with functions
All motifs can be combined with the
various functions integrated in the
embroidery module. You can alter
the color sequence, rotate motifs,
adjust the stitch density, etc.
165_170_180_SM_engl 19.04.2004 8:58 Uhr Seite 22
008904.55.04_EMB_0401_a165 a170 a180_EN


