


31
Embroidery Selection
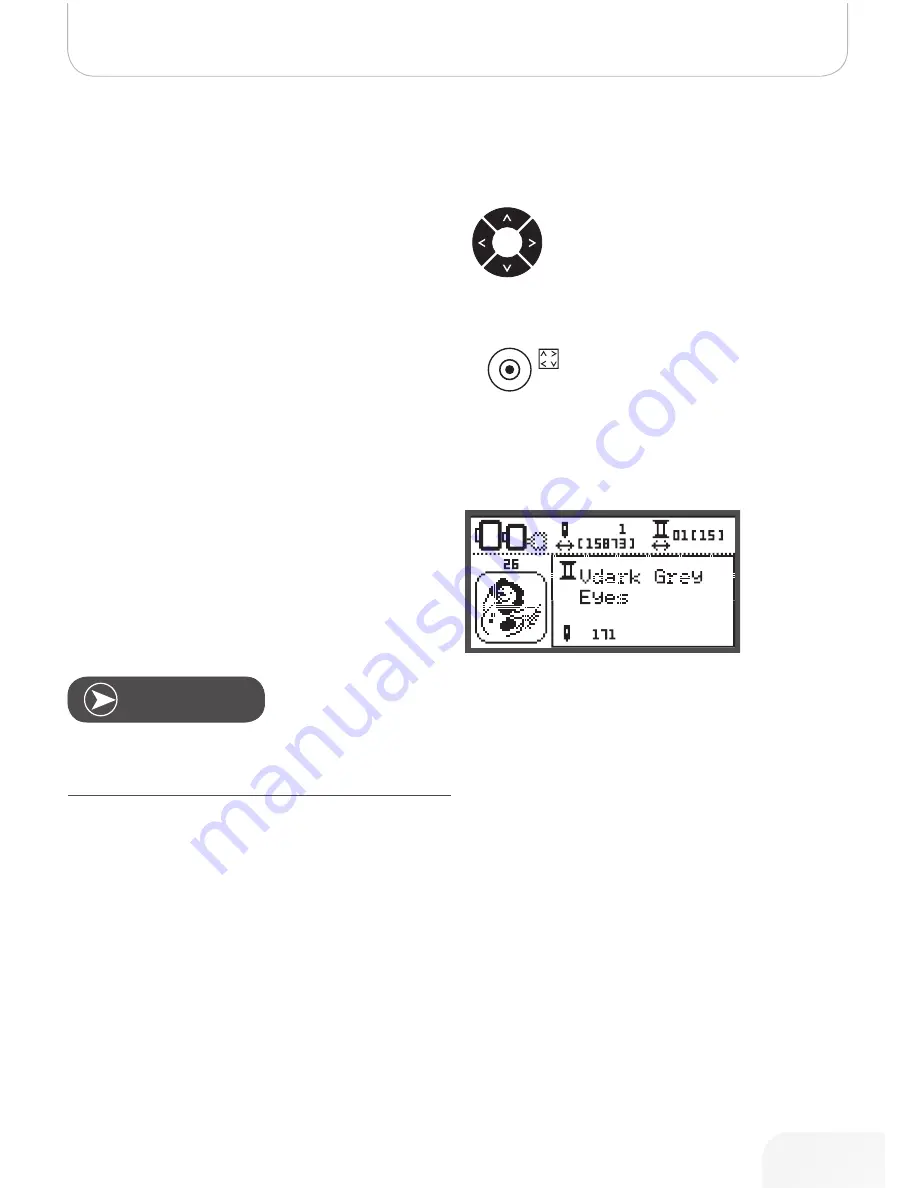
Repositioning the Design
•
Use the arrow keys to move the design to a new posi-
tion. When holding the key pressed the repositioning
speed will be faster.
•
With the “Trace” button you can check the position.
The embroidery arm will trace the outline in a rectangle,
defining the embroidery design without stitching.
•
When the editing is finished, press “OK” to change
from editing screen to the stitch-out screen. Press
„OK“ again to confirm that the correct hoop is attached.
The embroidery arm is moving, the needle is positioned
at the first stitch of the design. If the first stitch has to
be at an exact position, e.g. for border embroidering):
Press “OK” und then use the arrow buttons to move
the needle (=first stitch) to the desired position.
n
ote
When using the “Trace” button in the stitch-out screen, the
needle will move to the center of the design.
•
Use “clr” to go back to the editing-screen. Make all
modifications. In the editing-screen you have the pos-
sibility to use “Trace” to check the outline of the design.
When finished, press “OK” to switch back to the stitch-
out screen


