5
KMV-3901/3911
Quick Start Guide
2 Connect a client PC, and the Kaleido-RCP2 (if available) to a dedicated 100Base-T
, on page 8). You can also connect a mouse and a
keyboard to your Kaleido-RCP2.
The KMV-3901/3911 multiviewer has been configured to automatically detect the
resolution of any connected display. If the required information is not available, then a
fall-back resolution of 1920 × 1080 @ 60 Hz (HDTV) is used.
3 Connect one output of the multiviewer to a display that supports this resolution (see
, on page 8). If you wish to use a different resolution, see
, below, for detailed instructions.
4 Connect one or more video sources to your multiviewer’s inputs (see
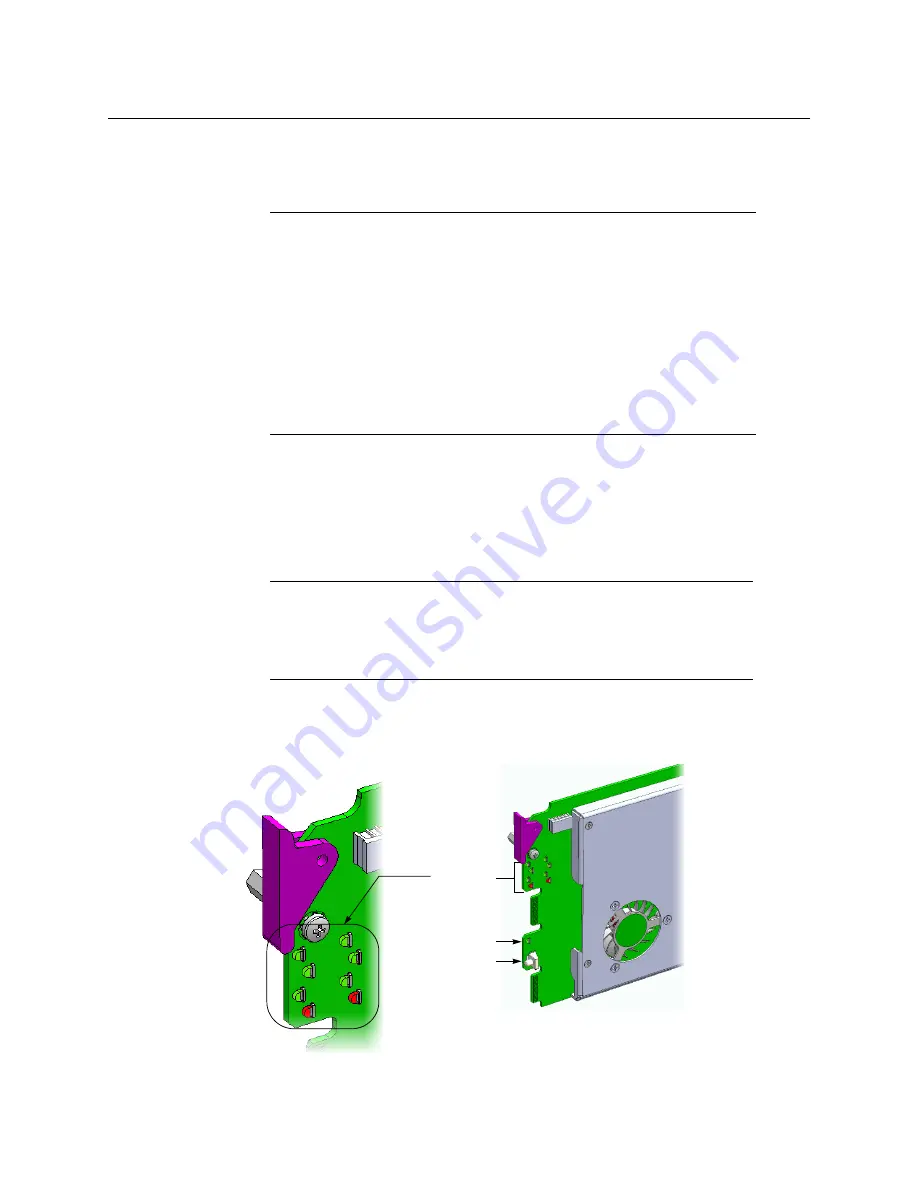
5 Check that all SDI LEDs associated with the connected video inputs are green:
Notes
• The Kaleido-RCP2 is an optional device, and may not have been shipped
with your KMV-3901/3911 system. For information on this and other
options for your multiviewer system, please contact your Miranda sales
representative.
• You may need to upgrade your Kaleido-RCP2 devices (if available) to the
latest firmware. The update file can be found on the DVD that shipped with
your multiviewer, and on Miranda’s support portal. Please refer to the
Kaleido-RCP2 Guide to Installation and Operation
(available on the DVD, and
from the portal) for instructions on how to determine the firmware level,
and how to perform the upgrade.
Note:
If your display is not collocated with your Densité frame you may
choose to employ a DXF-200 transmitter/receiver device that allows you to
install a display up to 1,000 meters (3,300 feet) from the signal source. For
more information on the DXF-200, refer to the
DXF-200 DVI/HDMI Optical
Extension System User’s Manual
(part no. M916-9900-104).
Select button
Status LED
SDI LEDs
2
1
3
4
5
6
7
8


