12
Setting Up Your Multiviewer
Changing the Multiviewer’s IP Address from the Densité Control Panel
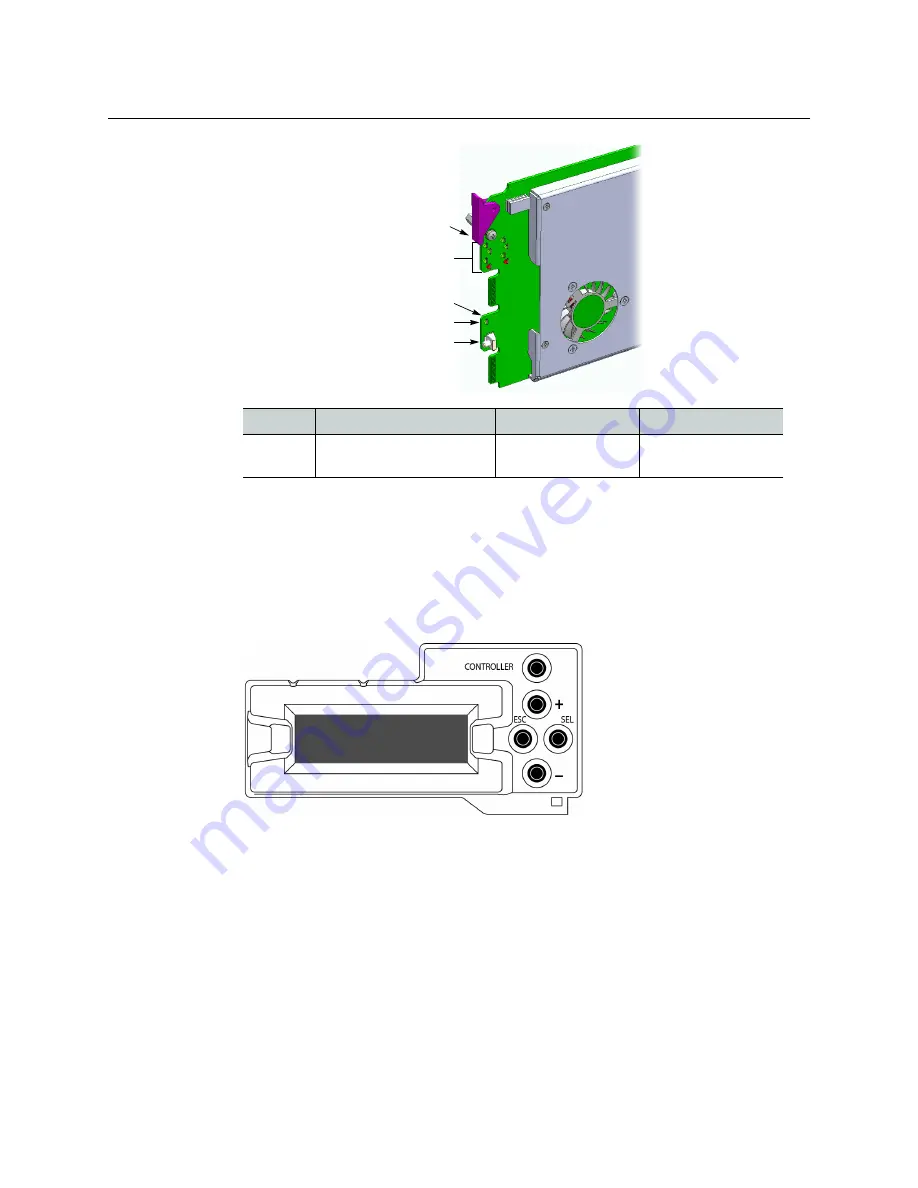
If the Status LED indicates an error condition, refer to your multiviewer’s Guide to
Installation and Operation to find out what the other LEDs might be indicating.
13 Verify that the new IP address is effective, by referring to
At this point, it is recommended to back up the new configuration to the controller’s
non-volatile memory by saving a
restore point
.
14 On the Densité frame’s local control panel, press the CONTROLLER button.
15 Press the [–] button repeatedly until RESTORE POINTS appears on the display, and then
press the SEL button.
16 Press the [–] button repeatedly until SAVE A CARD appears on the display, and then
press the SEL button.
17 Press the [–] button repeatedly until CARD # N—where N matches the slot number for
the KMV-3901/3911 card whose configuration you wish to save—appears on the
display, and then press the SEL button.
18 If you had to change the Densité controller’s default action from
update settings
to
keep
settings
in order to configure your card’s network settings, then refer to
Densité Controller’s Restore-Point Settings
, on page 9 again, to revert the default
action to
update settings
.
Green
Blinking orange
Red
Blinking red
Normal
Booting (or the card is
selected for local control)
No Ethernet / SD card
error
Fan failure / no rear /
duplicate IP address
Select button
Status LED
Boot LED,
Power LED,
CPU Status LED (other side of board)
SDI LEDs
USB connector (other side of board)


