4
Setting Up Your Multiviewer
System Requirements for a Client PC
To set up the multiviewer hardware
1 Referring to the Guide to Installation and Operation that shipped with your
Densité 3+ FR1, Densité
3 mini
or
Densité 3
housing frame, mount the KMV-3901/3911
multiviewer card and associated rear panel in the housing frame, and then power up
the frame.
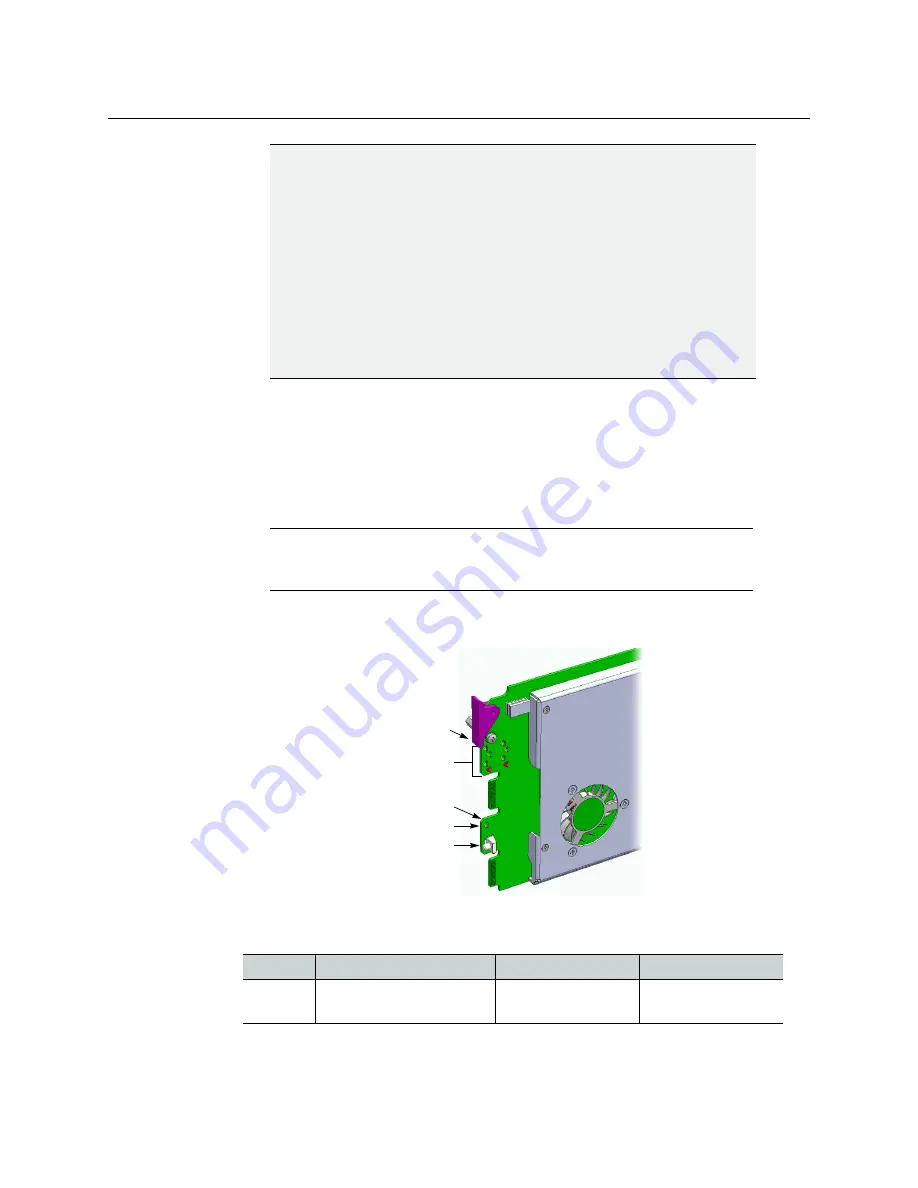
Leave the frame door open so that you can monitor all the card’s LEDs.
The KMV-3901/3911 card starts up. The startup sequence takes approximately five
minutes, during which time the Status LED is blinking orange:
Once the startup has completed, the Status LED should be red (steady) because the
card is not connected to the network yet:
Densité CPU-ETH2 Enhanced Ethernet Controller Card
A Densité frame housing a KMV-3901/3911 multiviewer card must have a
controller card (Densité CPU-ETH2 Enhanced Ethernet Controller Card) with
firmware version 2.0.4 or later. A controller with an earlier version of the
firmware cannot provide a time reference to the multiviewer card. Make sure
the controller’s internal clock is set to the correct date and time. The clock
settings will persist for 10 days after a power loss. Should you need to change
the time on a Densité CPU-ETH2 controller, then make sure to restart all
multiviewers located in the same housing frame as the controller card. Refer
to the Densité CPU-ETH2 Enhanced Ethernet Controller Card Guide to
Installation and Operation for more information.
Note:
For more information on the card’s LEDs, refer to the
KMV-3901/3911
Guide to Installation and Operation,
available on the DVD that shipped with
your system.
Green
Blinking orange
Red
Blinking red
Normal
Booting (or the card is
selected for local control)
No Ethernet / SD card
error
Fan failure / no rear /
duplicate IP address
IMPORTANT
(continued)
Select button
Status LED
Boot LED,
Power LED,
CPU Status LED (other side of board)
SDI LEDs
USB connector (other side of board)


